Showing posts with label makeover. Show all posts

Thursday, November 12, 2020

Laundry Room Makeover Part 3- Farmhouse Cottage Style

Today's post will bring y'all up to date on where I am at with our laundry room makeover. I will be honest I could have had this makeover completed earlier if I had just not dragged my feet. We thought that we were going to have issues with moving the washer and dryer down the wall. Our dryer was beyond a pain to hook up when we moved in and it took us hours to finally get it connected. We were so sure that we were going to have to disconnect it to move it so I avoided tackling this makeover something fierce. Well with the fridge sitting in the spot where our Christmas tree goes I knew I needed to just get the task over with so I could deck the halls come time. Turns out the dryer was a breeze to move with no issues at all! It is not often that things turn out way easier than expected when doing home improvements so it was a very welcomed surprise! 
Farmhouse Cottage Style Laundry Room Makeover-Peel & Stick Wallpaper-From My Front Porch To Yours
Here is a peek at the space with the new Peel & Stick faux tin wallpaper on the ceiling. On the list of things left to do is to add some type of crown molding.

Farmhouse Cottage Style Laundry Room Makeover-Faux Tin Ceiling-From My Front Porch To Yours
To make for an easier install I ended up cutting the Peel & Stick into sections of 3 tiles. It enabled me to reposition and stay as straight as possible even though the ceiling/walls are not straight. 

Tuesday, November 10, 2020

Laundry Room Makeover Part 1 Farmhouse Cottage Style

I noticed that my post Farmhouse Laundry Room Mini Makeover from way back in 2017 has been popular here of late.
Laundry Room Makeover Farmhouse Cottage Style-From My Front Porch To Yours
At the time I was not ready to do a full makeover so all I did was change out the paint color of the space.

Laundry Room Makeover Farmhouse Cottage Style-From My Front Porch To Yours
As you can see paint makes such a huge difference just by itself!

Thursday, May 17, 2018

Master Bathroom Makeover Update- Cabinet Install


Master Bathroom Makeover-Vinatge Cabinet-From My Front Porch To Yours
When I saw this cabinet I knew it was going to be the perfect piece for our master bathroom makeover. It just needed a little updating for it to work in our space. 

Wednesday, May 2, 2018

Foyer Makeover Reveal

Remember back in March when we decided to makeover our foyer with a DIY shiplap project? It only took a few days start to finish but I have been playing around with styling it. It still is not quite the way I want it but there is always another post I can do. 
French Country Farmhouse Foyer-DIY-Shiplap-Makeover-Vintage Dresser-From My Front Porch To Yours

Tuesday, March 20, 2018

Foyer Makeover Farmhouse Cottage Style-DIY Shiplap

Spring Break was last week as well as my Birthday. We will not talk numbers. LOL. All I wanted to do was accomplish a project on my wish list for the house. It involved making over our foyer. It is not much of a foyer. Just a small wall with french doors leading into the office.
French Country Farmhouse Foyer-makeover-Before-Vintage Secretary-From My Front Porch To Yours

Tuesday, October 24, 2017

Master Bedroom Design -On To The Next Project

I am slowly marking spaces off here at the new house. The kitchen is almost completed. Dining room, living room and breakfast nook as well. You can see the dining room here. I still need to take pictures of the other spaces. 
French Farmhouse -French Country-Master Bedroom-Sherwin Williams Rainwashed-From My Front Porch To Yours

Wednesday, March 22, 2017

Farmhouse Fireplace Mantel Makeover

Farmhouse Fireplace-Spring Mantel-From My Front Porch To Yours
I shared last week our simple Spring fireplace mantel. As I was editing the pics for the blog post I kept thinking in my head that it felt incomplete and how I wanted to implement some of the ideas we had tossed around these past few months concerning the fireplace.

Tuesday, April 19, 2016

Updated French Farmhouse Breakfast Nook

Hey everyone! I know it has been awhile since I last posted but we have something huge that Mr. Front Porch and I are working on. We do not want to share the details just yet but soon I promise. It has evolved a ton of prep work that I am still not completed with but I am getting closer. I decided to take little break from all the madness and snap some pics of our breakfast nook makeover. I soon will be sharing our stair reno as well! Yes after two years we finally completed it and I can not wait to share it.
I digress so back to the breakfast nook makeover!:) 
Farmhouse- Kitchen-Breakfast-Nook-French-Country-From My Front Porch To Yours

Wednesday, May 6, 2015

Master Bathroom Makeover Update

Choosing a color for our master bathroom makeover was more of a challenge than I thought it would be. As matter of fact I thought I had it all worked out and purchased the paint. I ended up changing my mind though which did not surprise Mr. Front Porch one bit. I am notorious for doing that when it comes to paint colors. 
Picking a new paint color for the master bathroom over at From My Front Porch To Yours using Sherwin Williams colors.

Friday, May 23, 2014

Inexpensive Details That Make a Big Impact

I have been busy adding the finishing touches to our master bedroom makeover. In the process I keep looking at our master bathroom which has not been touched since the day we moved in. The wheels in my head started spinning coming up with plans for it.
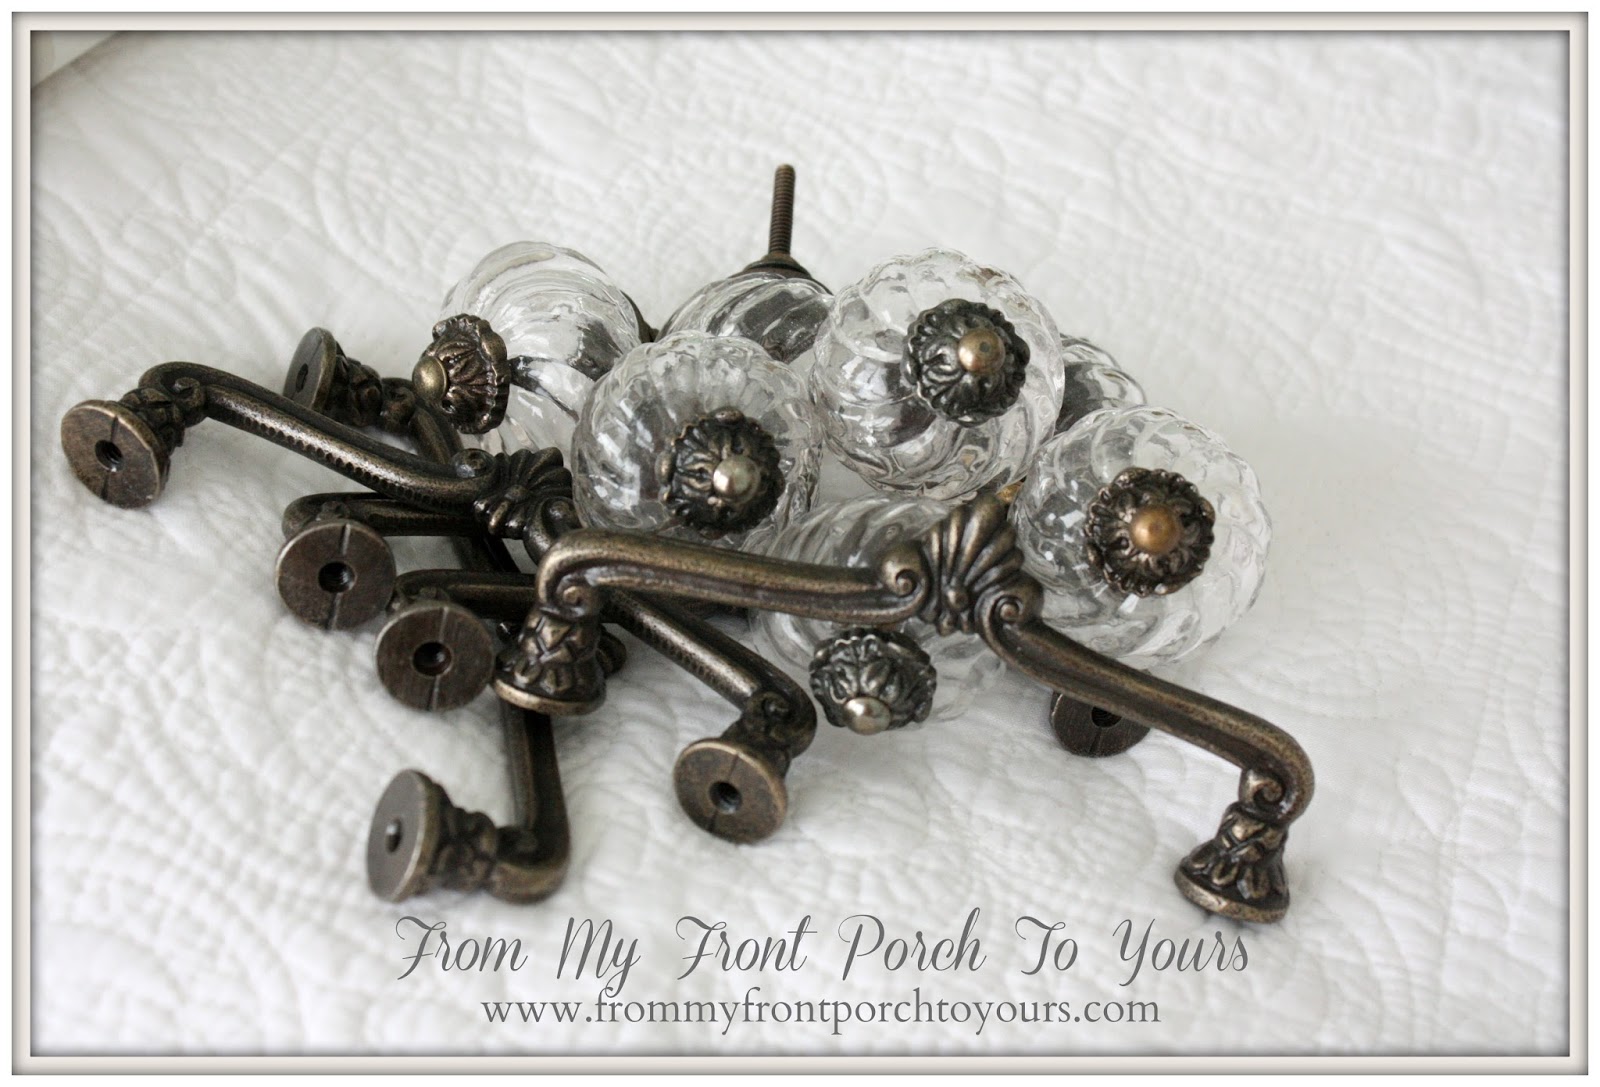
From My Front Porch To Yours- Inexpensive Details- Hobby Lobby Glass Knobs
On a recent trip to Hobby Lobby looking for baskets for the master bedroom I wondered into the knob isle. I mean who can not visit the knob isle at Hobby Lobby!?;) I found these beauties and decided right away they would be perfect for our master bath. I had to have um at 50% off!
From My Front Porch To Yours- Inexpensive Details- Hobby Lobby Glass Knobs
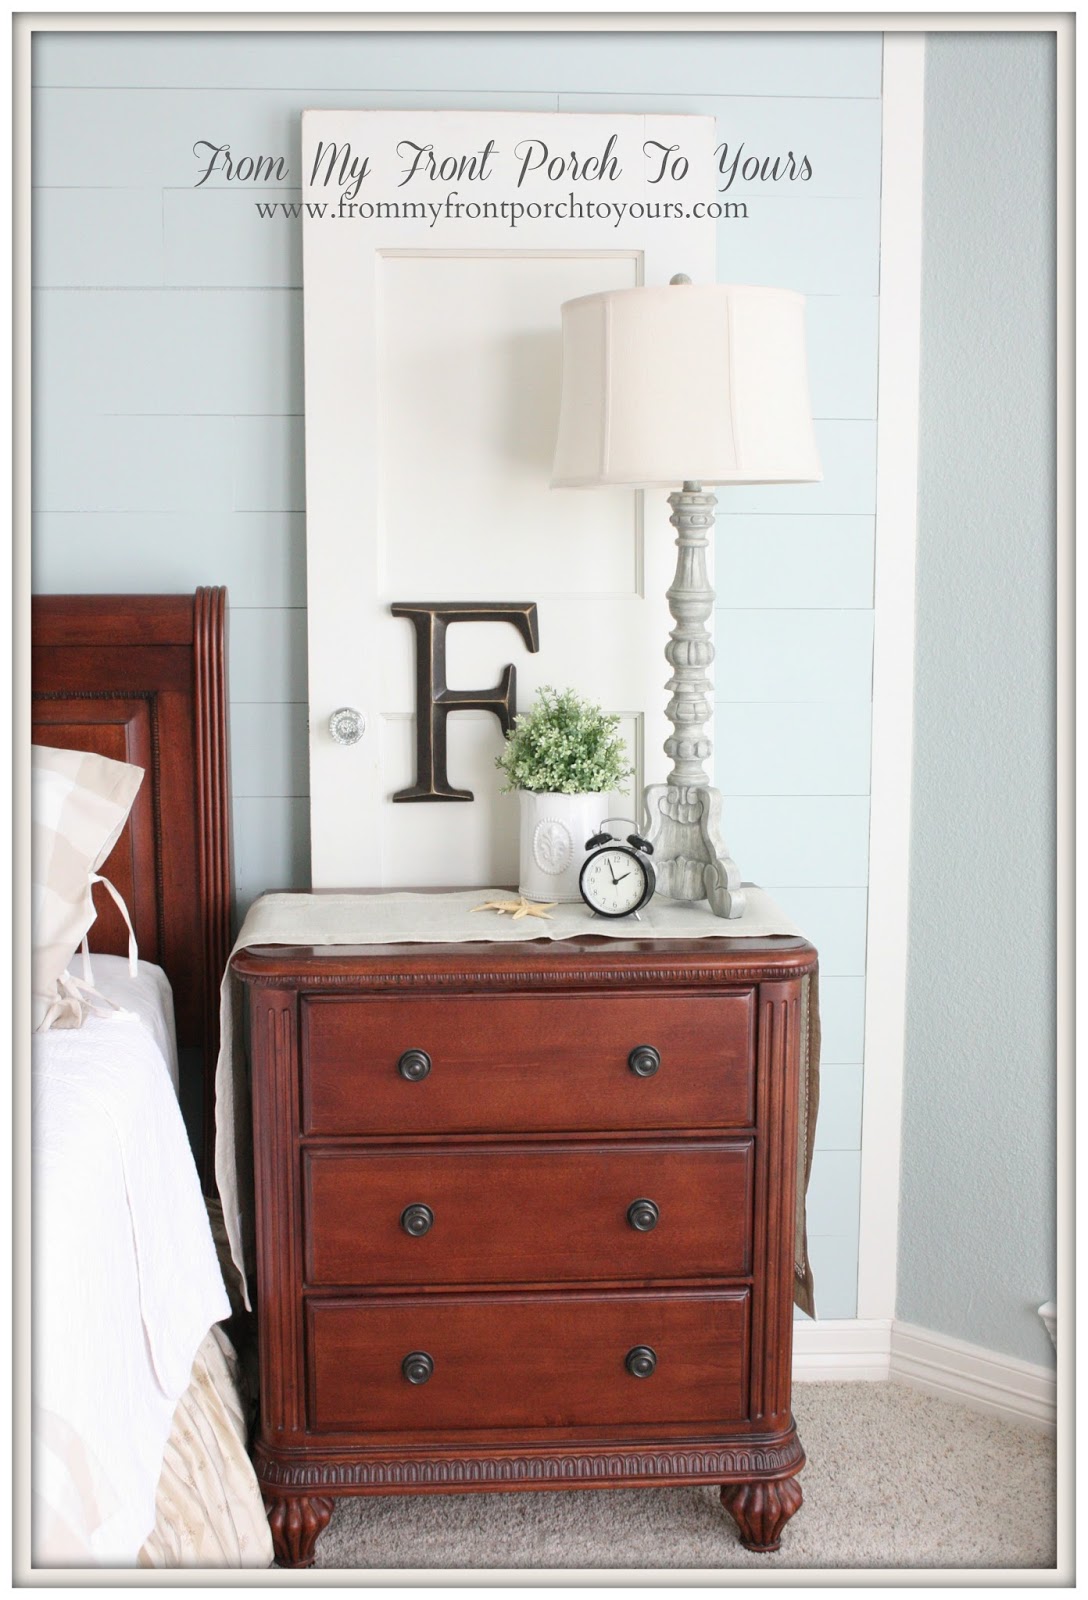
After bringing the new knobs home I kept staring at our nightstands. Before I started the master bedroom makeover I had to promise Mr. Front Porch that I would not paint our bedroom furniture. 
From My Front Porch To Yours- Inexpensive Details- Hobby Lobby Glass Knobs
I felt that the nightstands could be more though.
From My Front Porch To Yours- Inexpensive Details- Hobby Lobby Glass Knobs
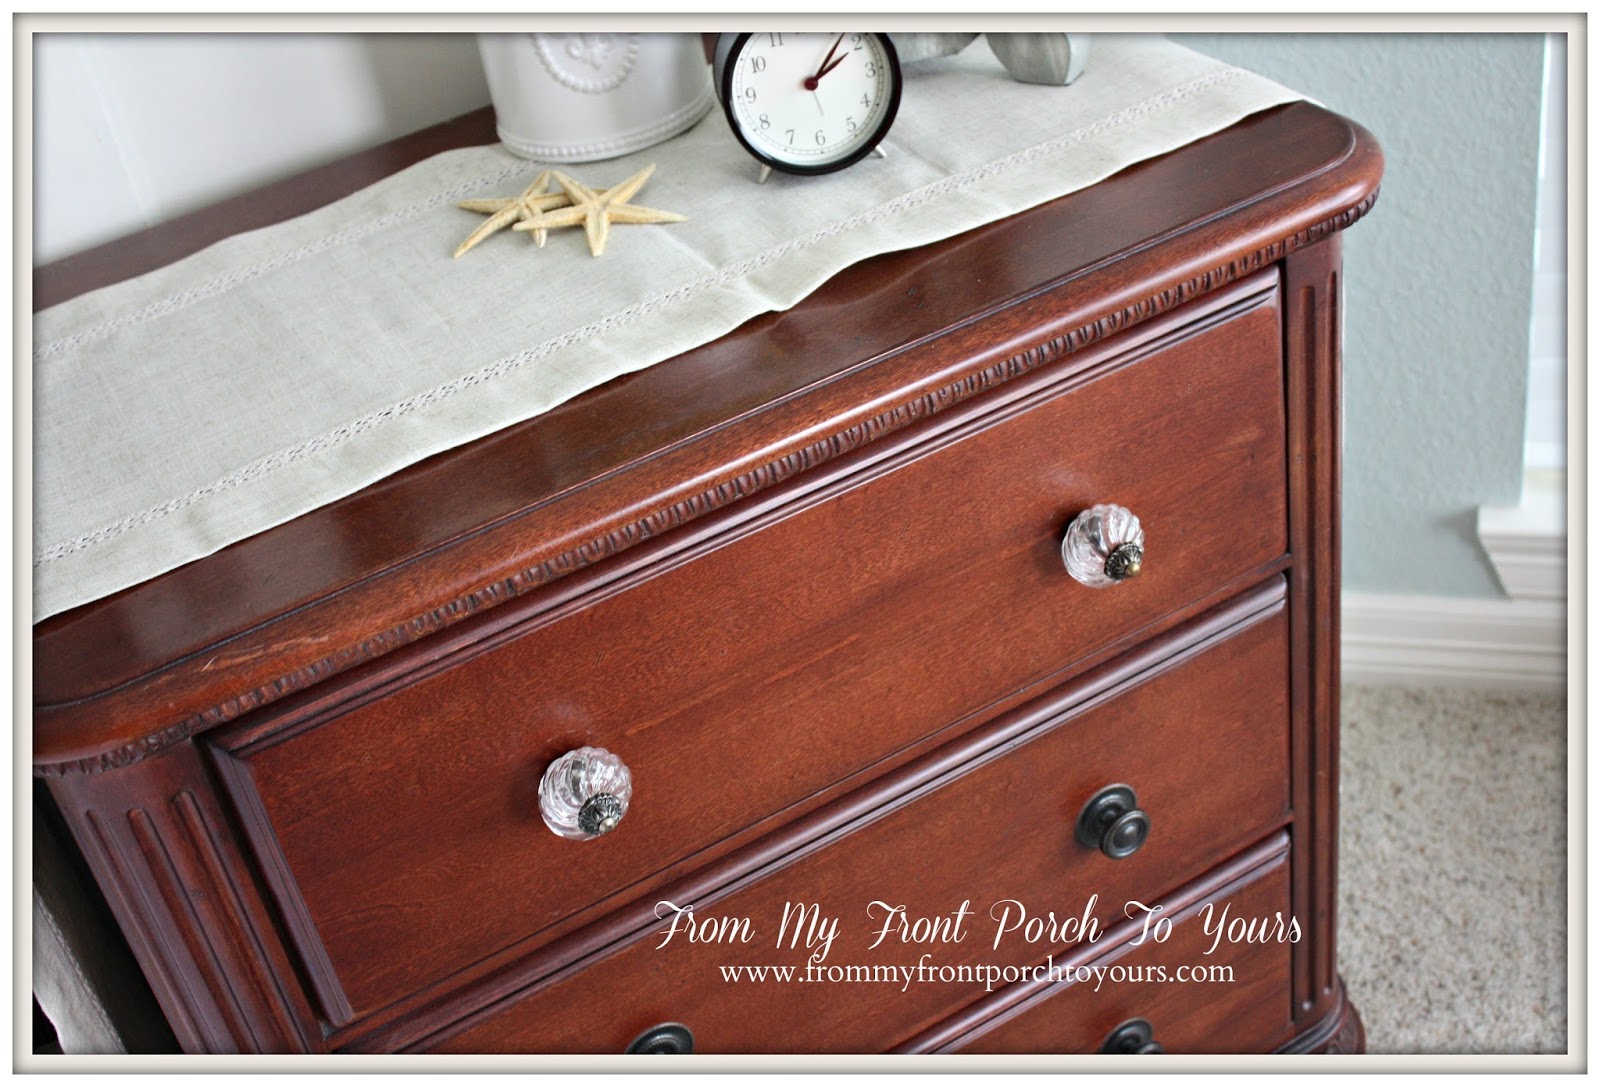
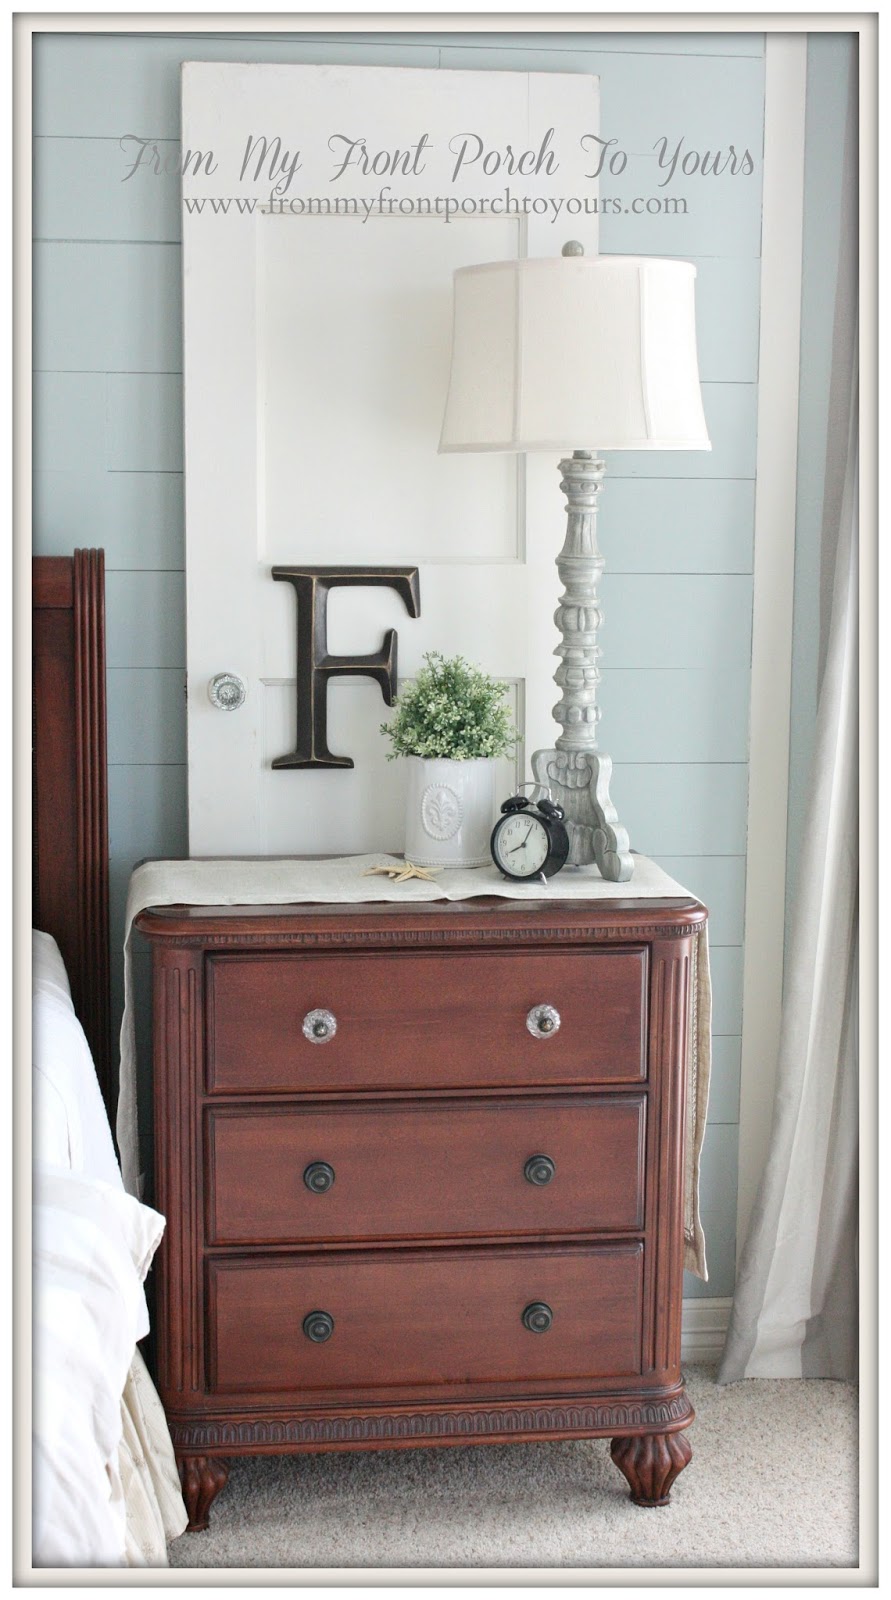
I decided to swap out the old knobs on the nightstands for the beautiful glass ones. I figured why not, I could always buy more when they go back on sale. 
From My Front Porch To Yours- Inexpensive Details- Hobby Lobby Glass Knobs
I changed out only the top drawer knobs. At just $4 a piece on sale the new knobs make such a big impact in our space.

I am excited to share with you all the reveal until then if you missed the BEFORE pics click HERE. You can also enter to  win a $50 Sherwin Williams gift card to make over a space in your own home.

Visiting at these lovely blogs:

Friday, October 19, 2012

Stair Landing Makeover

I have several projects going on at once which really is no surprise to anybody who knows me. That is just life around here. I added to my list by redoing our stair landing this week. I had been wanting to freshen things up for awhile now. I had a vision in my head of just how I wanted it to look. 

Here is how the landing looked about a year and half ago when I redid it. Since then that rug has landed in the foyer as well as the little white table. The panels I made were faux panels. I didn't even sew them on the bottoms. They were attached to the wall by upholstery tacks. Though I enjoyed this look I was wanting something more classic and simple.

Sorry this pic is awful but at the time I was frustrated because this project was taking a 100 times longer than it should have. I could not find the right bit for our drill so I had to hand screw everything into the wall. Anyways, I was trying to transform the landing spending little to no money. I had these white Ikea panels and figured they might work. I tried them several different ways and though lovely it just was not the right look. I searched and searched the internet for other options. I almost order some panels from Pottery Barn but I really didn't want to spend $65 a panel and not know if they were going to be exactly what I wanted.

The boys and I went to HomeGoods and waiting for me where these beautiful sheers. They have been there for about a month now just patiently waiting for me to take them home. At first I did not think they would work thinking they would be too short but I read and they were 108 inches long! Wow! So I grabbed two packages thinking to myself that I didn't really care that it would cost me $60 because I was positive they were the "ones". I read the package again and turns out it was $30 for a set! I was doing the happy dance in my head.

We brought them home and I immediately got to work putting them up. They are rod pocket but I chose to hang them from clips. I purchased the clips at WM for $7 a package. I needed two. I also purchased the rod at WM for $13 which I didn't think was bad at all so I was okay paying $7 a package for the clips though I remember when they use to be just $5 a package.


I finally added this faux beam that The Papa had cut for me back in the spring. Yes, I have been wanting to redo the landing since way back then. I love this look but I am thinking I may need a little wider board.

I pulled out this beautiful little mirror I got back in the summer while treasure hunting in Atlanta.

A little touch of fall.

I had just a plain pillow here and wanted something a little more so I pulled out this french inspired grain sack and just wrapped it around the pillow.

Lets go on up and see how it all pulled together shall we.

Simple and classic is what I wanted and that is just what I got. I love how airy the landing feels now. The panels actually are very similar to ones we have in our living room so everything flows so much nicer now. I am trying to talk The Hubster into ripping the carpet out on the landing and into putting the flooring down that we have put away for this space. It will be divine if I can talk him into it soon but he knows I will then want to rip the carpet off the stairs and that opens up a whole nother can of worms I am not sure we are ready to tackle just yet. 

See that pot light up there in the ceiling. It is just screaming to be turned into a ceiling mounted chandy!! Now to try and figure out how to make that happen without it costing an arm and a leg. If there is a will there certainly is a way!;)

This project ended up costing me just $60. 

Here is a sneak peek at the half bath I am in the middle of transforming. It will probably be a week or two before it is completed. I am hemming and hawing over which sink I want for in here.

Linking up to the following link parties: