As mentioned earlier in the week I have been keeping busy busy busy. |

Showing posts with label Sherwin Williams. Show all posts
Showing posts with label Sherwin Williams. Show all posts
Wednesday, November 14, 2018

Monday, June 4, 2018
Barn Wood Feature Wall & New Paint-Office Update
The office is coming right along. Over the weekend I completed the final coat of paint and the feature wall.
 |
Wednesday, May 23, 2018
Master Bathroom Reveal
Today is the day y'all!
 |
| I am finally sharing our master bathroom makeover. It all began back in February when I started designing the space and thinking of how I wanted it to feel. |
 |
Friday, November 3, 2017

Wednesday, March 22, 2017
Farmhouse Fireplace Mantel Makeover
 |
| I shared last week our simple Spring fireplace mantel. As I was editing the pics for the blog post I kept thinking in my head that it felt incomplete and how I wanted to implement some of the ideas we had tossed around these past few months concerning the fireplace. |
Thursday, March 9, 2017
Farmhouse Fireplace Mantel & New Paint
Today I am sharing our simple farmhouse mantel. It has not always looked this light and bright. I painted the living room a little over a week ago.
 |
Tuesday, May 12, 2015
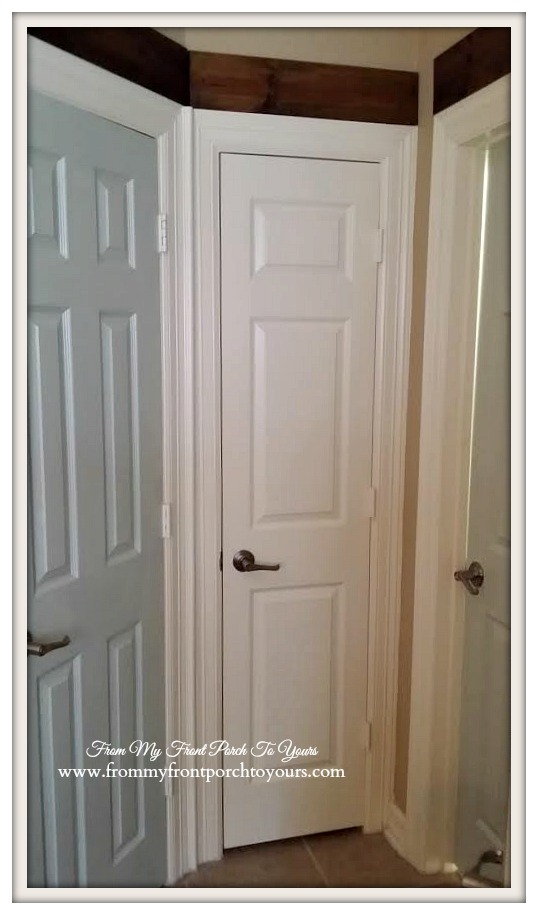
Quick & Easy Tips For Painting A Door
 |
| I have shared posts about painting our command center door and also the insets of other doors around our home. Since then I have received emails about what I think the best and quickest way to paint a door is. |
Wednesday, May 6, 2015
Master Bathroom Makeover Update
Choosing a color for our master bathroom makeover was more of a challenge than I thought it would be. As matter of fact I thought I had it all worked out and purchased the paint. I ended up changing my mind though which did not surprise Mr. Front Porch one bit. I am notorious for doing that when it comes to paint colors.  |
Monday, June 2, 2014
French Farmhouse Bedroom Transformation
 |
The time has finally come! Today I get to share our master bedroom makeover! I have been sitting on pins and needles waiting to share it with you all since it has been completed for a little while. I am really thankful to have been chosen to work with Sherwin-Williams and BlogHer for this makeover. It gave me just the push I needed to get the project done instead of hemming and hawing over every little decision. I am really bad about second-guessing every choice I make and well there was no time for that. It was fun using Sherwin-Williams Color Visualizer where you can "Picture It Before You Paint It." It truly saved me from purchasing a ton of sample paints and putting them up on the wall. As I mentioned in my initial post I decided to use SW 6211 Rainwashed for our bedroom walls. If you missed that initial post and want to see the BEFORE pics and how I used the Color Visualizer click HERE.
|
 |
Sherwin-Williams asked me to try out their Harmony® Interior Acrylic Latex Paint for this project. It is a zero VOC formula that helps to reduce common indoor odors. It also contains new technology that helps promote better indoor air quality by reducing VOC levels from potential sources like carpet, cabinets, and fabrics. The paint was very easy to work with. I was pleased with how smoothly it went up on our textured walls.
|
 |
I wanted our bedroom to flow with the rest of our home, so I went with a French Farmhouse theme in here. The planked wall really sets the space off. I am so glad that I was able to talk Mr. Front Porch into helping me complete that project. If you missed how we accomplished the wall you can click HERE.
|
 |
| Accessorizing was fairly simple. I was able to use treasured items like the little clock given to me by my husbands Grandmother. I even found the perfect spot for the vintage cow picture I bought back in November when visiting family in Georgia. |
 |
The space looks so much larger now with fresh paint and curtains up. Looking forward to creating a cozy little reading spot in front of the windows.
|


 |
SW 6211 Rainwashed changes colors throughout the day, which is what I love about the color. Depending on the lighting sometimes it looks blue and then sometimes it looks blue/grey.
|
 |
I have big plans for the space above the doors. I just need to talk Mr. Front Porch into tackling that project with me which so far has not been easy!;)
|

 |
Mr. Front Porch had two requests for this project: use any color but green and DO NOT paint the furniture. Mission accomplished. He is just as thrilled as I am with how the space turned out.
|
 |
One of the splurges I made was to have custom Toile Euro Shams made by my pal Sonya over at Beyond The Screen Door. She does beautiful work and I really appreciate her squeezing me in at such short notice.
|
 |
This side of the room I am still working on. I am envisioning a custom-made Bed & Breakfast sign and Mr. Front Porch is envisioning a TV! :)
It only took 5 years, but we now we have a calm, relaxing space we always dreamed of.
|
Sharing over at these fine places:
Wednesday, May 28, 2014
Dining Room Changes
On Monday I finally get to reveal our master bedroom makeover! It has been completed for a little while so I have since started on another makeover. Mr. Front Porch does not understand why I can not leave well enough alone!;)
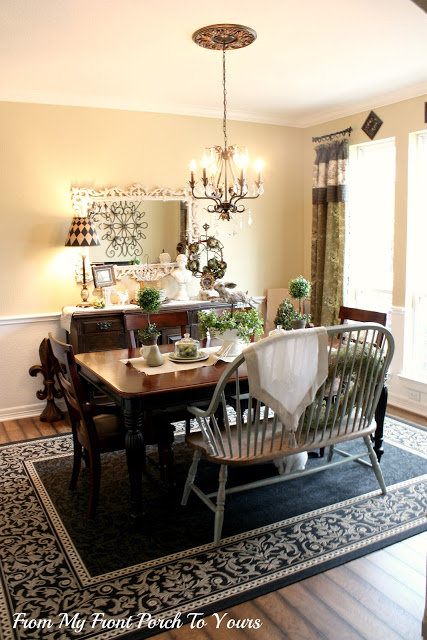 |
| Our dining room has slowly been evolving over the last 5 years. 4 years ago I painted the walls SW Ivoire. |
 |
| Since then I traded out the buffet for a hutch and we made a custom plank top for the table. I even swapped out the chandy to a divine frenchy one. Things were coming together. Last year though, I started changing out the paint colors in our home for lighter and brighter and well the dining room no longer flowed with the rest of our home like I wanted. |
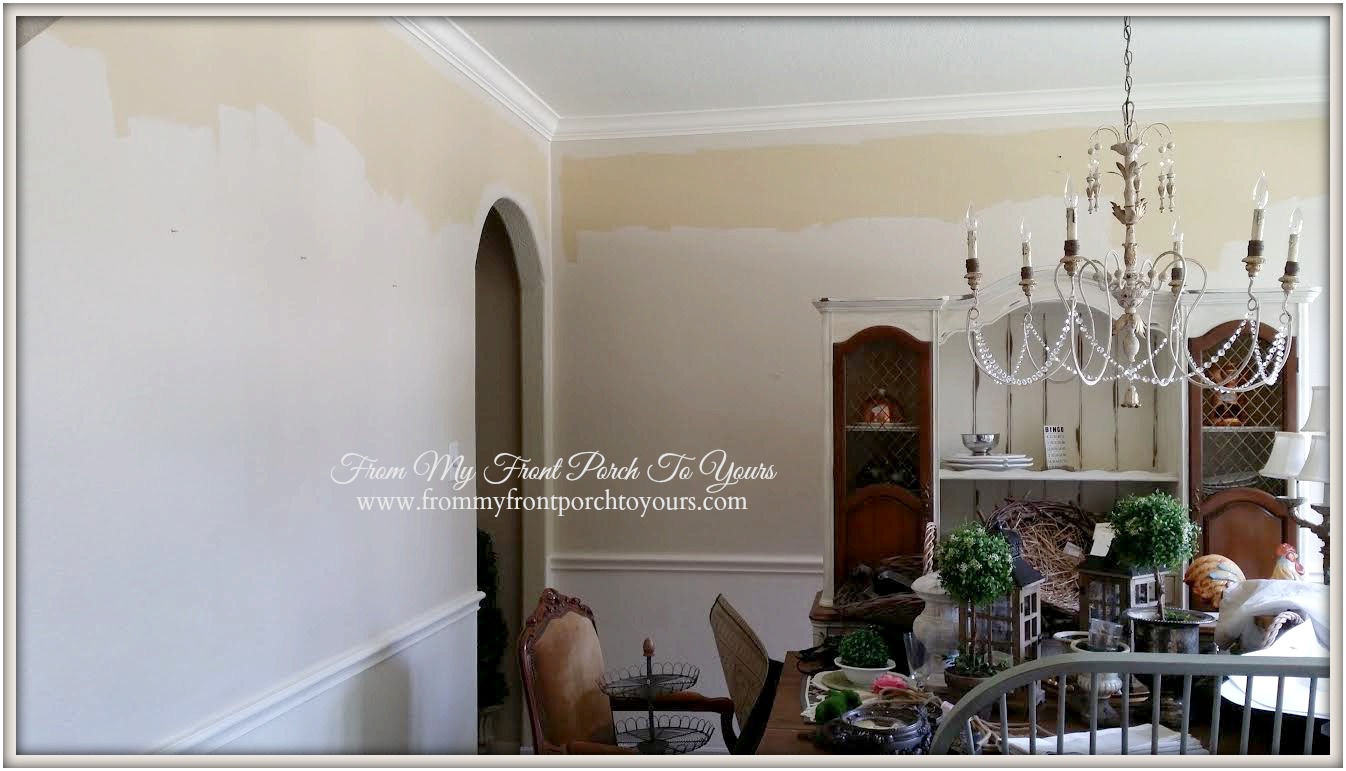 |
| In comes SW Maison Blanche! |
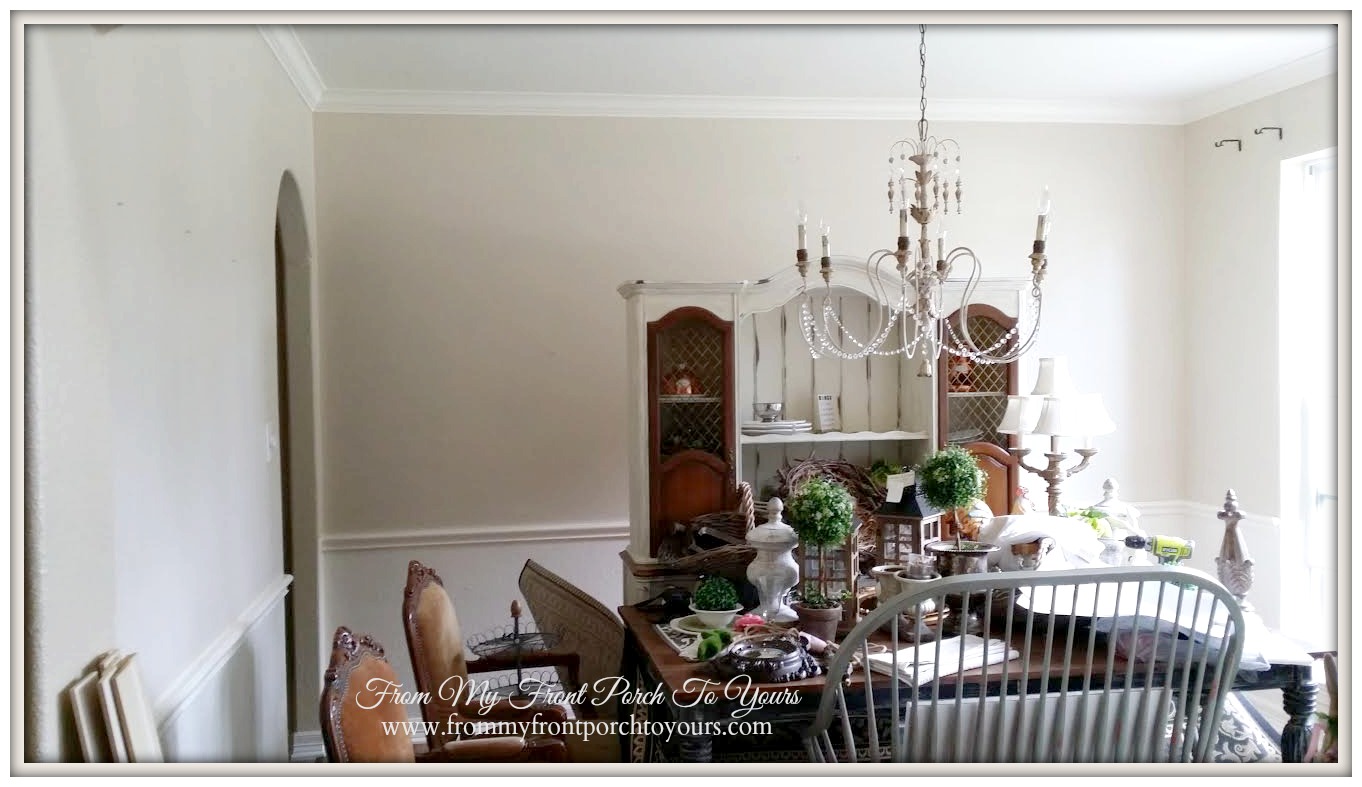 |
| I am already loving the brighter, airy feel it gives to the space. |
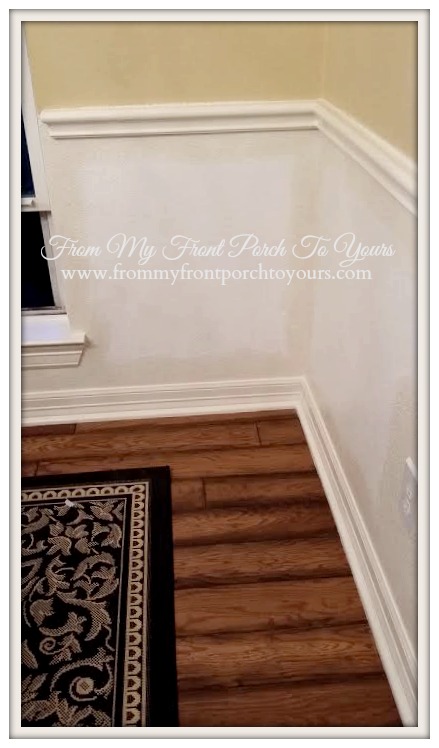 |
| Even the bottom half was freshened up. I went back to its original white. I had painted it a bright white 4 years ago and with Maison Blanche it was just too white. I needed a creamy white. |
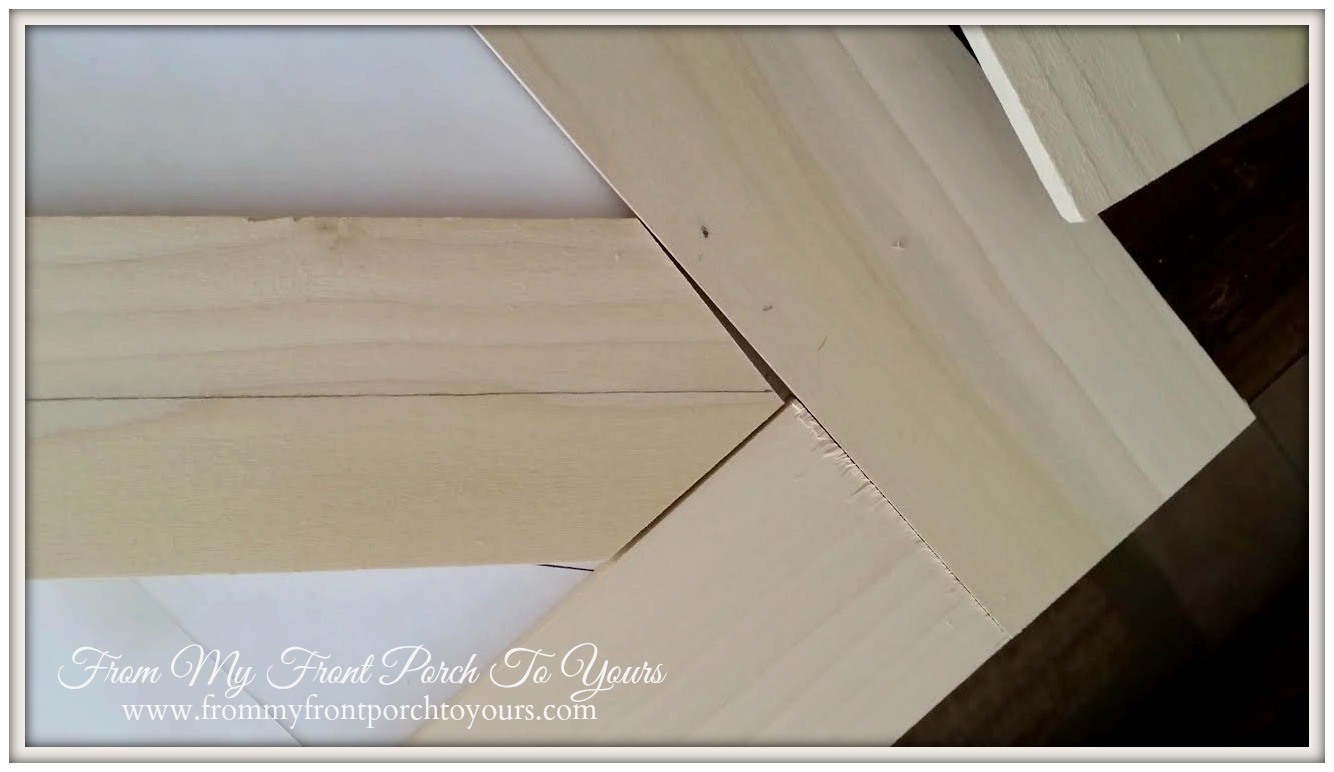 |
| And of course I could not stop at fresh paint. I have been out in the garage using the miter saw! Can't wait to show you more. |
 |
| See everybody back here this evening at 7 p.m. central time for Treasure Hunt Thursday. |
Tuesday, May 20, 2014
Adding Charm to the Master Bedroom with a Planked Wall
So the painting is done in our master bedroom. If you missed all the BEFORE pics you can click HERE and also enter to win a $50 Sherwin Williams gift card to go towards redoing a space in your home.  |
| I had big plans for this wall from the very beginning. It just took a little while to talk Mr. Front Porch into the idea. I have ALWAYS loved the look of planked walls and knew I wanted some in our home. I figure the master bedroom was the perfect space to start! |
 |
| Off to HomeDepot I went. |
 |
| I purchased 5 of the 2.7mm 4x8 Utility Panels and had them cut down for me into 5 inch strips. These were far less expensive than the Birch Plywood that I had purchased for our planked fireplace. If I had it in the budget though I would have gone and used the Birch Plywood for this project as well. The Birch is more substantial and thus you do not have to worry about it peeling, splintering, or breaking which could all happen with the less expensive plywood. With that said in the end, which you will see in a moment, I LOVE how the project turned out and you can not tell what type of wood I used. |
 |
| We chose the 5 inch strips so we could easily cut them with a few smaller for character. We started at the top because our ceiling was level all the way across and we figured if we had any wonky boards they would be less likely seen closer to the floor since the bed takes up a lot of the wall. |
 |
| This is our assistant. He was in charge of managing the project and well as you can see he is fast asleep! Littliest slept thru the entire installation of the paneling, nail gun and all. Now that is some serious napping!;) |
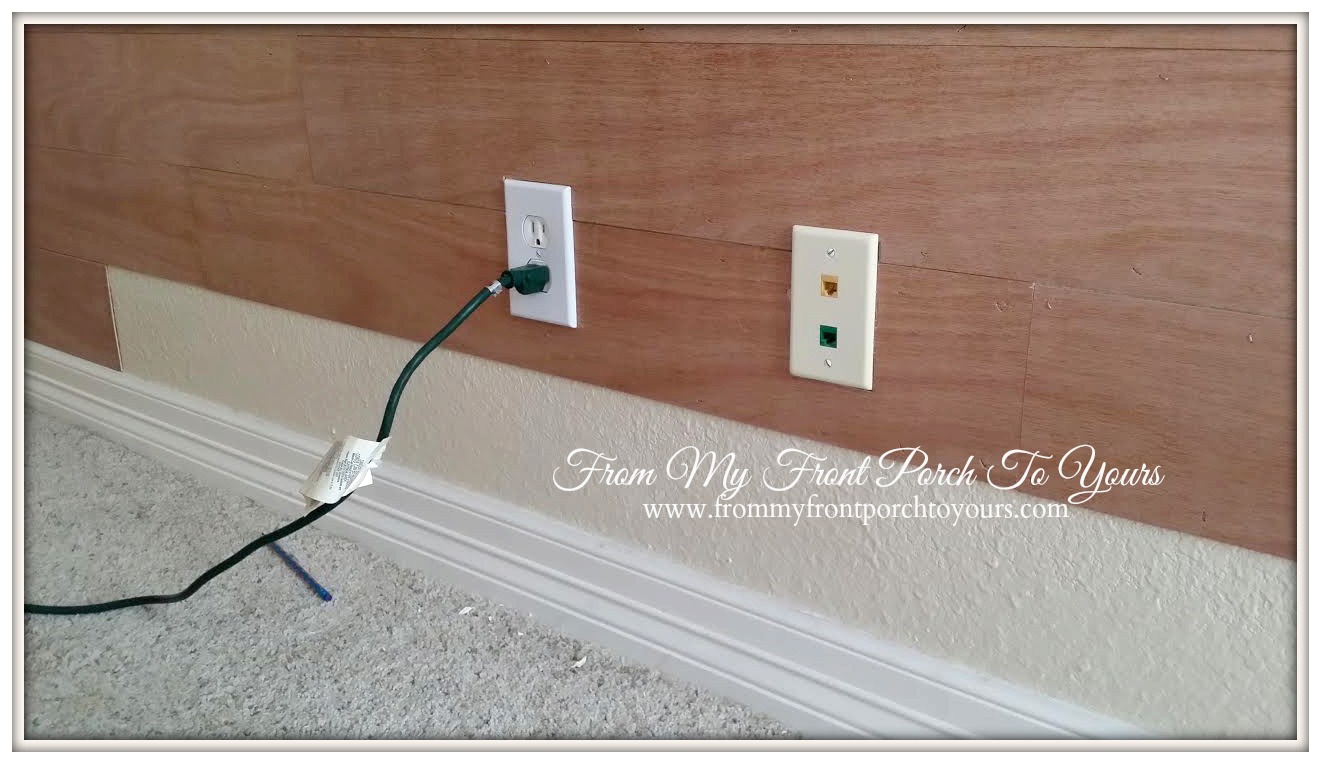 |
| One of the things that we were not looking forward to was fitting the planking around our outlets. It turned out to be a breeze! The plywood was so thin we did not have to extend our outlets out which was a plus. To get the correct cuts I took the plates off and then made a template with a piece of printer paper and then traced the outline onto the plank. It was SUPER easy. Mr. Front Porch was relieved!;) |
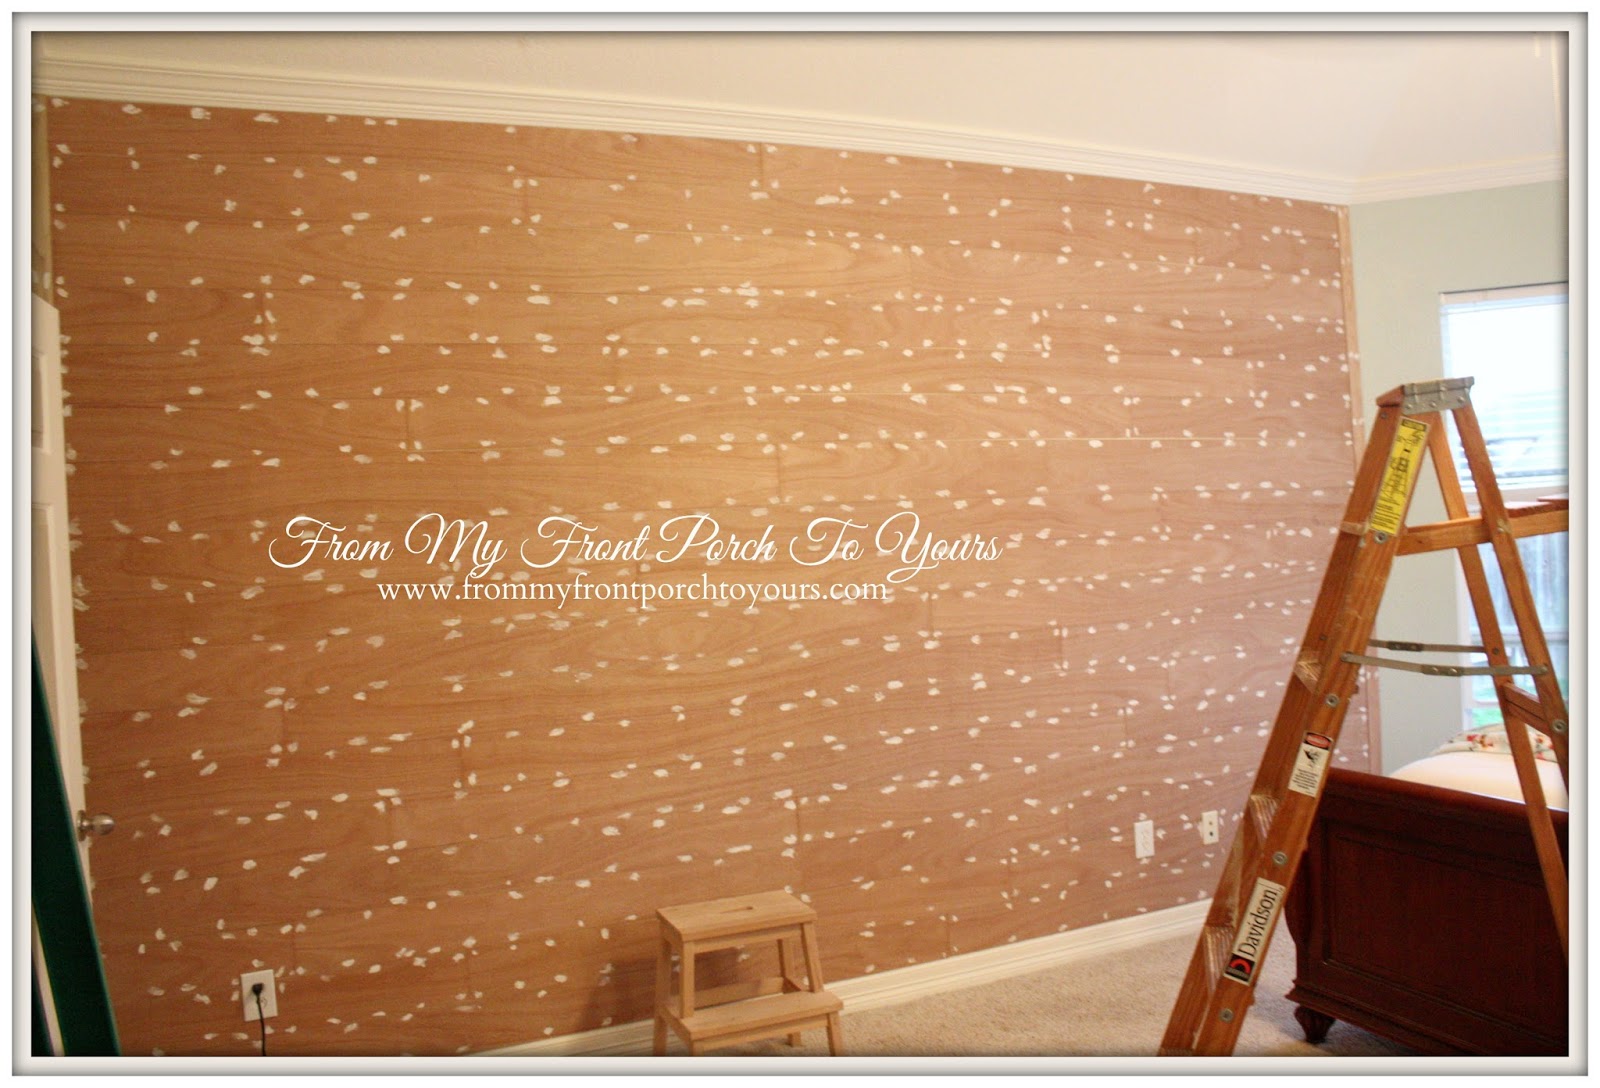 |
| After all the planks went up I used a nail finishing tool to ensure that all the nails were in deep enough and were not sticking out. Then I filled in all of the holes. Yes we used a LOT of nails. We wanted to ensure that the panels were not going to pop off. Now the proper way of doing things would have been to find the studs but we bypassed that. Another reason for all the nails was the fact that the thinner plywood tends to be a bit wavy so to combat that we just put nails where the waves were to get rid of them. I used a little liquid nails on the back of a few panels that were installed in the middle of the wall knowing I would be hanging things there. |
 |
| After filling I got to sanding with a medium grit sanding block. I made sure to sand away all of the filler off because if you do not you will see it when you paint over it. The only filler you want left is the filler in your nail holes. |
 |
| After I sanded I vacuumed the entire wall to get all the filler dust in between the planks. |
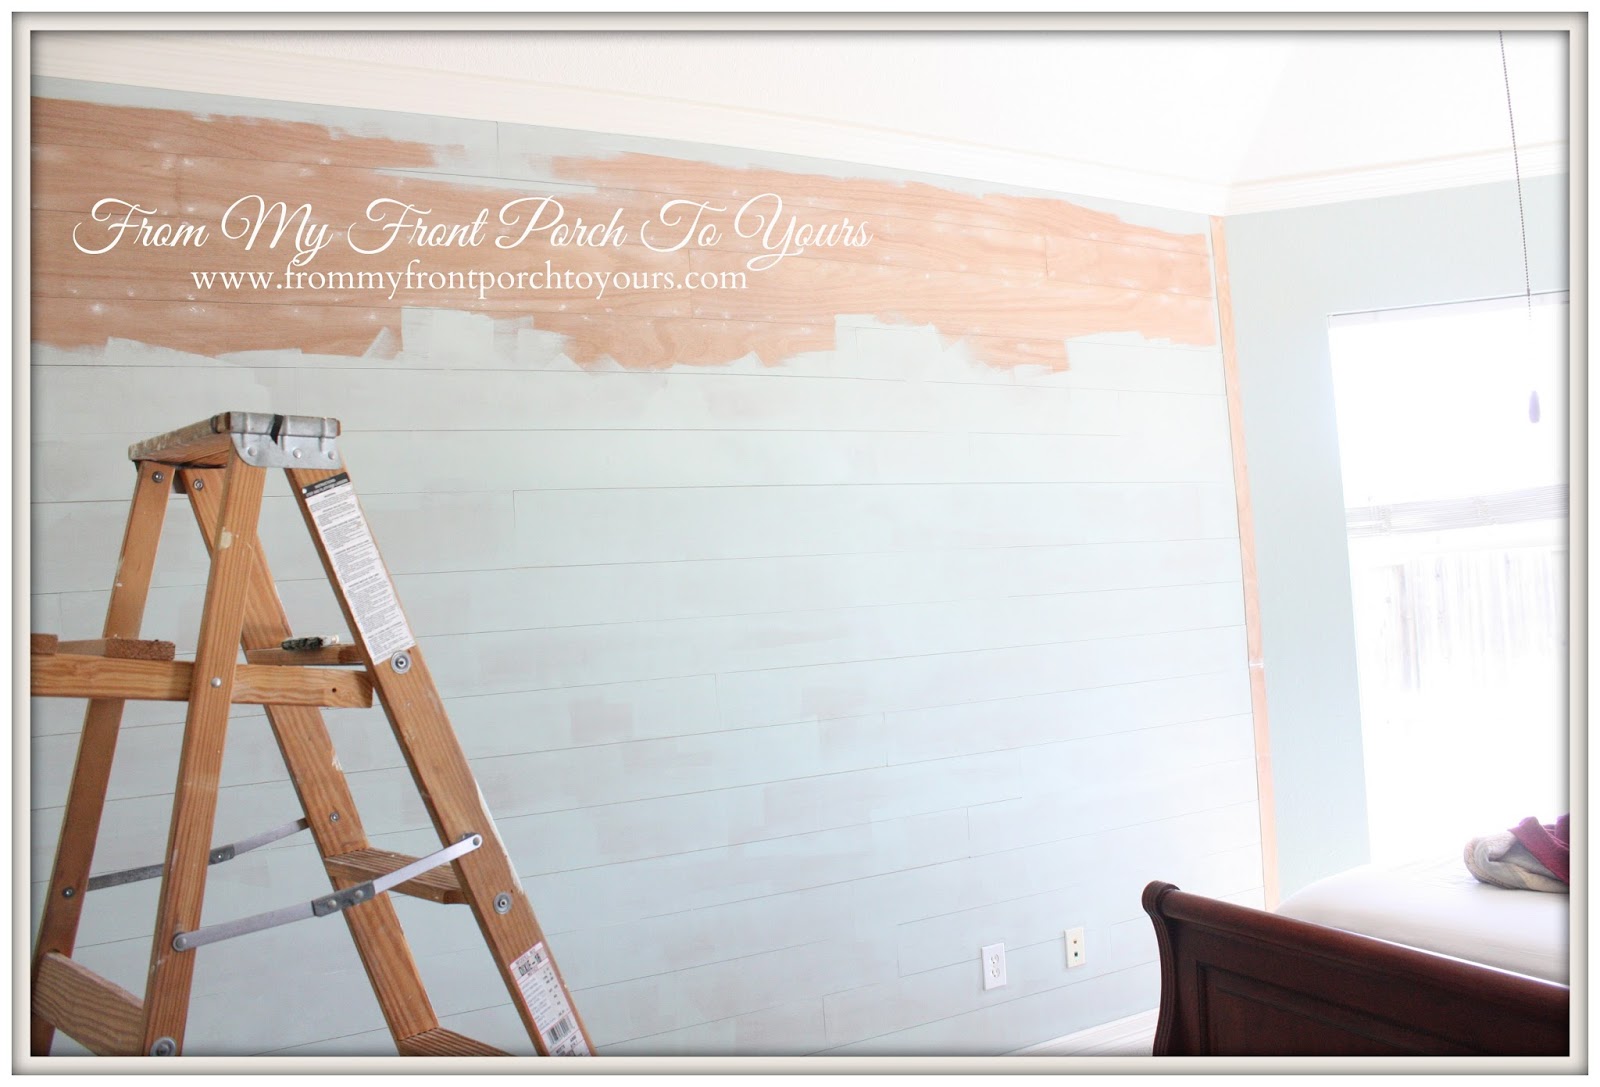 |
| Painting went fairly smoothly. I did learn that you always want to paint the wall behind your planks the same color you are planning on painting your planks in this case SW 6211 Rainwashed. I figured I would save time and paint by not doing it and had to go back with a little artist brush and paint in between some of the planks. Paint still saved but certainly not time. It took approximately two coats to fully cover the planks with no primer applied. If you do not want to risk it then I would apply primer first and then paint. |
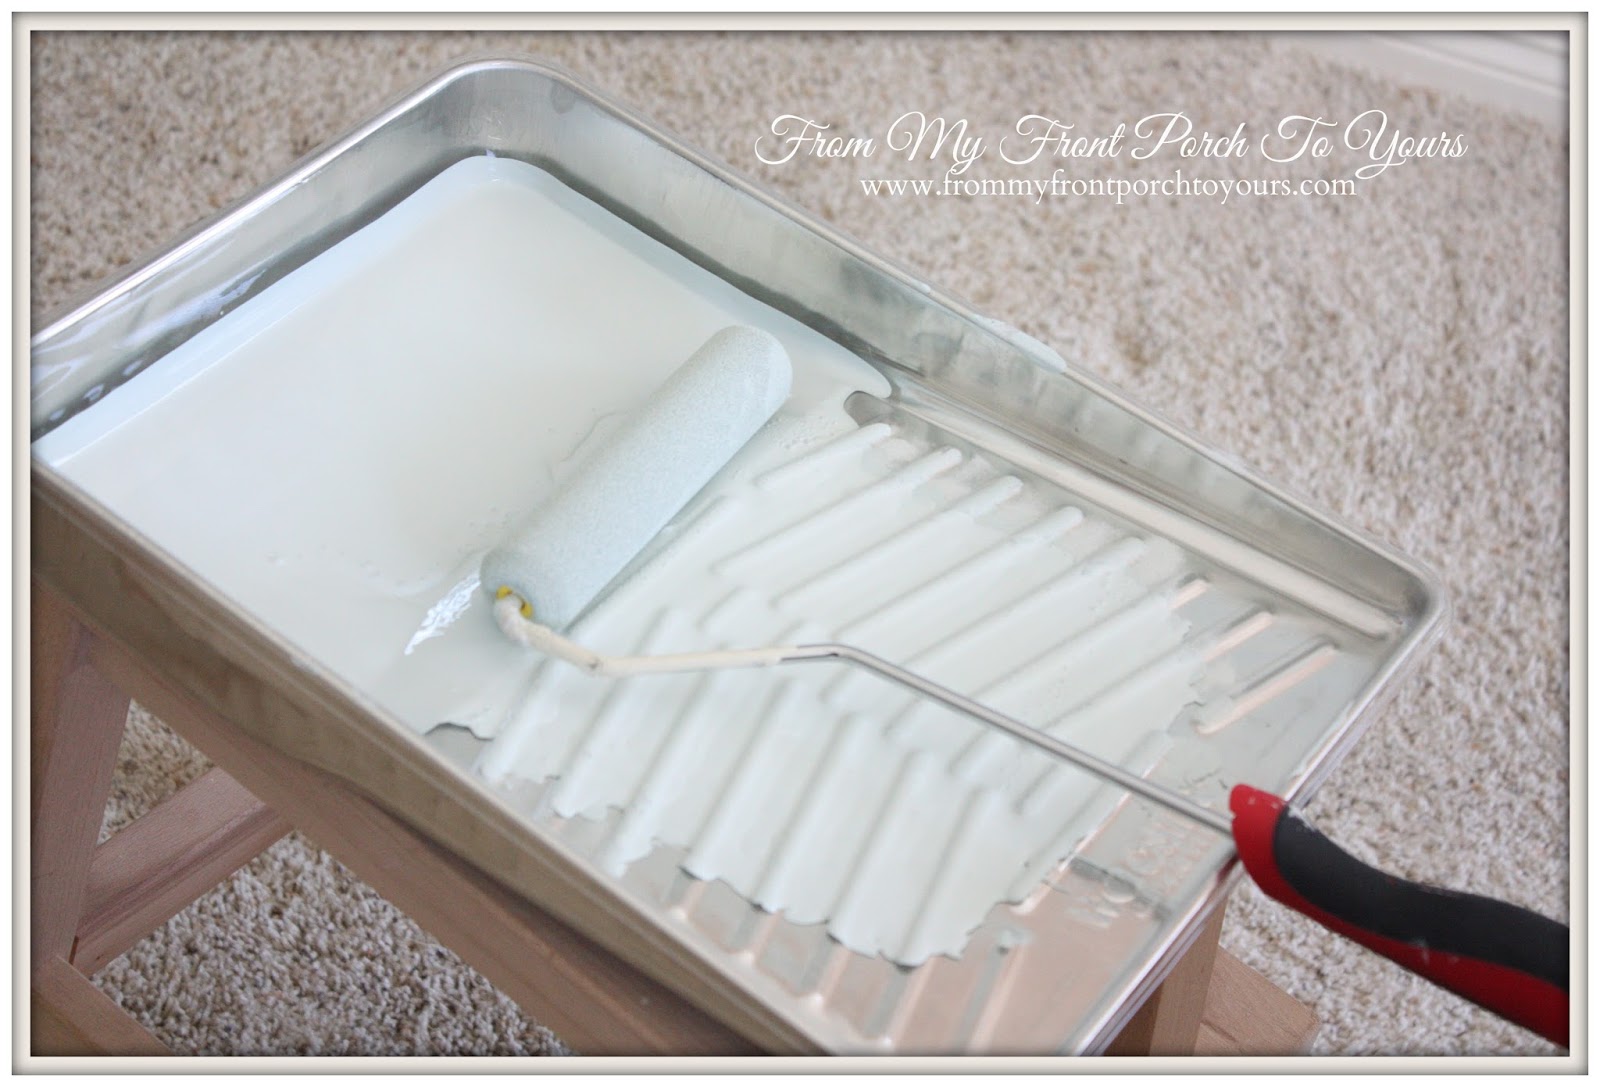 |
| The best thing to paint planks with I found is a foam roller. The paint goes on smoothly with no brush strokes! |
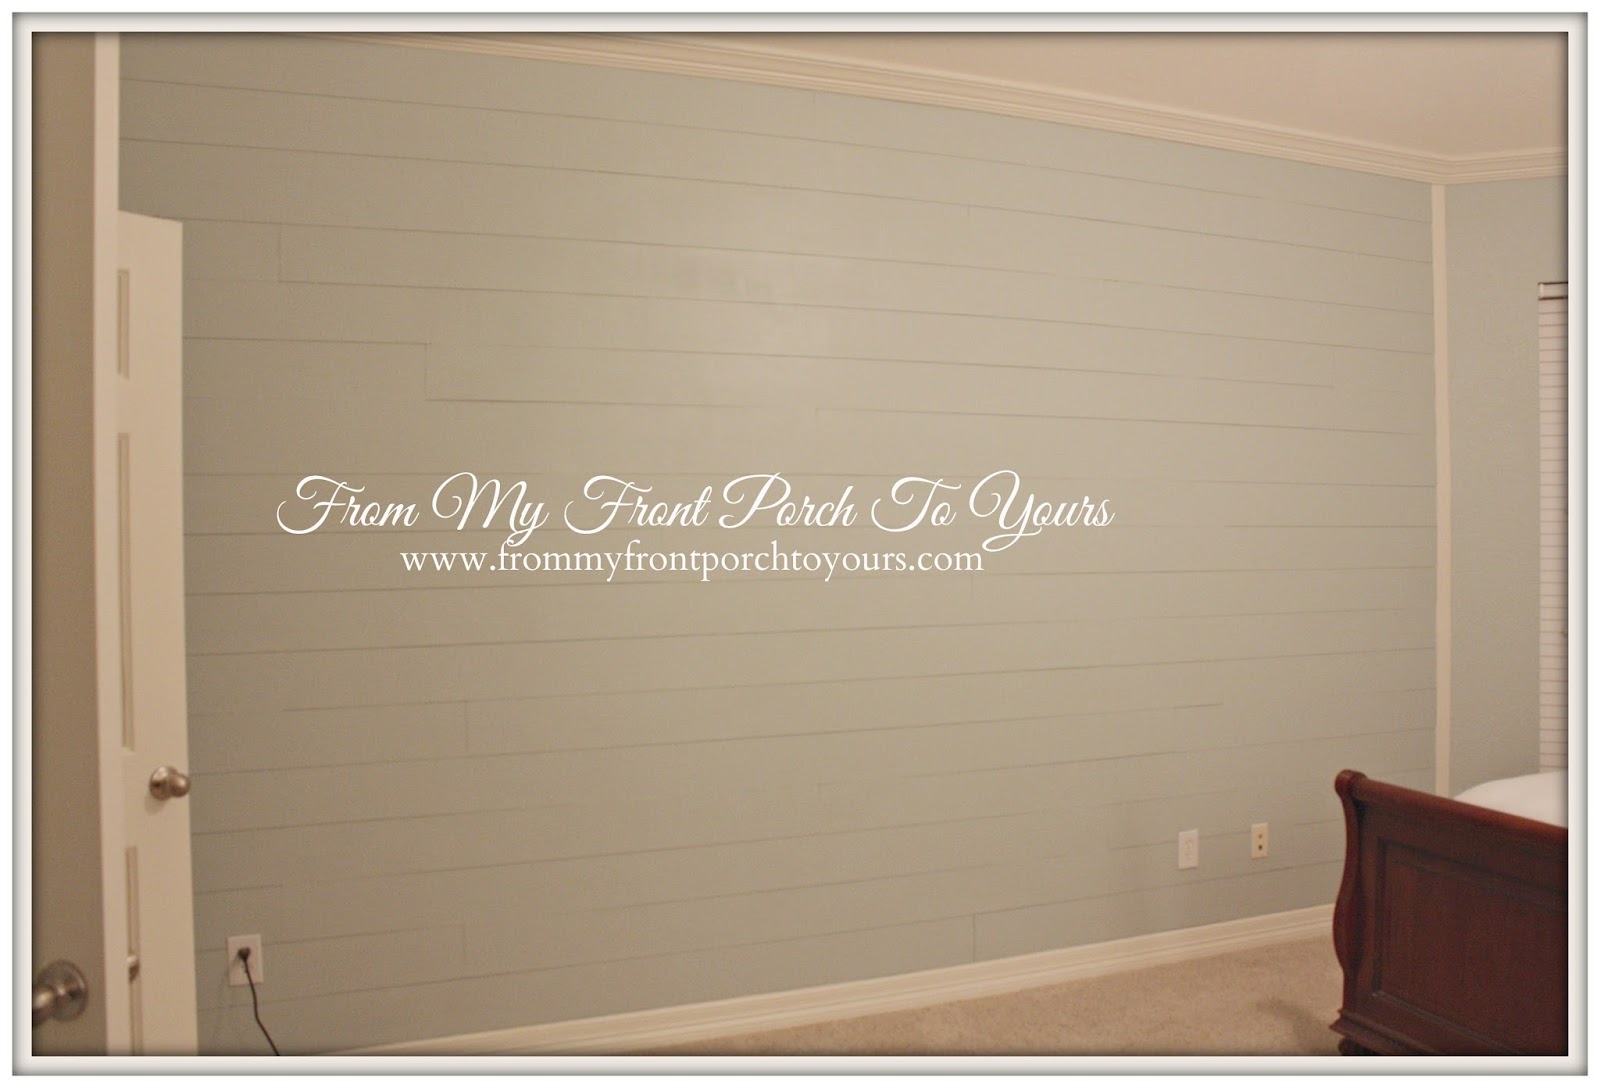 |
| This project took two days to complete and I could not be happier! It makes the entire room. Now all that is left to our master bedroom makeover is decorating. Stay tuned!:) |
Sharing over at:
Monday, May 12, 2014
Master Bedroom Makeover: SHERWIN-WILLIAMS HARMONY® PAINT
| ***This post is brought to you by Sherwin-Williams & BlogHer.***
I can not tell you how excited I was a few weeks back to learn that I had been chosen by BlogHer & Sherwin-Williams to participate along with 17 other bloggers in making over a space in our home! The decision of what space to transform was a very easy one for me since I had already been brain storming on ideas for our master bedroom.
If you are anything like me it takes you forever to decide on a paint color for a room.
 |
About four years ago after painting more than several swatches of color on our master bedroom walls, I finally decided on a color for this space.
|
 |
I only ended up deciding on it because I found it in the Oops section at our local hardware store.
|
 |
I have no idea what the color was even called. As you can see it was a very neutral color, so neutral in fact that Mr. Front Porch asked me why I even bothered.
|
 |
Unfortunately, I never fully completed painting our master bedroom. I had to stop and wait for Mr. Front Porch to come home from work since some areas were far too high to do on my own.
|
 |
Since then Mr. Front Porch and I have gotten side tracked by other projects around the house and time just has just flown by. Here we are four years later with half-painted walls and my desire to change the entire look of the space. The first task at hand for this makeover was to choose a new paint color.
|
 |
Sherwin-Williams has various color selection tools on their site to utilize in helping you with your paint color selections. I chose to use their Color Visualizer where you can picture it before you paint it. The powerful Color Visualizer will turn your computer into a virtual design studio.
With the Color Visualizer you are able to download your own picture or pick from one of their many scenes.
|
 |
Since I want to redo our bedroom I picked one of their bedroom scenes to play around with. After you select your scene you can then choose what paint colors you would like to paint with.
|
 |
The first selection I made was SW 0031 Dutch Tile Blue for the walls. Looks good, but I decided I wanted to see what the ceiling would look like painted even though I have always been a white ceiling kind of gal.
|
 |
For the ceiling I chose SW 6164 Svelte Sage, which I have used in our home already and love. What a difference a painted ceiling makes! It totally adds the wow factor to this space.
|
 |
You can spend hours playing around with the Color Visualizer tool, but I needed to get down to business. I downloaded a pic of our actual master bedroom and plugged in some of the colors I was considering using.
|
 |
First up was SW 7651 Front Porch. I was looking for a color outside my norm and well, Front Porch just called out my name! ;) Not quite what I am looking for though.
|
 |
Next up I decided to be a bit more bold with my selection and tried out SW 0038 Library Pewter. Awesome color, but I am not brave enough to go that dark. After several more color options I was having a hard time picking out a color knowing that I was changing out our bedding. The hunt was on for our new bedding in hopes it would make my wall color selection easier.
|
 |
Here is what I have come up with for our space! I love anything that has to do with buffalo check and toile, so the bedding selection was fairly easy. I ordered the new bedskirt plus a white quilt. I am having some euro shams made from the toile fabric by one of my blogging pals, Sonya.The buffalo check fabric will either come in as curtains or maybe as a duvet at the end of the bed.
|
 |
Now with the fabric choices made I was ready to make my paint selection and instead of painting a ton of swatches on the walls like I normally do, I turned to the Color Visualizer once again and punched in a color I already have used in our home on our fireplace, SW 6211 Rainwashed.
|
 |
SW 6211 Rainwashed it is. Sherwin-Williams asked me to try out their Harmony® Interior Acrylic Latex Paint for this project. I was very pleased to learn the many benefits of the Harmony® Paint line. It is a zero VOC formula that helps reduce common indoor odors like those from your pets, cooking and smoke to help rooms stay fresher, longer. And Harmony contains formaldehyde-eliminating technology that helps reduce VOCs from potential sources like carpet insulation and fabrics. It also gives your walls a washable, durable finish. This acrylic paint is GreenGuard Indoor Air Quality Certified® and GreenGuard Certified for Children and Schools.
|
 |
I can hardly wait to get our entire space painted and share it with you all!
Now how would you like to win a $50 Sherwin-Williams gift card to help in your space makeover? All you have to do is leave a comment on this post telling me what room you would like to redo if you were to win. It is that easy!
To stay up to date with Sherwin-Williams promotions, like their amazing 30% off coupons they have from time to time, be sure to Like them on FaceBook and follow along on Pinterest.
Sweepstakes Rules:
No duplicate comments.
You may receive (2) total entries by selecting from the following entry methods:
1. Leave a comment in response to the sweepstakes prompt on this post
2. Tweet (public message) about this promotion; including exactly the following unique term in your tweet message: “#SweepstakesEntry”; and leave the URL to that tweet in a comment on this post
3. Blog about this promotion, including a disclosure that you are receiving a sweepstakes entry in exchange for writing the blog post, and leave the URL to that post in a comment on this post
4. For those with no Twitter or blog, read the official rules to learn about an alternate form of entry.
This giveaway is open to US Residents age 18 or older. Winners will be selected via random draw, and will be notified by e-mail. The notification email will come directly from BlogHer via the sweeps@blogher email address. You will have 72 hours to respond; otherwise a new winner will be selected.
The Official Rules are available here.
This sweepstakes runs from 5/12/2014-6/1/2014.
Be sure to visit the Sherwin-Williams brand page on BlogHer.com where you can read other bloggers’ posts!
|
Subscribe to:
Posts (Atom)