So the painting is done in our master bedroom. If you missed all the BEFORE pics you can click HERE and also enter to win a $50 Sherwin Williams gift card to go towards redoing a space in your home.  |
| I had big plans for this wall from the very beginning. It just took a little while to talk Mr. Front Porch into the idea. I have ALWAYS loved the look of planked walls and knew I wanted some in our home. I figure the master bedroom was the perfect space to start! |
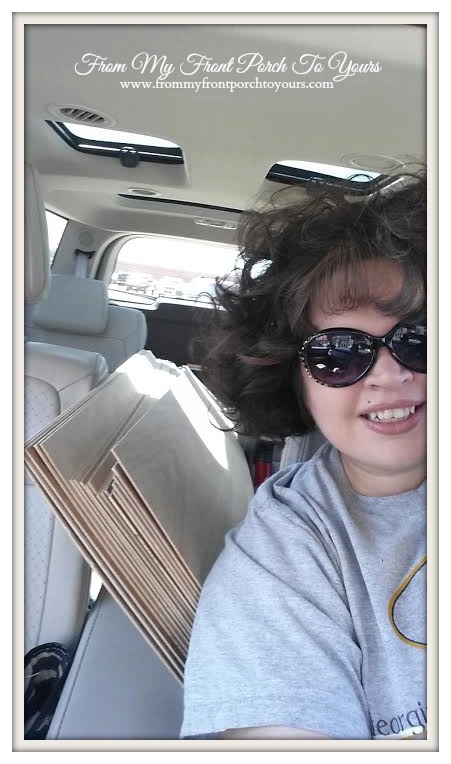 |
| Off to HomeDepot I went. |
 |
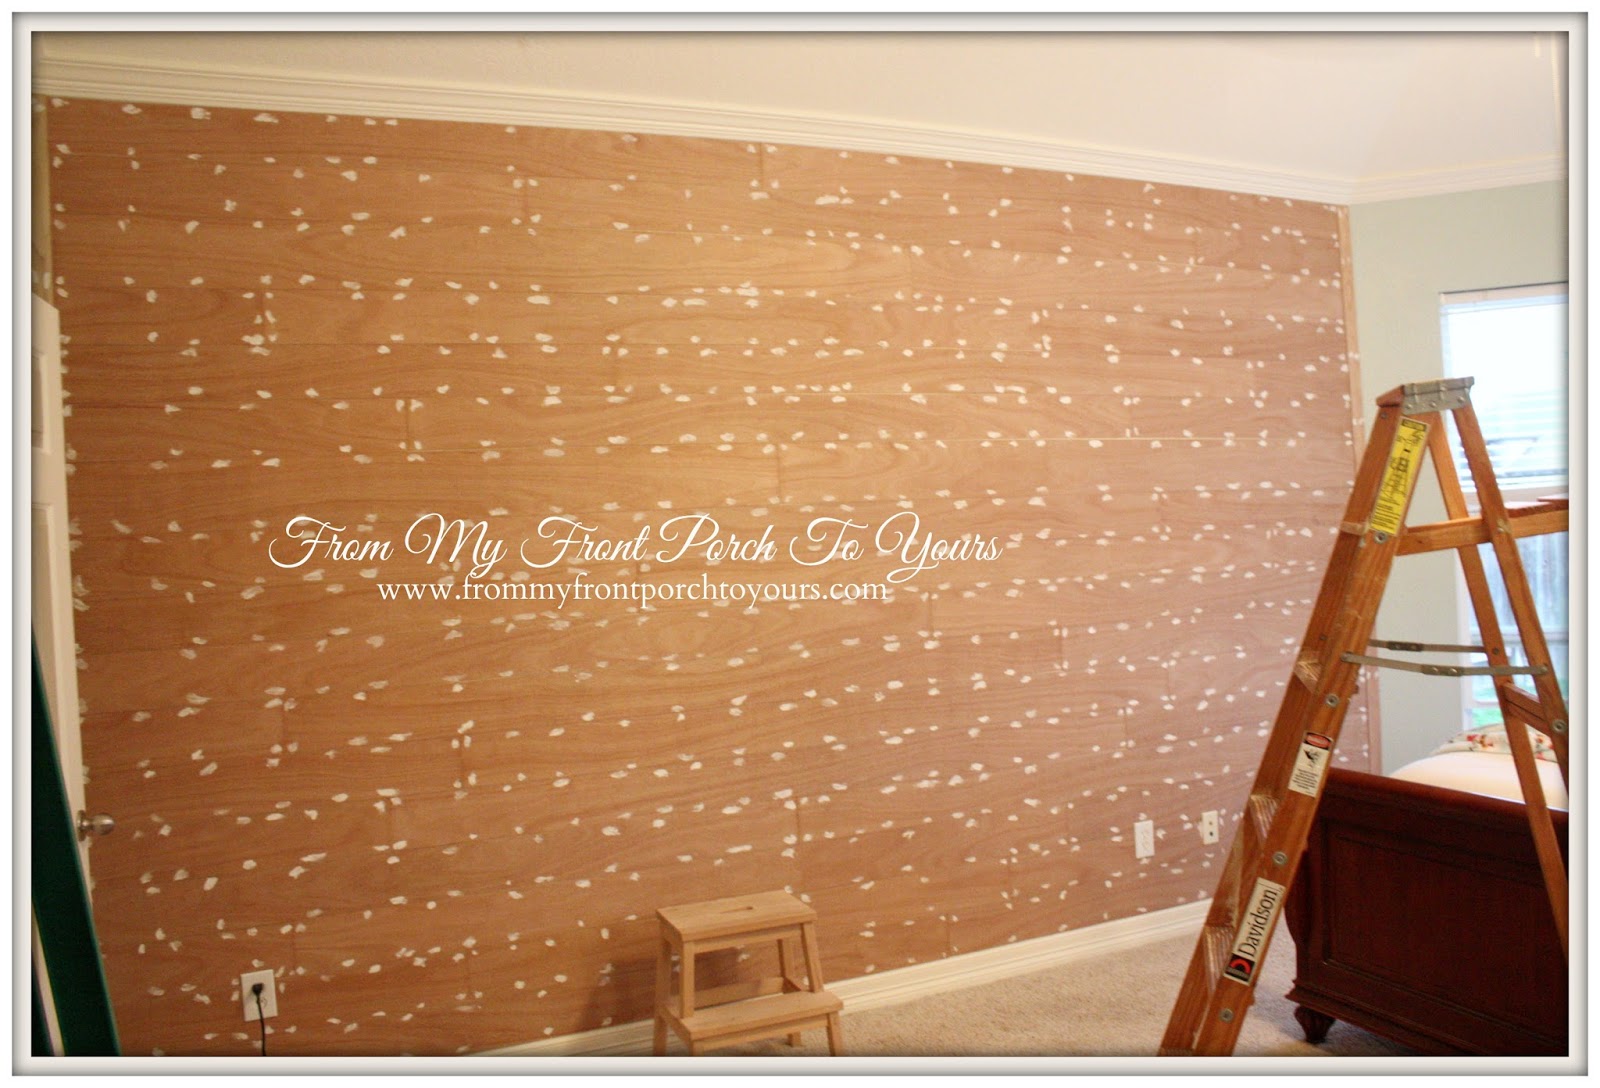
| I purchased 5 of the 2.7mm 4x8 Utility Panels and had them cut down for me into 5 inch strips. These were far less expensive than the Birch Plywood that I had purchased for our planked fireplace. If I had it in the budget though I would have gone and used the Birch Plywood for this project as well. The Birch is more substantial and thus you do not have to worry about it peeling, splintering, or breaking which could all happen with the less expensive plywood. With that said in the end, which you will see in a moment, I LOVE how the project turned out and you can not tell what type of wood I used. |
 |
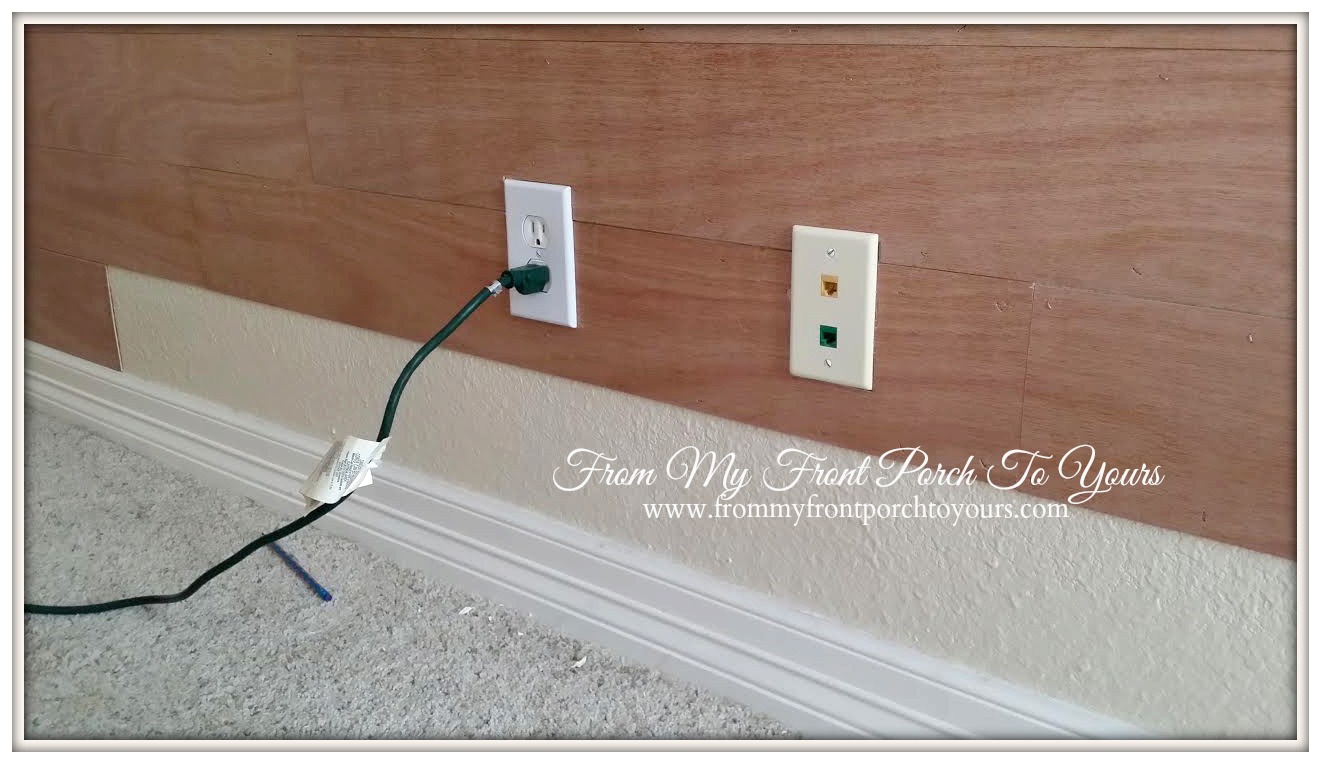
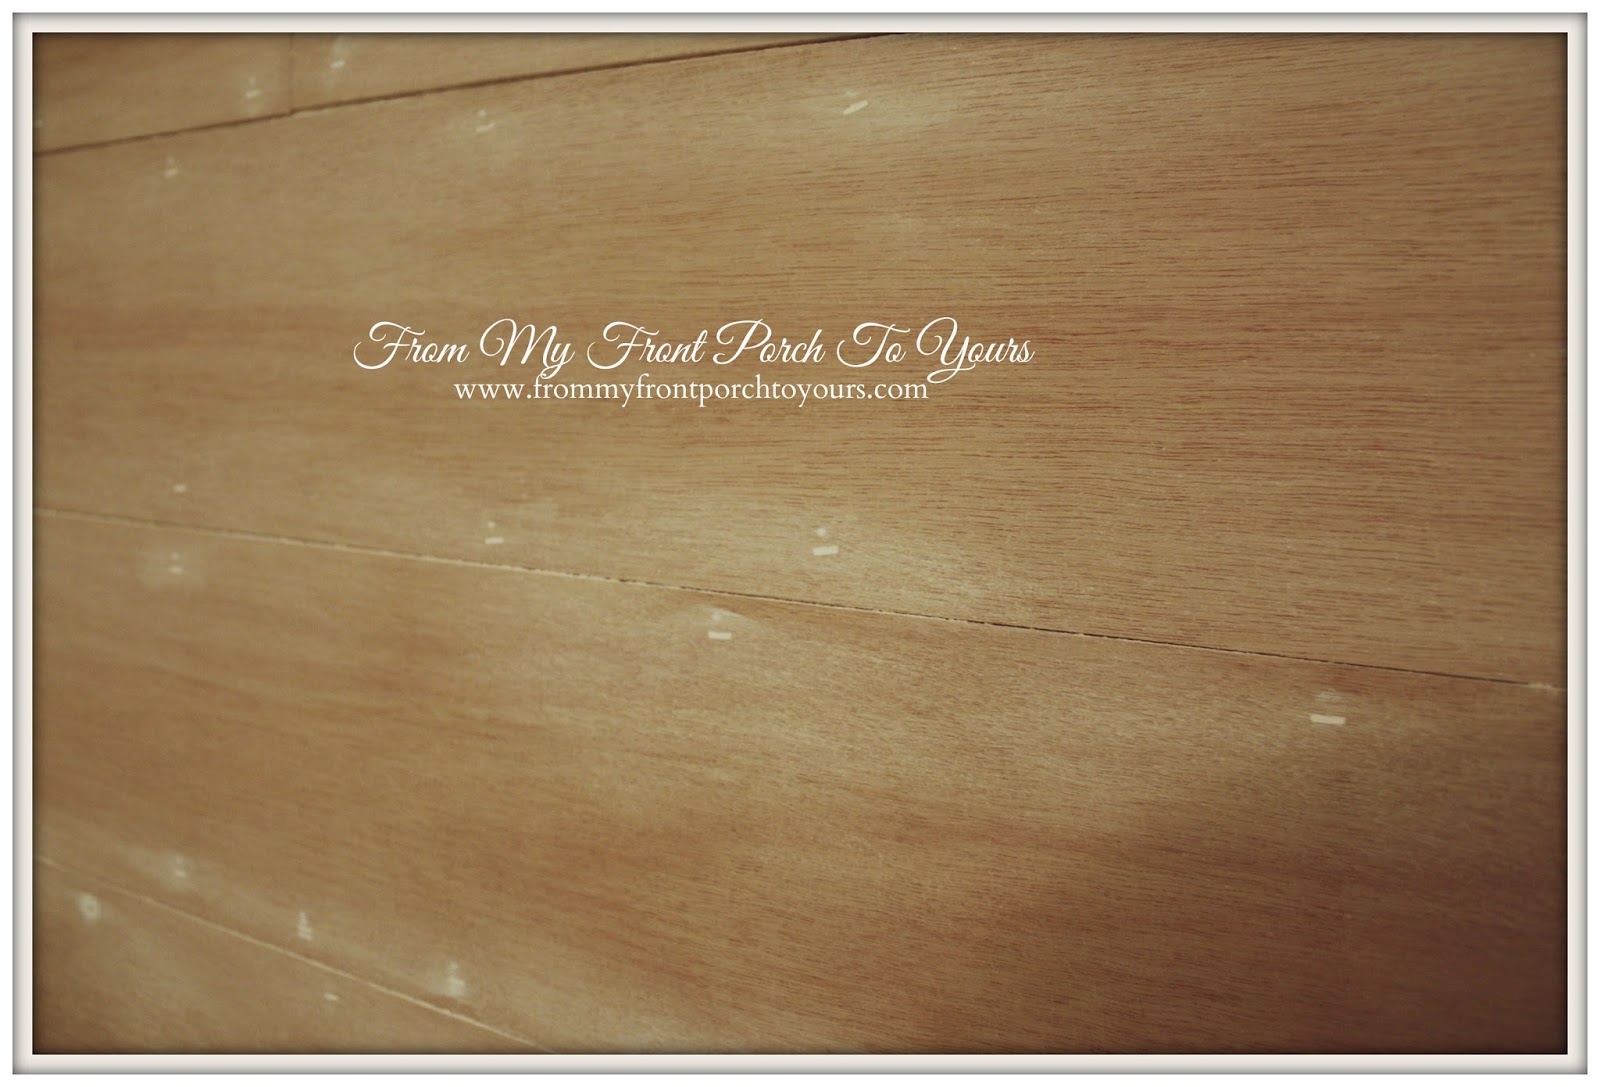
| After I sanded I vacuumed the entire wall to get all the filler dust in between the planks. |
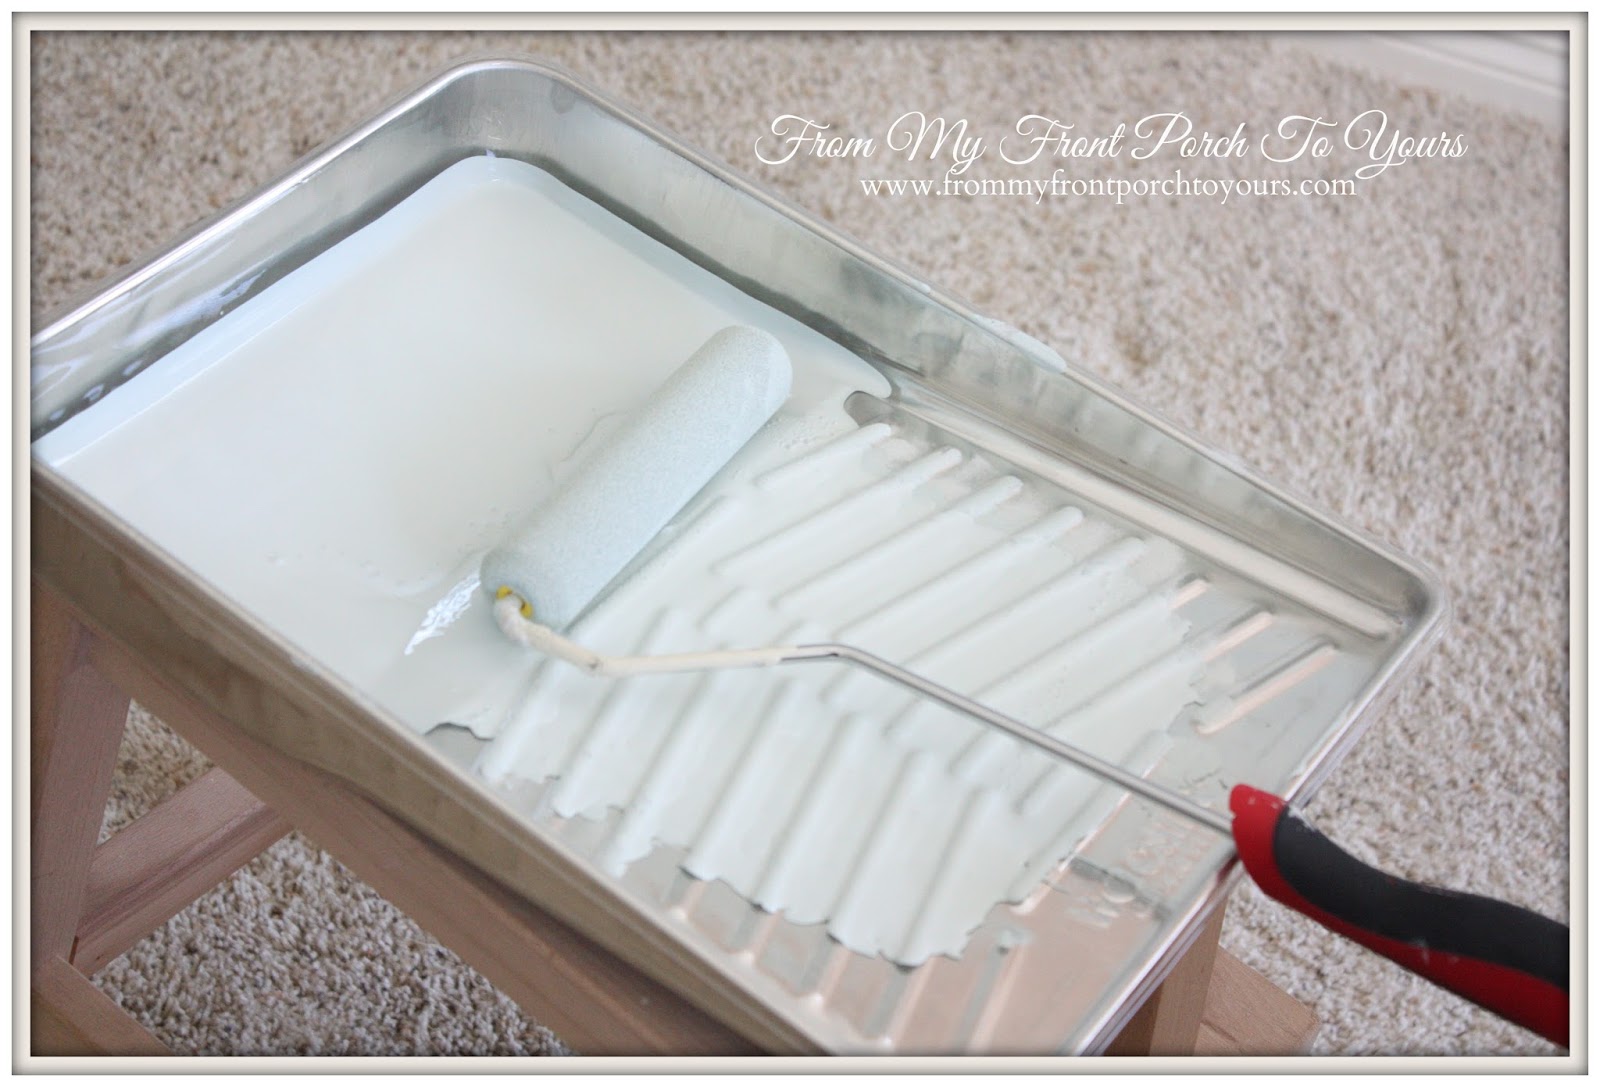 |
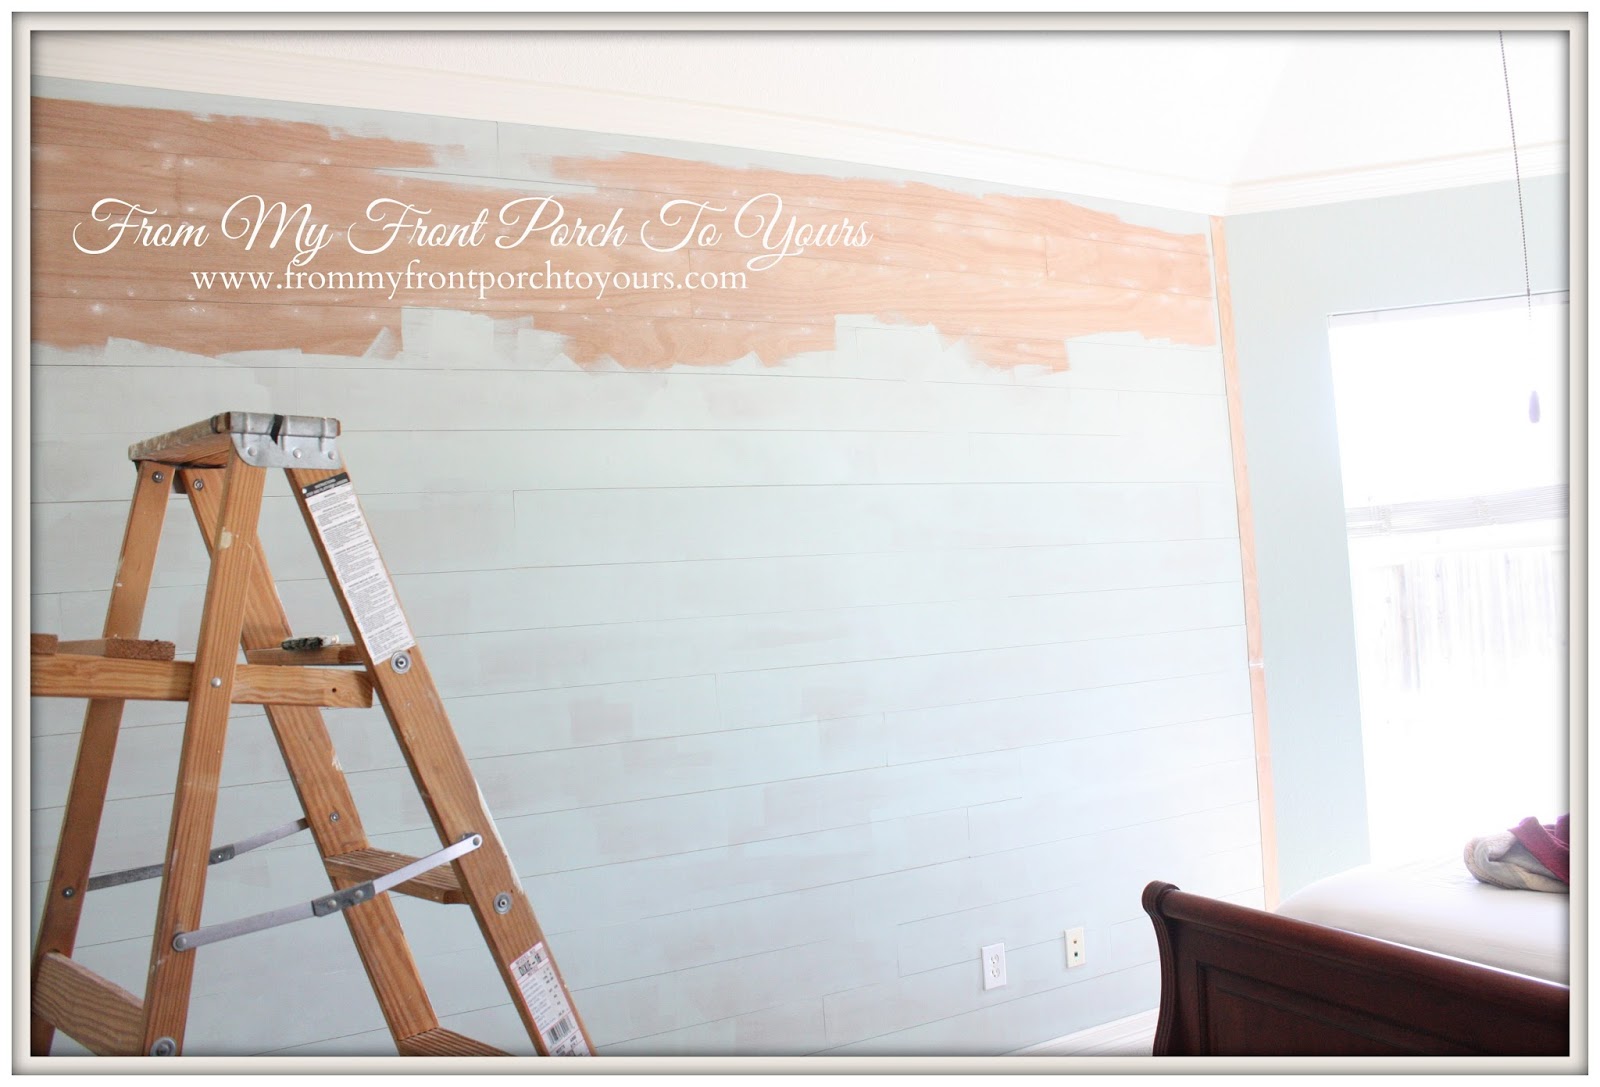
| The best thing to paint planks with I found is a foam roller. The paint goes on smoothly with no brush strokes! |
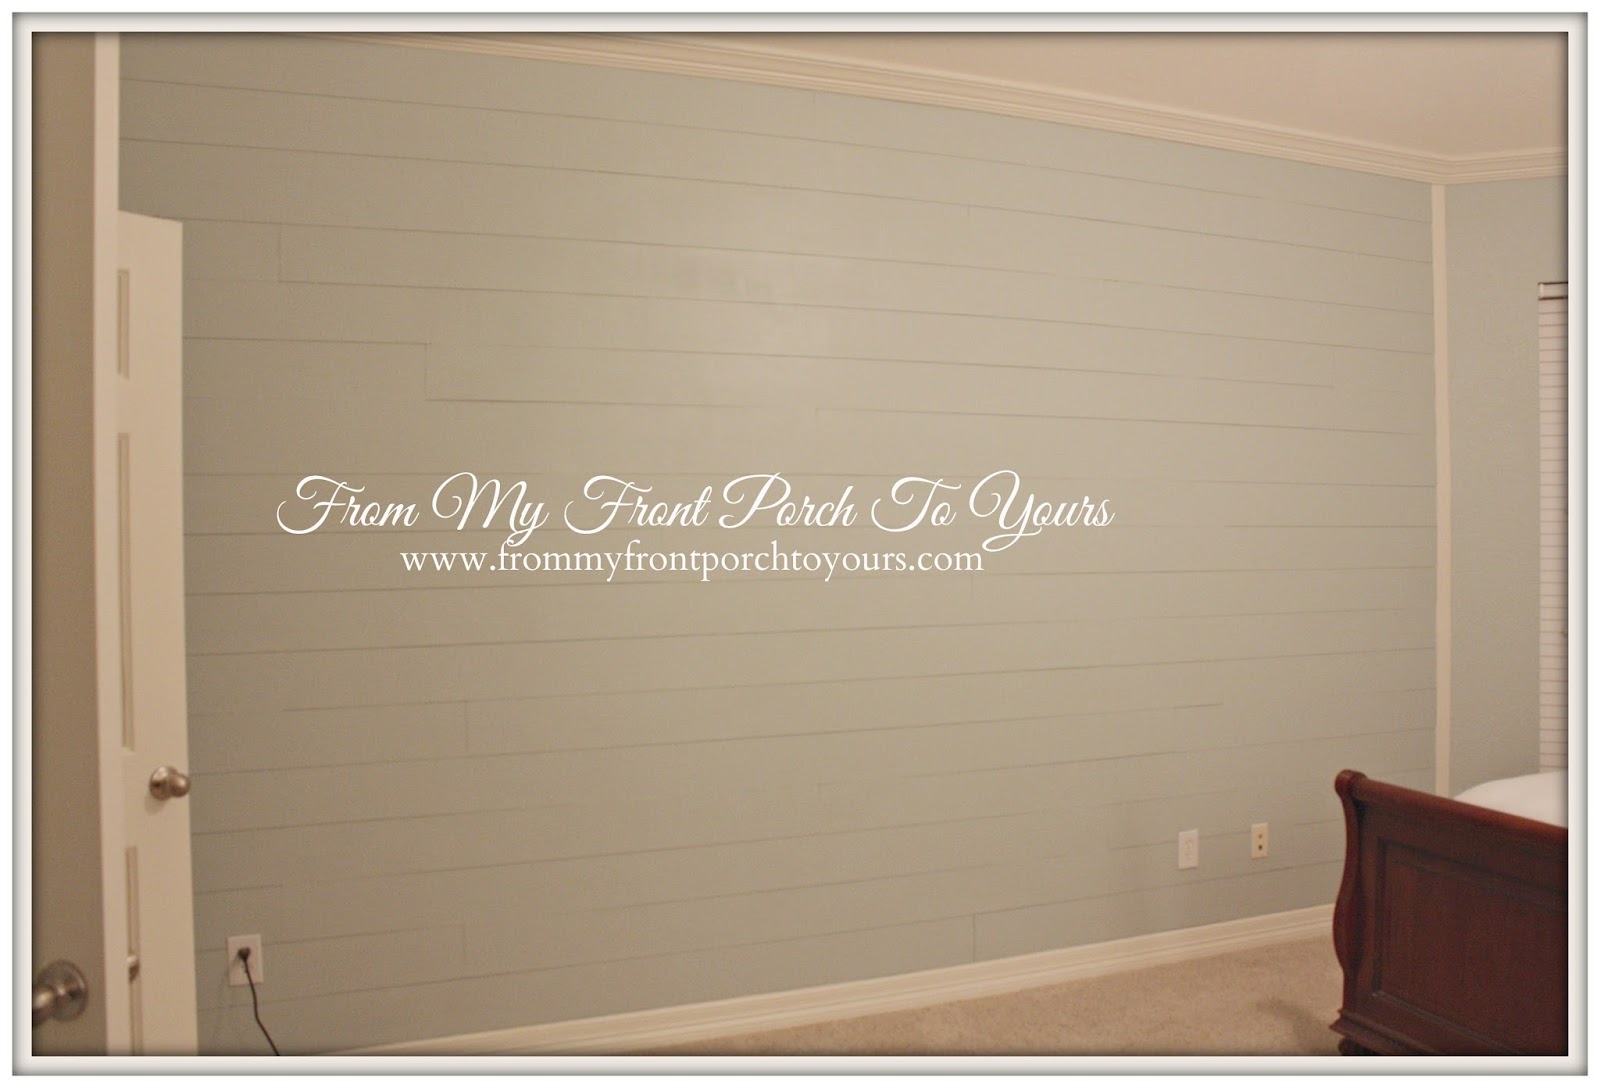 |
| This project took two days to complete and I could not be happier! It makes the entire room. Now all that is left to our master bedroom makeover is decorating. Stay tuned!:) |
Sharing over at:


Wow, that is a very cool look! It really transforms the whole look of the room...love it...and the color! I can't wait to see the final reveal! :)
ReplyDeleteWOW!!!! Now that is a statement wall Pamela. Luv it. Can't wait for you to reveal the entire room.
ReplyDeleteLaughing... can't believe he slept through the installation. Sound sleeper.
Hugs, Gee
Pamela that wall looks AMAZING!! I love it!! Such a pretty paint color.
ReplyDeleteI have a room where I've wanted to do this project since the day we moved in. You make it look so easy and so pretty! Thanks for showing your steps. This is on my list!!
ReplyDeletePamela, when you had HD cut the wood for you, were they careful to cut it straight so that wasn't a worry?
ReplyDeleteAbsolutely stunning!
ReplyDeleteAwesome! We just did our powder room and I am loving it! And I love that Rainwashed color!
ReplyDeleteKelly
How fun! It looks great and I am looking forward to the whole room!
ReplyDeleteIT's AMAZING!!! I love it!!
ReplyDeleteThe wall is fabulous! Also, I love your hair and sunglasses look, pretty!
ReplyDeleteGigi @ Old World Patina
Love, love, Love !!
ReplyDeleteIt looks fabulous. I love it. What a great idea. Can't wait to see it all done.
ReplyDeleteAbsolutely gorgeous!
ReplyDeleteLove the wall, Pamela! The paint color is beautiful.
ReplyDeletexx,
Sherry
Wow, I love this Pamela! What a great idea! The color is so pretty! Love, love, love it!
ReplyDeleteYou don't need no stinking studs! LOL! Your new planked wall looks so great. I'm super impressed!
ReplyDeleteThat looks so beautiful! I can't wait to see the full reveal!
ReplyDeleteI love plank walls & yours look perfect. I think we used the same material when we did ours and it was very, very easy to work with.
ReplyDeleteAngela @ Number Fifty-Three
WOW!
ReplyDeleteWhat fun - looks awesome. I am not sure I'd have the nerve, but I sure love it. I need to step outside the box and plain walls I live around one of these days. Well done, ma'am!!
I love the cozy feel your room has now with the planked wall. I have a rather long wall in my living room I have been dying to put wood on in some way, Just waiting to get my hubby on board with the idea. I drop little hints here and there and plant the seed. Wouldn't it be great if they could see the vision as quickly as we can? Now I have a visual for him...thank you so much for sharing!
ReplyDeleteXO Barbara
so pretty! I love that color, I need to re-do my bedroom too
ReplyDeletePamela, how GREAT is this??? So very charming and it adds so much character. Great idea of painting the wall behind the planks. That could have been a huge issue in the end. The little one sleeping is priceless. Wouldn't it be great to be able to get great sleep like a kid again for us adults, LOL!! Seriously, think about it.
ReplyDeleteCynthia
This is a really cool idea!
ReplyDeleteAnd to think . . . my Granddaddy grew up in a house with plank walls, and he thought it was terrible! How times change. I think it's so warm and totally hip!
Love this! Such a different way to do a plank wall...have yet to see a tutorial like this. We created a plank wall in our entrance way and I have been dying to do one in our master as well! Not sure I can convince my Mr. to do this again. So lovely!
ReplyDeleteWhat is that saying, "Moss does not grow under your feet"....when you get an idea you put it in motion and do it....the wall is beautiful !!!..and yes, it so added much charm to your room!...Fantastic job Pamela.
ReplyDeletegorgeous Pamela! I'm so impressed with your vision and creativity!!
ReplyDeleteWow! Can you say "overkill"? lol I like how you didn't leave any spaces between the planks. I don't know how you had the patience to fill in all those nail holes! We just completed this project in our home with 5 and 6 inch planks of luaun (also very thin and wavy) but thankfully didn't need all those nails or any adhesive. Our walls were in no way straight so we had to leave some space between ours, some more than in other spots since when we cut the sheet on the table saw hubby got the fence a bit crooked and so some of the boards are a bit crooked. Looks really nice even before it was painted! Enjoy the fruits of your hard labor.
ReplyDelete