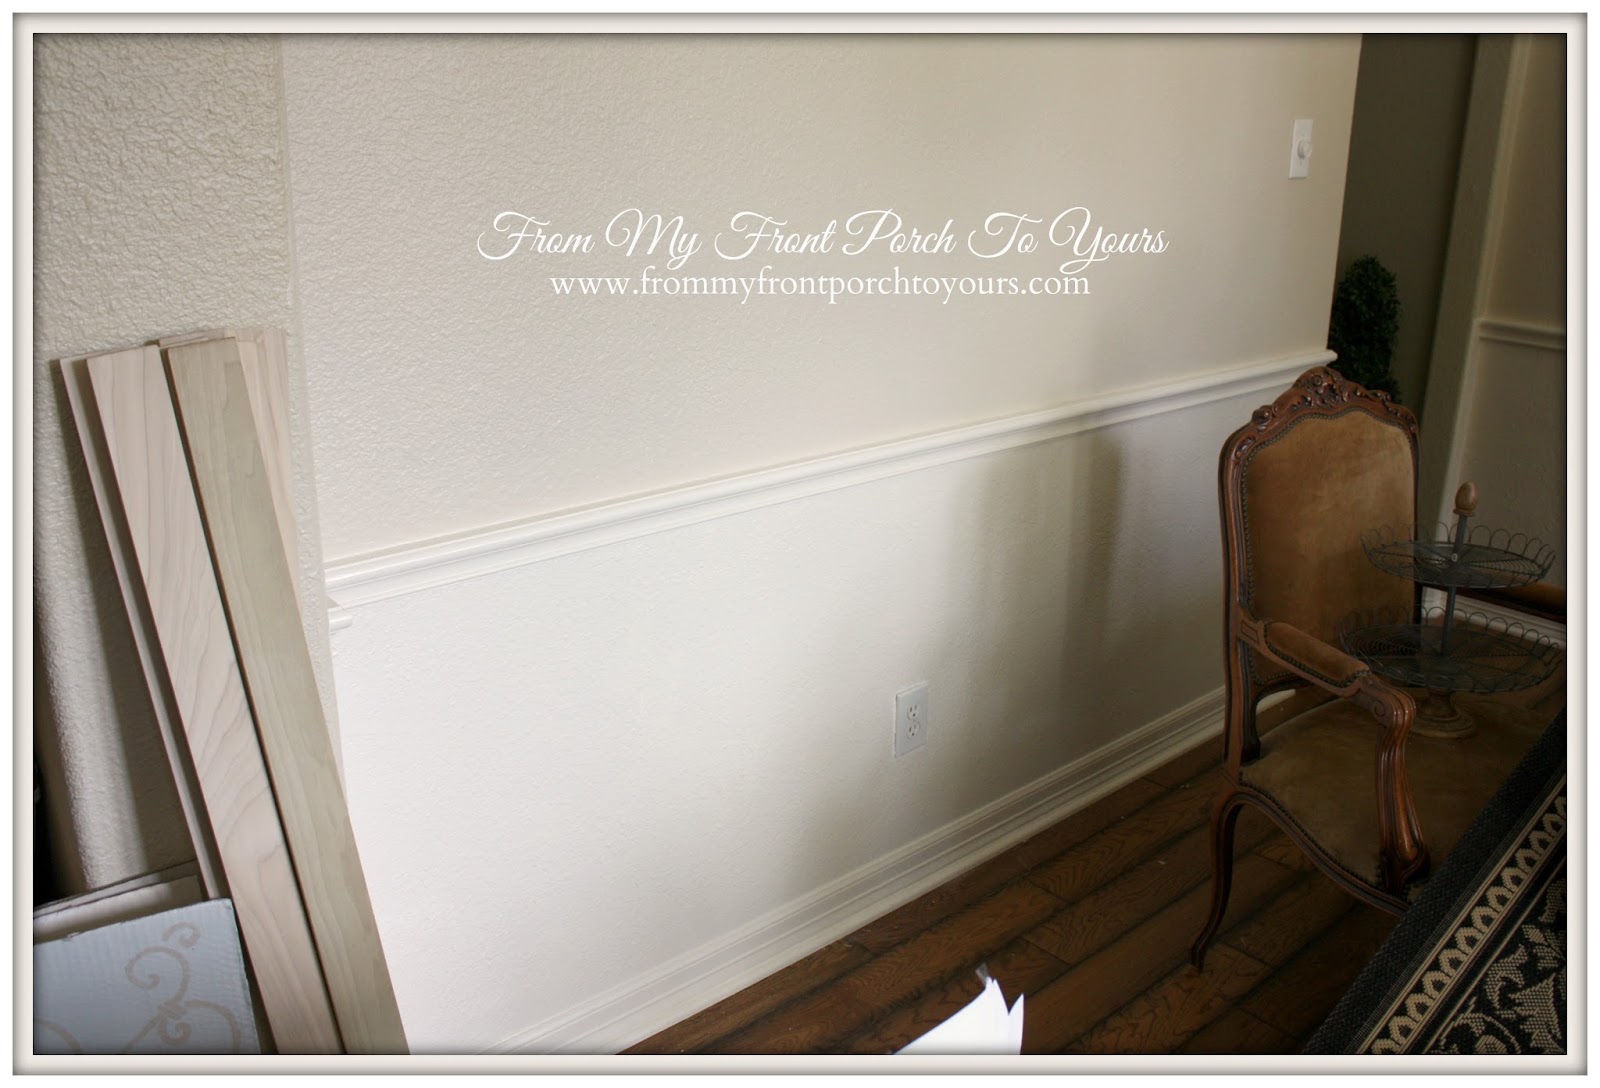
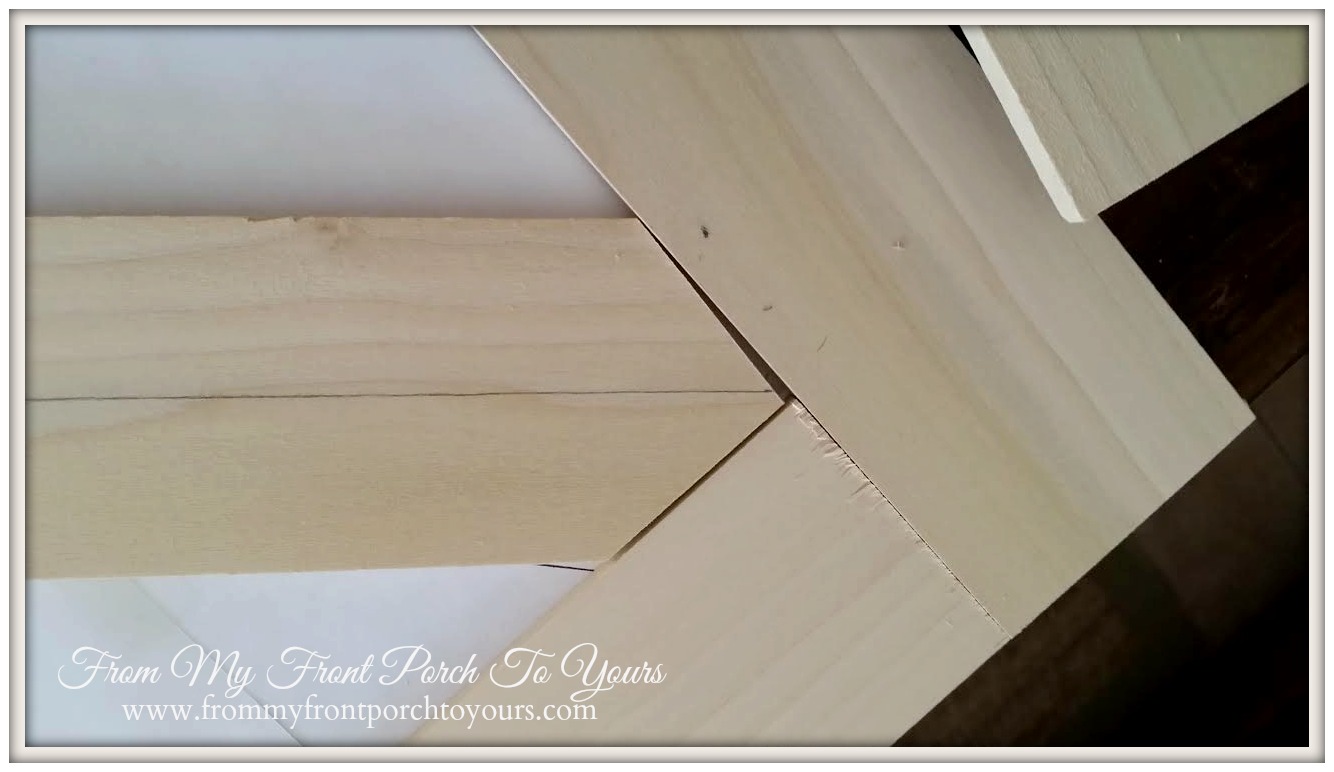
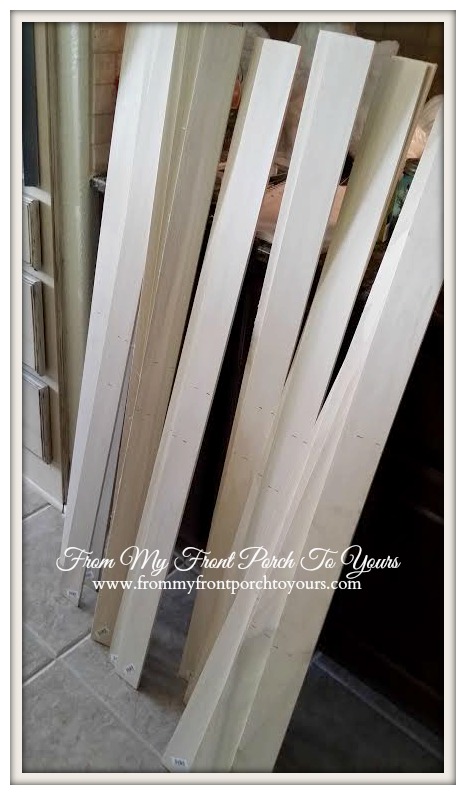
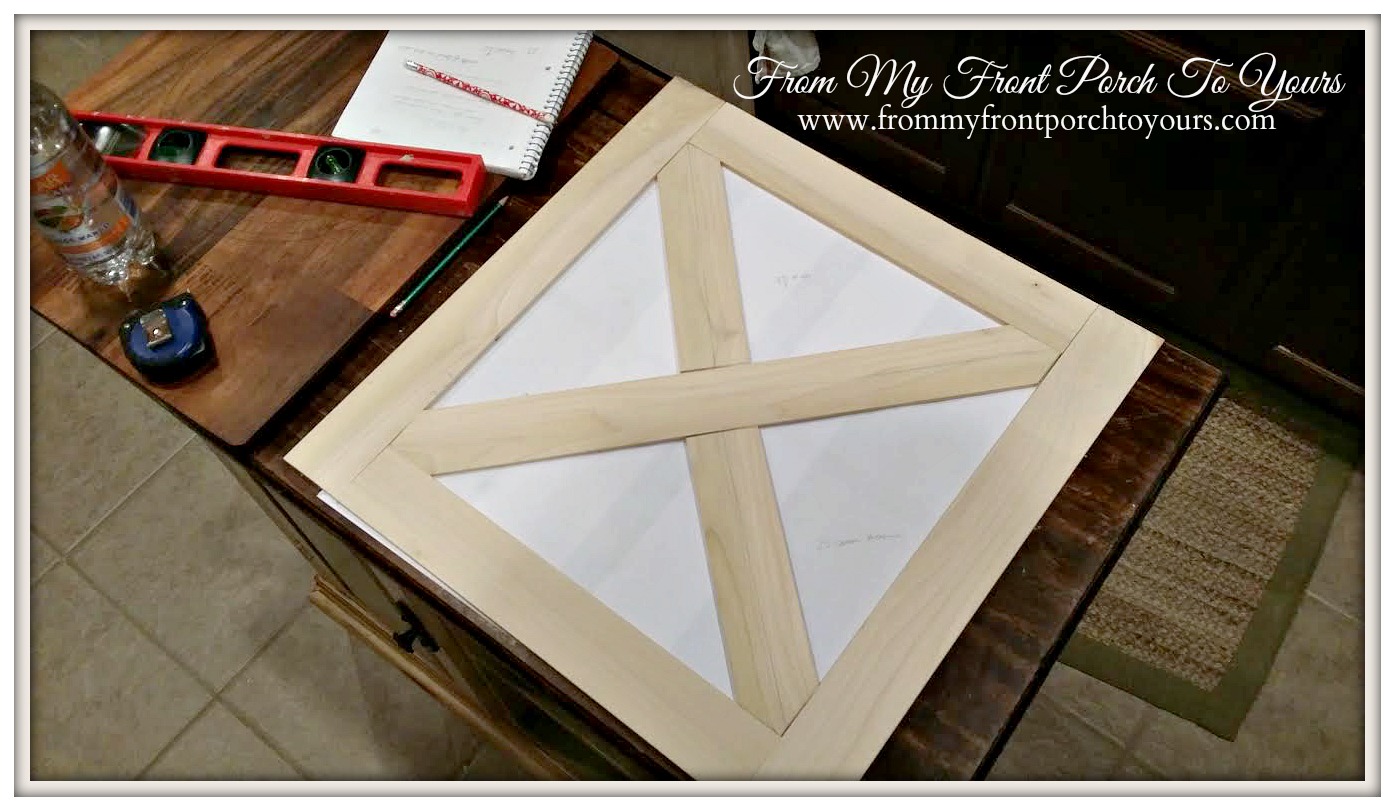
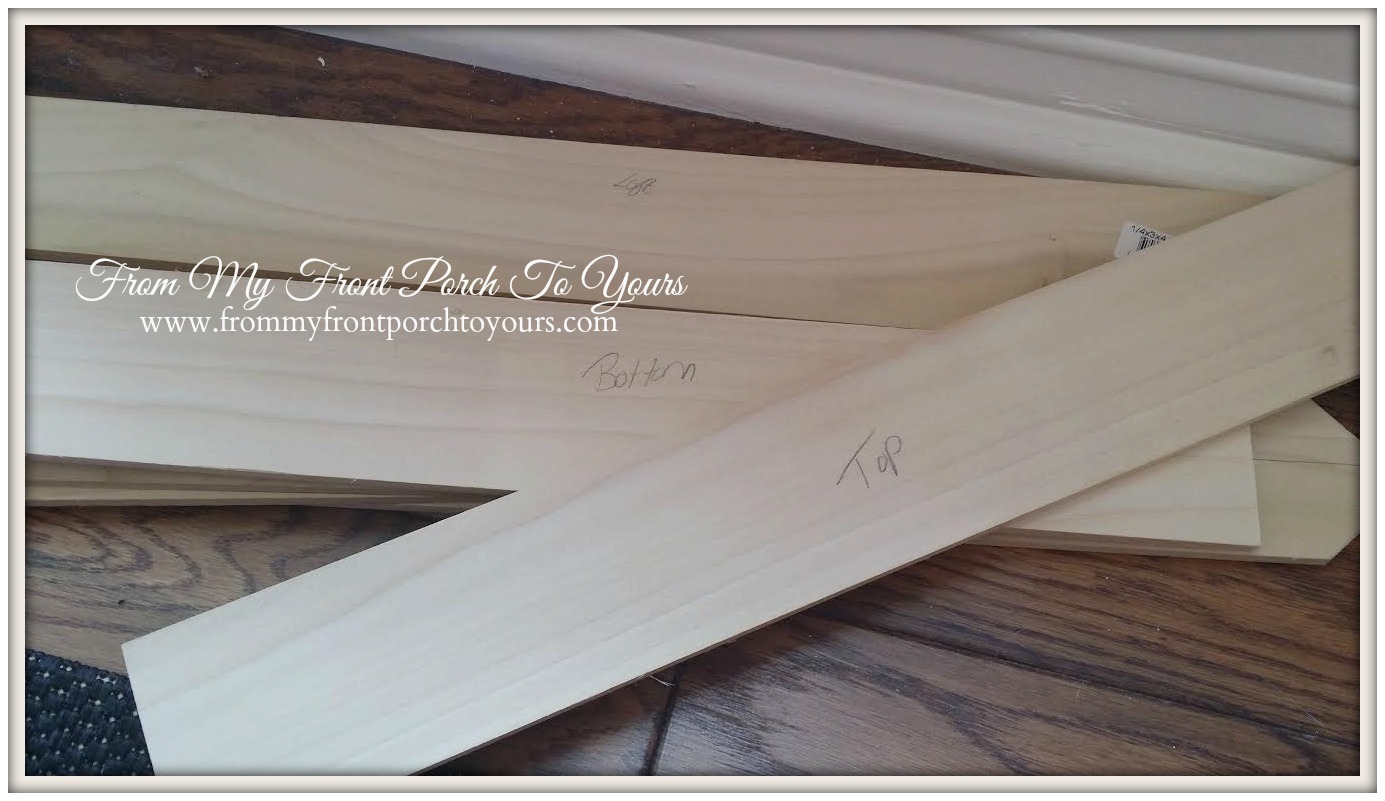
| To create the squares I used 1/4 3X4 Poplar boards. These you can purchase at Home Depot or Lowes. I chose Home Depot because they were $3.07 a board where as at Lowes they were over $4. I used approx 3 boards for each square. Because of this it took a few weeks before I had enough boards to complete the entire space. They do not keep a large amount of these boards on hand at one time. I am sure I probably could have asked them to order me what I needed but it gave me time to figure out exactly what I was doing.Now a VERY important part of this project is the fact that I had ZERO experience with wood working! That is right none what so ever so if I can accomplish this project on my own so can you. |







Awesome!! Thanks for sharing your projects!
ReplyDeleteWOW! I am really impressed! That turned out wonderful. I love it!
ReplyDeleteWow, Pamela ... looks amazing! You are quite talented with a saw! It gives your already fabulous dining room another layer of awesome character! Great job!
ReplyDeleteI am impressed! It looks awesome! Can I borrow your nail gun when I put up moulding in my breakfast room? jk ;)
ReplyDeleteImpressive Pamela--you did an amazing job and it looks FAB!
ReplyDeleteWow, Pamela! I am so impressed with your handywork. The wainscoting looks fantastic!
ReplyDeleteWOW!!! You are amazing with that saw Pamela. Hats off to you lady! LUV it!!! Farmhouse FAB indeed. Can't wait for the reveal.
ReplyDeleteBeautifully done Pamela...I love it!
ReplyDeleteThis made your wall look like a million bucks! Love it Pamela!
ReplyDeleteSuper wow. I am totally impressed. This looks amazing. Good for you and a fabulous tutorial too.
ReplyDeleteAwesome! And you make it look so easy! You did a great job!
ReplyDeleteLooks great, Pamela! You are so brave to tackle such a big project but you certainly pulled it off.
ReplyDeleteThis project came out great! Such a unique idea too add to a dining room wall.
ReplyDeleteDeb
Seeking Lavender Lane
Wow, Pamela, this looks great! Such a custom job...it adds so much depth to the wall! You should be quite proud of yourself!
ReplyDeleteIt turned out amazing!! I love it and I am super impressed with your skills!
ReplyDeleteWow, Pamela, you go girl!!
ReplyDeletePamela - Beautiful job! But how did you do the socket? You didn't say adn I noticed in all the pics, the socket went right thru the boards...elp?! It is lovely!
ReplyDeleteSara I measured the board where the socket was as if the socket was not there. Then once the board was cut to fit I took the plate and placed it on the board where it would fall and traced around it and cut. On two of my outlets the bottom half of the board is actually two pieces that were filled in to look like one. If you have a jigsaw and helping hands then you can probably cut it and leave it as one piece but that wasn't happening with just me. The sockets were the hardest part but thankfully I only had difficulty with two out of the four. One fell outside of the design and then another was just a simple cut.
DeleteThis is very impressive Pamela! It adds so much character to your dining room. Can't wait to see what else you have in store for this room!
ReplyDeleteI am so impressed! It looks great. Mad skillz, girl.
ReplyDeleteLooks so fabulous Pamela! What a difference it makes to your dining room. I just used those poplar boards for the shelves in the medicine cabinet we are making for our mountain cottage.
ReplyDeleteThis looks wonderful, Pamela, and it adds such a truly unique touch to your home. Love it!
ReplyDeleteTurned out phenomenal!!!! Way to go PAM! Look at you miss woodworking woman :)))
ReplyDeleteThis is so great! Love it!!! Thanks for sharing!
ReplyDeleteHugs,
Vesna
Wow this looks amazing!
ReplyDeleteI love moldings of any kind but this has got to be my favorite!
You've got me rethinking my plans for the upcoming kitchen reno!
This really turned out well. It's hard to believe you had no prior experience and I know your husband must be pleased after all.
ReplyDeleteWow Pamela, you did a fabulous job especially for someone with no experience. It looks so professionally done. You did a wonderful a job. I love the way it turned out. You probably also saved yourself a huge chunk of money as well doing it yourself!
ReplyDeleteLook at you! Way to go girl, and thank you for the tutorial. I think I could do this! Now, I just have to find a new home to do it in.
ReplyDeleteBlessings,
Patti
Wow! Kudos to you for taking matters into your own hands and getting the wainscoting done! It really looks great - you must be thrilled with how it turned out AND that you did it all yourself! :-)
ReplyDeleteFirst I just want to say you are a RoCkStAr!!! yes you are!! It looks amazing!!
ReplyDeleteWow! Its gorgeous! I look forward to seeing you at My Dream Canvas.
ReplyDeleteFabulous post and fabulous wall treatment not to mention a great tutorial.
ReplyDeleteTraci
That looks great!! Love the Barn X detail on just about anything!
ReplyDeleteLove, love that look and you did an over the top amazing job!!!
ReplyDeleteGotta love a girl who knows what she wants and is handy with the power tools! I love your comment about skipping glue, because you may want to take it down someday! Ha! My husband just cringes when I say things like that, because you know it's true! ;)
ReplyDeletePamela,
ReplyDeleteThis is just awesome. I love this. Great job. Looks beautiful.
Kris
You've got to be kidding me !!! This is absolutely gorgeous Pamela ( I can't even cut a corner round - pathetic )
ReplyDeleteLOVE !!!
XOXO
You always amaze me with your fabulous ideas! I love the Crossbuck trim! Your dining room looks wonderful! You have certainly added another layer farmhouse charm to this room!
ReplyDeleteHi Pamela:
ReplyDeleteThis looks wonderful! Great project!
You did this yourself!!!!! You pat yourself on the back for you and me both, that looks awesome! Pinned.
ReplyDeletePamela,
ReplyDeleteWOW!!! This looks outstanding my friend. It really adds sooooo much charm to the room. I am going to feature it at my party this week.
Blessings,
Linda
Hi Maam Pam,
ReplyDeleteWhat a job! This is the best DIY, I seen today. Job well done.
Just catching up on my Bloglovin' and read your post. Very creative and quite innovative. Good job! It's really pretty, and I love the subtle lines vs. the in-your-face colors. Really nice!
ReplyDeleteWow!!! This wainscoting is out of the world GORGEOUS!! Can you give the height of your ceiling? I'd love to do this in my office which has a 10' ceiling.
ReplyDelete