Showing posts with label Old Ochre. Show all posts

Sunday, February 22, 2015

French Farmhouse Kitchen Sources

You want me to let you in on a secret? Up until this past week I still had some of our Christmas decorations out in the kitchen. I mean really, can you even imagine?!;) Thankfully I went out running errands and saw all the Spring decor being put out and I was inspired to change things up.
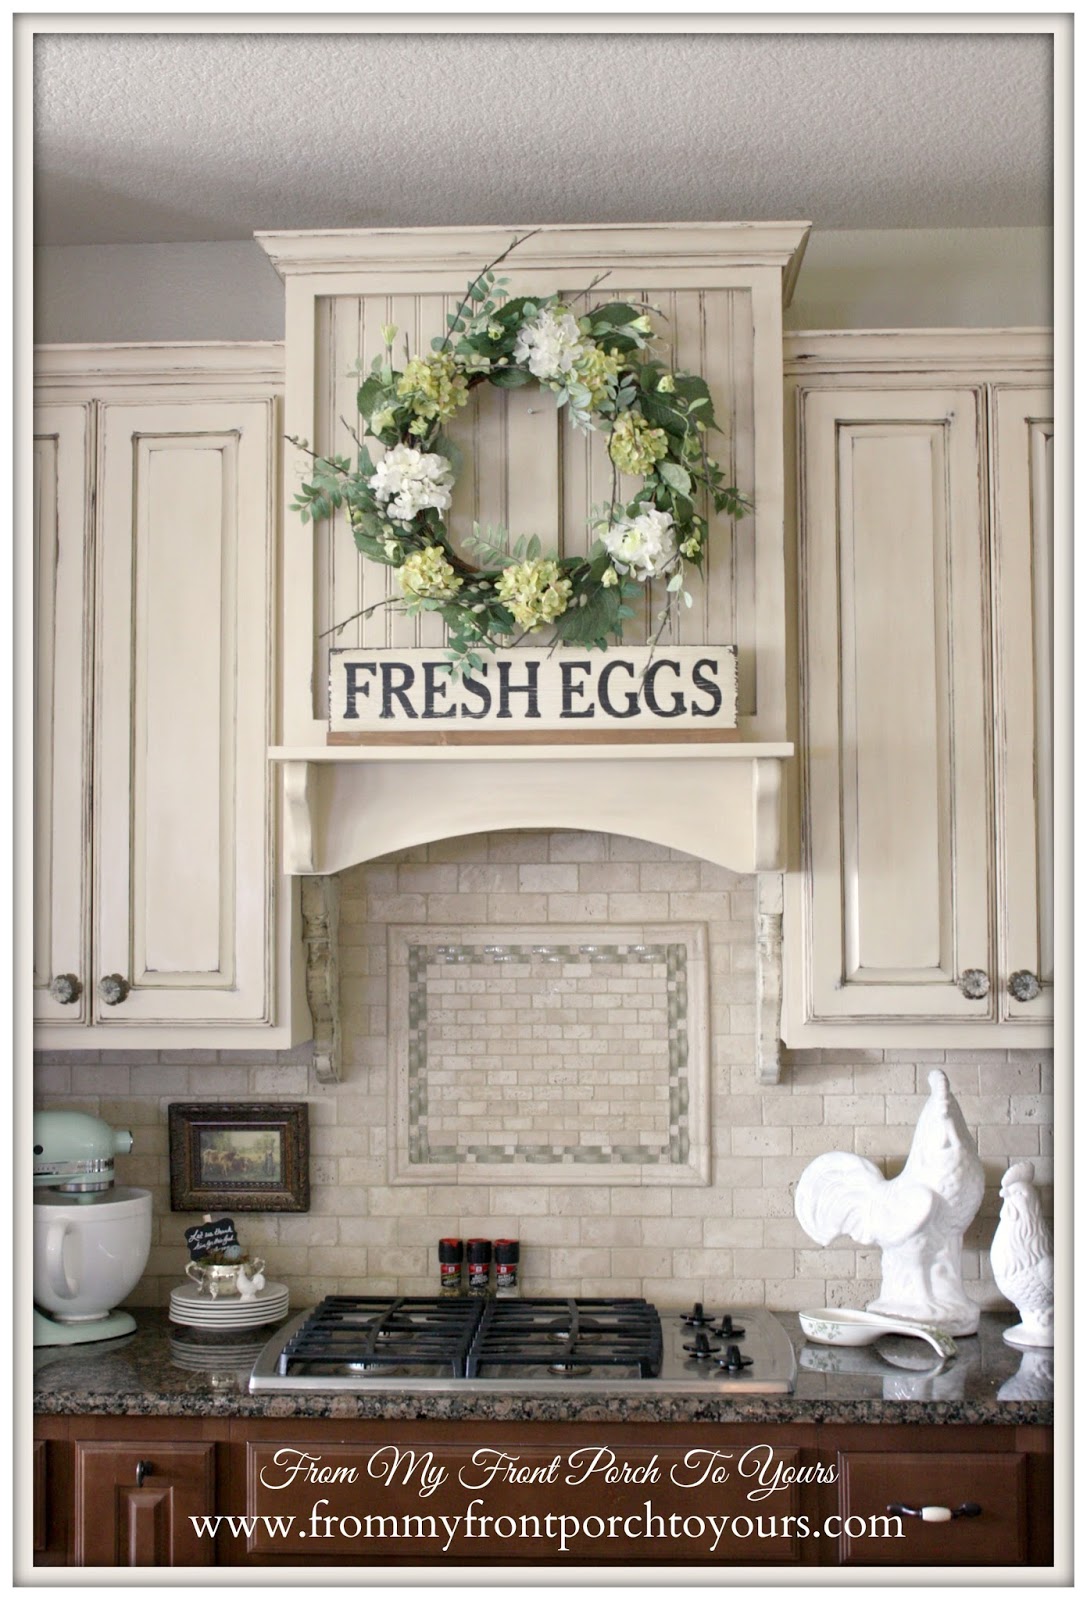
Anne Sloan Old Ochre-French Farmhouse Kitchen- From My Front Porch To Yours

Tuesday, September 2, 2014

Painting Fabric with Chalk Paint- Now A Believer!

From My Front Porch To Yours- Painting Fabric With Chalk Paint
For the past few years I have seen and heard about painting fabric with Chalk Paint. I was a non believer if there was ever one! I did not think it would turn out well at all! I pictured it cracking and just so stiff you would not even want to sit on it. It was just not a project I thought I would have ever tackled. 

Friday, August 23, 2013

Living Room Changes = A Few Reveals

I have been busy working on the living room make over and of course that means there are a lot of mini makeovers.
The first being this area by the fireplace. I have always loved this little vintage dresser that The Nana found for me back when The Hubster and I bought our first home. It has sat in this exact same spot for four years now and I was ready to find it a new home.
In came this beat up water damaged secretary that only a gal like myself could love. If you missed my post on what it looked like before you can click here
Now this space by the fireplace is lighter and brighter. I used Old White and Old Ochre for this piece. I debated on doing a different color but after playing around with it I decided to stay neutral with the piece since it is right by our fauxed fireplace which I love and will not be painting. If I used another color I feel the fireplace and the secretary would have been competing for attention. I just wanted them to co-mingle!;)
 Of course I had to distress the secretary in areas to give it that time worn feel.
The drawers which were in horrible shape came out surprisingly well I think. I was able to get most of the bubbles out of the veneer. The rest we will just say adds character!;)
I left the inside of the desk in its original glory. I always like to try and save some part of the original piece if at all possible. That and I wanted to tie the wood into the rest of the living room.

Pictures of the boys great grandmas! That is my Nanny holding my mama. The other picture is The Hubster's Grandma Lillian on the left. Sure do miss these ladies!
At the beginning of this year I had shared with y'all my frenchy chandy and sconces score from the local yard sale site. The chandy went up in the dining room back in February but it has taken till now for me to decide where to put the sconces. 

Since I was not able to hard wire them where I originally wanted them I asked The Papa to help me make them plug ins. It was a fairly simple project and only cost about $10 for the supplies.
Now one of the sconces hangs by the fireplace. We changed the light bulbs out to night lite light bulbs because other bulbs were glaringly bright. This way they look more like candles.
Next up I just need to finish accessorizing the living room and I will be ready to share its full reveal.

Thanx for stopping by today!:)


Linking up to the following linky parties:
Open House Party
Power of Paint Party
Fabulously Creative Friday
Feathered Nest Friday
Furniture Feature Friday
That DIY Party
Wow Us Wednesdays


Wednesday, April 10, 2013

Kitchen Cabinet Painting Tutorial Using Old Ochre Annie Sloan Chalk Paint

***Since doing this tutorial I have finally completed our kitchen reno!:) To see the completed kitchen with the cabinet doors back on click here and here.***
Annie Sloan Chalk Painted Kitchen Cabinets in Old Ochre
I have had many requests asking me about our kitchen cabinets from "What color are you using?" to "How are you creating the finish?". I decided I would go ahead and share step by step the process I used. Keep in mind I have NOT been to any classes. This is just the method I have come up with.
Here is what I had to work with. Dark cabinets in a small space. I wanted to lighten and brighten our kitchen up.
Old Ochre Annie Sloan Chalk Painted Kitchen Cabinets- From My Front PorchTo Yours
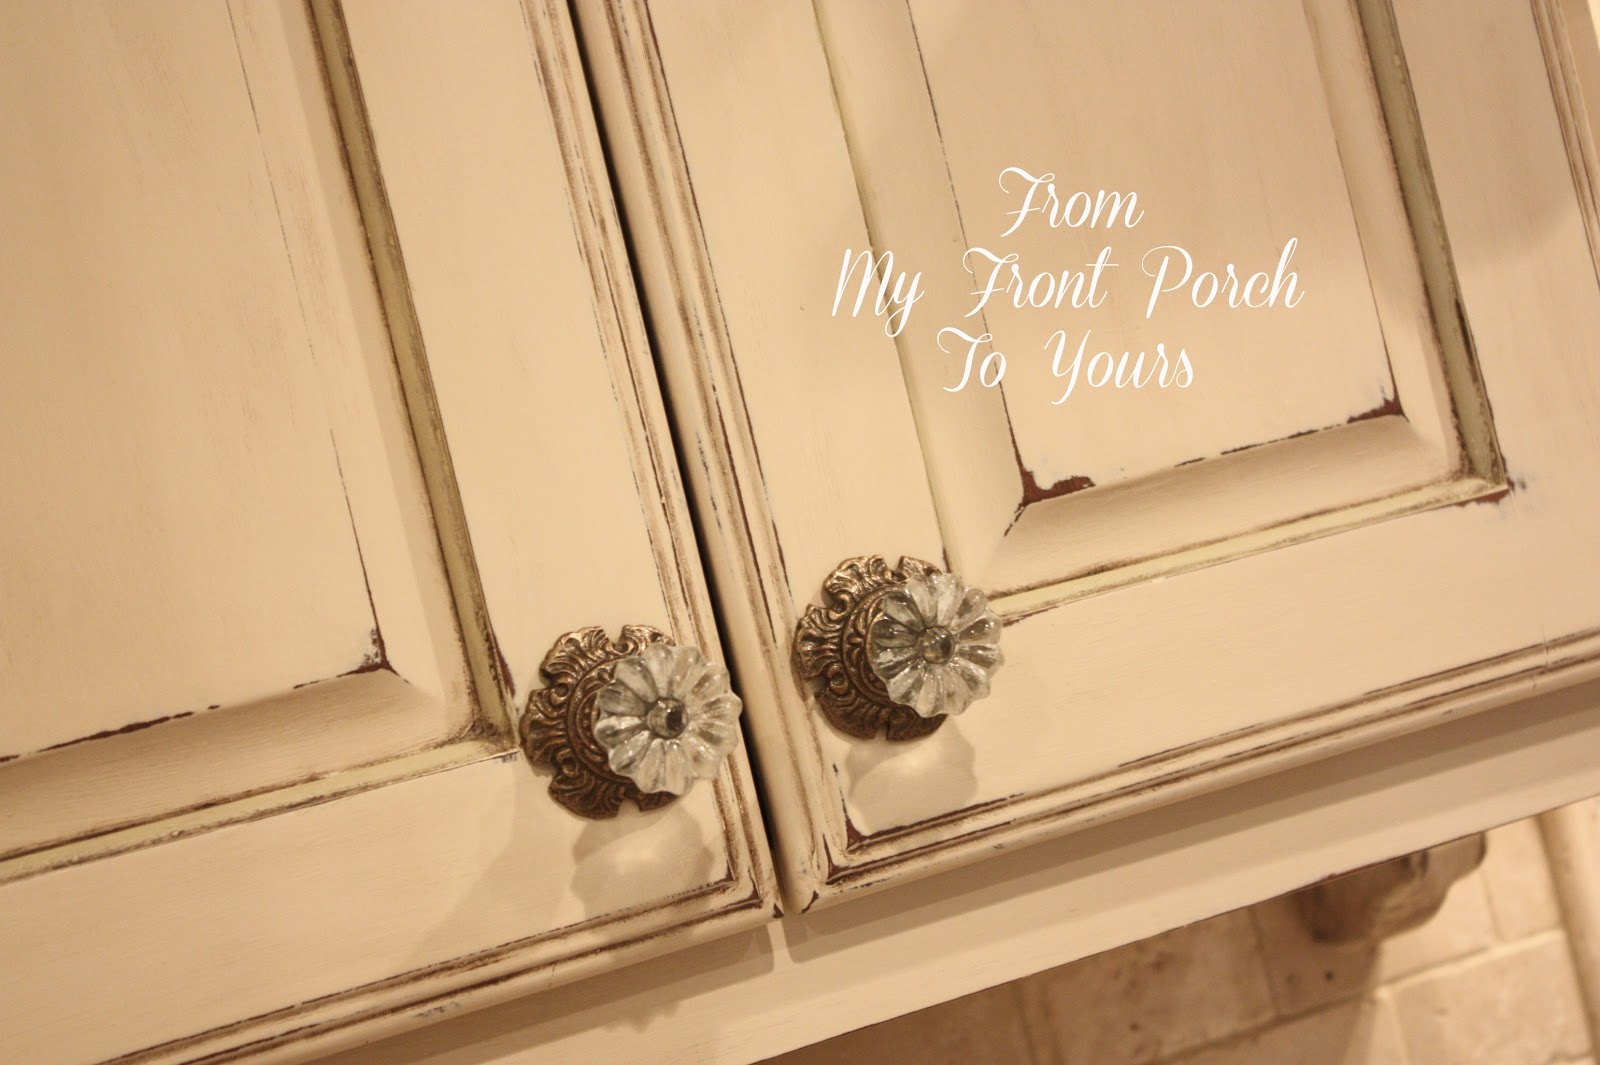
I decided to use Annie Sloan Chalk Paint in Old Ochre.I used chalk paint because it requires little to no prepping. All I did was wipe down the cabinets and dry them then started painting. 
Annie Sloan Chalk Painted Kitchen Cabinets in Old Ochre
It takes me three coats to achieve full coverage since my cabinets are so dark. To help keep the brush strokes to a minimum I dip the tip of my paint brush in some water and then in the paint. It helps the paint to go on more smoothly.
Annie Sloan Chalk Painted Kitchen Cabinets in Old Ochre
After all three coats dry I get down to sanding the surface.  My preferred method of sanding is to use a Medium grade sanding block that is wet. I prefer this method because it keeps the mess at bay. I do not have to worry about chalk dust everywhere which is a major plus since I am painting the cabinets inside the house. 
Annie Sloan Chalk Painted Kitchen Cabinets in Old Ochre
The only mess is on the sanding block and my hands. Every so often I rinse the sanding block off and ring it out. You want it wet but not too wet. Sanding with a moist sanding block makes for the smoothest finish ever! 
Annie Sloan Chalk Painted Kitchen Cabinets in Old Ochre
I distress my edges by lightly sanding in a circular motion. 
After I was done sanding I pulled out my Country Grey Chalk Paint.
Annie Sloan Chalk Painted Kitchen Cabinets in Old Ochre
I used this color to highlight the inside of the panels on the front of the cabinet doors.
Annie Sloan Chalk Painted Kitchen Cabinets in Old Ochre
To speed up the painting process I use a hair dryer to dry the paint in between coats. I actually use a hair dryer to dry every coat of paint. I wait about 5 to 10 minutes on larger areas to allow time for the paint to somewhat dry on its own and then I blow dry it the rest of the way. I have found that it makes the paint harder to come off. I allow some dry time on its own so when I take the hair dryer to it the paint won't start to crack. Always be sure not to hold the hair dryer too close because cracking may appear where you do not want it to.
After the Country Grey I went back over the edges of the panels with a light brushing of Versailles. 
Annie Sloan Chalk Painted Kitchen Cabinets in Old Ochre
Once completed with highlighting the panels with contrasting paint colors I pulled out my clear wax and dark wax.
Annie Sloan Chalk Painted Kitchen Cabinets in Old Ochre
I always use Clear Wax first on my pieces. If you plan on using a dark wax this is a must otherwise the dark wax will soak into your paint and you will not be able to get it out.To apply the wax I used an old white clean t-shirt that I have cut up. You can use wax brushes or even cheese cloth to apply wax but I just prefer using an old t-shirt.
Annie Sloan Chalk Painted Kitchen Cabinets in Old Ochre
Adding the clear wax will change the color of your paint slightly. Keep this in mind when you are choosing a color.
Annie Sloan Chalk Painted Kitchen Cabinets in Old Ochre
After rubbing the clear wax in I then used a dark wax for antiquing. To get into the nook and crannies I applied the dark wax with a thin paint brush. I like using a smaller brush because it saves on wax. You do not need to cake on the wax. I found out over the past few years of perfecting my technique that the thicker you put the wax on the harder it is to work with. 
Annie Sloan Chalk Painted Kitchen Cabinets in Old Ochre
Here are all the areas covered in dark wax that I wanted to highlight/age. After the dark wax is applied all you need to do is work the dark wax back off with a small amount of clear wax on your cloth. If you rubbed too much of the dark wax off no worries you can always apply more. I used the same cloth thru the entire waxing process which enabled me to have just the right amount of dark wax on my cloth to rub lightly over the entire cabinet door.
Annie Sloan Chalk Painted Kitchen Cabinets in Old Ochre
Once I was done working the wax into the cabinet door I then used a paper towel scrunched up to buff a shine on the door. It works like a dream. Doing this does take a lot of arm power and maybe one day I will try using an actual buffer but for now this works just fine for me. 
Annie Sloan Chalk Painted Kitchen Cabinets in Old Ochre
Here is the completed finish!
Annie Sloan Chalk Painted Kitchen Cabinets in Old Ochre
I know this finish is not for everybody but I just love the rustic charm it adds to our kitchen.
Annie Sloan Chalk Painted Kitchen Cabinets in Old Ochre
I debated on wether or not to use wax in the kitchen. I originally was going to use a sealer but since I had the wax on hand already I just went with it. We have a bathroom vanity that I waxed almost a year and half ago and the finish has held up beautifully so I figured it was worth a shot in the kitchen as well. Let me add that if you do a lot of cooking then I highly recommend that you do NOT use the wax but a clear sealer on your cabinets. The wax will not protect your cabinets from any stains or oil that may splatter on them. I used the wax again because it was I had on hand and because I was only painting my top cabinets. If I had painted my bottom as well then I would have waited and used a clear sealer. Annie Sloan sells a clear sealant and I have heard the Artsian Enhancements has a clear sealant that is fabulous. I have not used either yet though but have heard nothing but good results about them.
As with any waxed piece we have to be gentle with the cabinet doors to give the wax time to cure. It can takes up to 30 days sometimes a little longer depending on the humidity in your home for wax to cure/harden. Average work time for each cabinet door is about an hour to an hour and half. The time includes taking the hardware off and putting it back. It is quite time consuming but well worth it in the end.
I still have several doors left to do and to work on the desk area but I am getting excited for a full reveal.
Treasure Hunt Thursday will be up at 6:00 p.m.!:) Hope to see you at the party.

DISCLOSURE: This is just how I painted our kitchen cabinets. I am NOT an expert/professional. Paint at your own risk!;) Please take all things into consideration when you decide to paint your cabinets. Make sure you are well informed of any process you choose to do. I am just sharing what technique I used and was happy with. I used products that I like to use that others may not. I am in NO way responsible for how anyone else's projects turn out!
Linking up to the following parties:

Monday, April 8, 2013

Kitchen Update #4- Labeling

This is where I left y'all last week with our kitchen reno. The Hubster and The Papa had just finished putting up the pieces to the new custom hood we made. After that I took down the cabinet doors.
This past Saturday I spent all day painting and waxing away. It takes a long time to paint three coats of paint on each door and then apply three layers of wax. It is all well worth it though.
Here is where I am at today. The cabinets themselves are all painted, sanded and waxed. The hood is completed and as you can see I have already started playing around with decorating it. I just could not resist!;) So far this is what I have come up with. The display still needs a little tweaking but I think this may be the winning display at least for now.
I still have 7 cabinet doors to paint and wax. I plan on getting them completed this week so I can move on to the desk area. I can not wait to be done so I can finish painting the walls and making new curtains for the breakfast nook!
If you are thinking about painting your kitchen cabinets a tip that I am sure you have thought about is to label each door so you know exactly where they go. 
A tip from our lesson learned is to also label the hinges! The Hubster and I spent 30 minutes trying to get two of the doors to hang correctly after we put them back up. It finally dawned on us they were not working right because the hinges were not placed back on in the spot they came from. Now I am using a Sharpie to label all the hinges. A true time saver and sanity saver!

Kitchen Reno Part 1
Kitchen Reno Part 2
Kitchen Reno Part 3

Stay tuned for more updates! See ya back here tomorrow for the most viewed links from last weeks Treasure Hunt Thursday.

Linking up to the following parties:

Amaze Me Monday
Nifty Thrifty Tuesday
Inspire Me Tuesday
Tuesday Treasures

Wow Us Wednesday