
***Since doing this tutorial I have finally completed our kitchen reno!:) To see the completed kitchen with the cabinet doors back on click here and here.***
 |
| I have had many requests asking me about our kitchen cabinets from "What color are you using?" to "How are you creating the finish?". I decided I would go ahead and share step by step the process I used. Keep in mind I have NOT been to any classes. This is just the method I have come up with. |
 |
| Here is what I had to work with. Dark cabinets in a small space. I wanted to lighten and brighten our kitchen up. |
 |
| I decided to use Annie Sloan Chalk Paint in Old Ochre.I used chalk paint because it requires little to no prepping. All I did was wipe down the cabinets and dry them then started painting. |
 |
| It takes me three coats to achieve full coverage since my cabinets are so dark. To help keep the brush strokes to a minimum I dip the tip of my paint brush in some water and then in the paint. It helps the paint to go on more smoothly. |
 |
| After all three coats dry I get down to sanding the surface. My preferred method of sanding is to use a Medium grade sanding block that is wet. I prefer this method because it keeps the mess at bay. I do not have to worry about chalk dust everywhere which is a major plus since I am painting the cabinets inside the house. |
 |
| The only mess is on the sanding block and my hands. Every so often I rinse the sanding block off and ring it out. You want it wet but not too wet. Sanding with a moist sanding block makes for the smoothest finish ever! |
 |
| I distress my edges by lightly sanding in a circular motion. |
 |
| After I was done sanding I pulled out my Country Grey Chalk Paint. |
 |
| I used this color to highlight the inside of the panels on the front of the cabinet doors. |
 |
| To speed up the painting process I use a hair dryer to dry the paint in between coats. I actually use a hair dryer to dry every coat of paint. I wait about 5 to 10 minutes on larger areas to allow time for the paint to somewhat dry on its own and then I blow dry it the rest of the way. I have found that it makes the paint harder to come off. I allow some dry time on its own so when I take the hair dryer to it the paint won't start to crack. Always be sure not to hold the hair dryer too close because cracking may appear where you do not want it to. |
 |
| After the Country Grey I went back over the edges of the panels with a light brushing of Versailles. |
 |
| Once completed with highlighting the panels with contrasting paint colors I pulled out my clear wax and dark wax. |
 |
| I always use Clear Wax first on my pieces. If you plan on using a dark wax this is a must otherwise the dark wax will soak into your paint and you will not be able to get it out.To apply the wax I used an old white clean t-shirt that I have cut up. You can use wax brushes or even cheese cloth to apply wax but I just prefer using an old t-shirt. |
 |
| Adding the clear wax will change the color of your paint slightly. Keep this in mind when you are choosing a color. |
 |
| After rubbing the clear wax in I then used a dark wax for antiquing. To get into the nook and crannies I applied the dark wax with a thin paint brush. I like using a smaller brush because it saves on wax. You do not need to cake on the wax. I found out over the past few years of perfecting my technique that the thicker you put the wax on the harder it is to work with. |
 |
| Here are all the areas covered in dark wax that I wanted to highlight/age. After the dark wax is applied all you need to do is work the dark wax back off with a small amount of clear wax on your cloth. If you rubbed too much of the dark wax off no worries you can always apply more. I used the same cloth thru the entire waxing process which enabled me to have just the right amount of dark wax on my cloth to rub lightly over the entire cabinet door. |
 |
| Once I was done working the wax into the cabinet door I then used a paper towel scrunched up to buff a shine on the door. It works like a dream. Doing this does take a lot of arm power and maybe one day I will try using an actual buffer but for now this works just fine for me. |
 |
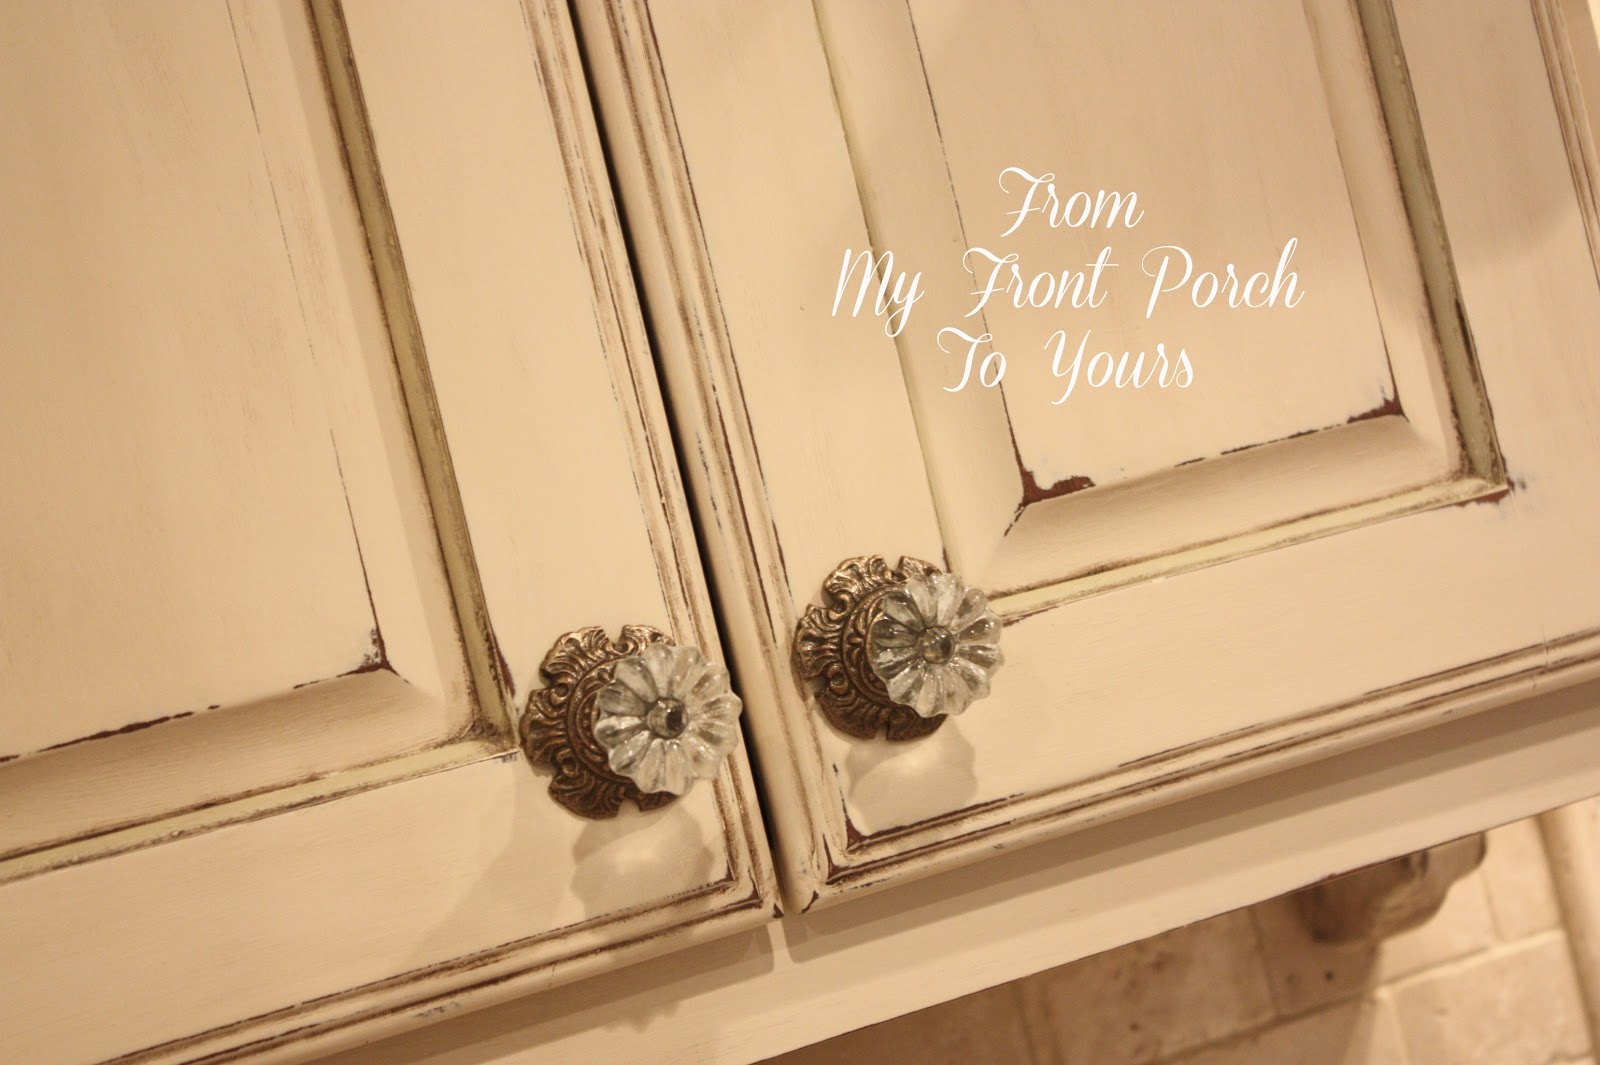
| Here is the completed finish! |
 |
| I know this finish is not for everybody but I just love the rustic charm it adds to our kitchen. |
 |
| I debated on wether or not to use wax in the kitchen. I originally was going to use a sealer but since I had the wax on hand already I just went with it. We have a bathroom vanity that I waxed almost a year and half ago and the finish has held up beautifully so I figured it was worth a shot in the kitchen as well. Let me add that if you do a lot of cooking then I highly recommend that you do NOT use the wax but a clear sealer on your cabinets. The wax will not protect your cabinets from any stains or oil that may splatter on them. I used the wax again because it was I had on hand and because I was only painting my top cabinets. If I had painted my bottom as well then I would have waited and used a clear sealer. Annie Sloan sells a clear sealant and I have heard the Artsian Enhancements has a clear sealant that is fabulous. I have not used either yet though but have heard nothing but good results about them. As with any waxed piece we have to be gentle with the cabinet doors to give the wax time to cure. It can takes up to 30 days sometimes a little longer depending on the humidity in your home for wax to cure/harden. Average work time for each cabinet door is about an hour to an hour and half. The time includes taking the hardware off and putting it back. It is quite time consuming but well worth it in the end. I still have several doors left to do and to work on the desk area but I am getting excited for a full reveal. Treasure Hunt Thursday will be up at 6:00 p.m.!:) Hope to see you at the party. DISCLOSURE: This is just how I painted our kitchen cabinets. I am NOT an expert/professional. Paint at your own risk!;) Please take all things into consideration when you decide to paint your cabinets. Make sure you are well informed of any process you choose to do. I am just sharing what technique I used and was happy with. I used products that I like to use that others may not. I am in NO way responsible for how anyone else's projects turn out! |
Linking up to the following parties:
