Monday, September 21, 2020

A DIY Fall Tree Tutorial

Have you seen those gorgeous fall trees online from various companies? They have been around for years. I have always admired them but have never wanted to pay the price for one. Just one tree can cost anywhere from $70-$175 depending on where you purchase it from. 
DIY Fall Tree Tutorial-FromMy Front Porch To Yours
This year I decided to make my own fall tree for a fraction of the cost! I actually made three trees for less than $85!


DIY Fall Tree Tutorial-FromMy Front Porch To Yours
First you will need to purchase a bundle of birch sticks or whatever they are called. I found them at Hobby Lobby in the Christmas decor under the bows. They come in a bundle of 3. I paid $14 for the bundle because they were half off at the time. You need to wait for the sales because that is what makes the trees so affordable! 


DIY Fall Tree Tutorial-FromMy Front Porch To Yours
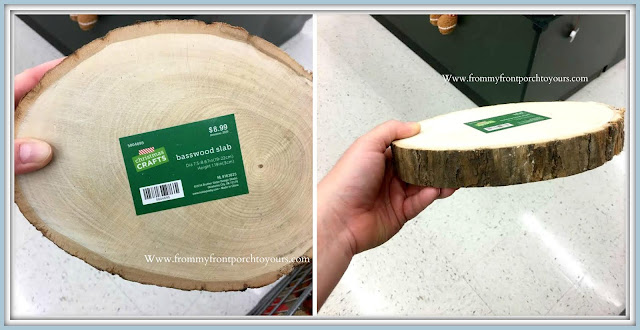
Next you want to find a base for your trees. We ended up using scrap wood we had but after the fact I found these tree slabs in the holiday crafting section at Hobby Lobby. They would make fabulous bases as well. 

DIY Fall Tree Tutorial-FromMy Front Porch To Yours
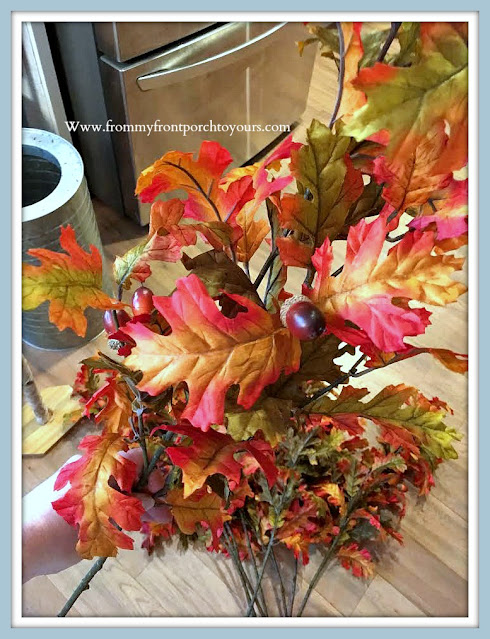
Then you will need 4-5 large leaf sprays per tree. I found mine again at Hobby Lobby. They were $9.99 a spray but half off. You can certainly add more if you like but I was trying to keep costs down.

DIY Fall Tree Tutorial-FromMy Front Porch To Yours
I liked these particular sprays because they had beautiful coloring and acorns.

DIY Fall Tree Tutorial-FromMy Front Porch To Yours
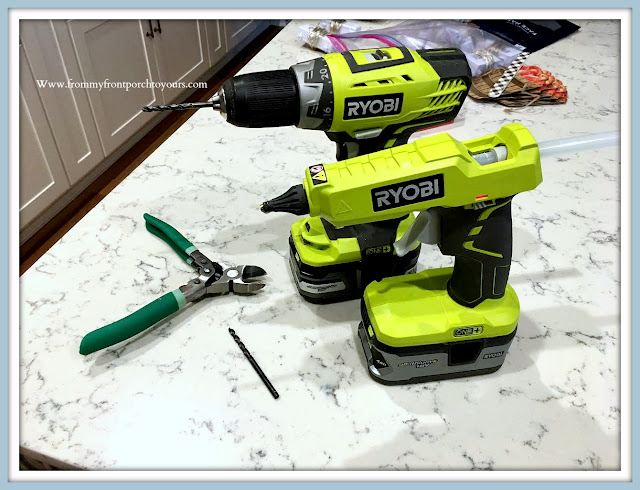
Net up you will need a drill bit. Not sure what size. Ours were not in their proper place so I just eyeballed it. You want to make sure it is at least the size of the stems if not a tad larger but NOT too large. Then you will need a glue gun and glue sticks. I really enjoy my Ryobi glue gun but it gets extremely hot and is certainly NOT fun when you get glue on your fingers. Mr. Front Porch bought it for me last year. You will also need a pair of wire cutters or florist cutters if you do not have wire cutters on hand. Oh and you will need a screw long enough to go thru the base you are using and long enough to securely attach to the tree trunk you will be making.
DIY Fall Tree Tutorial-FromMy Front Porch To Yours
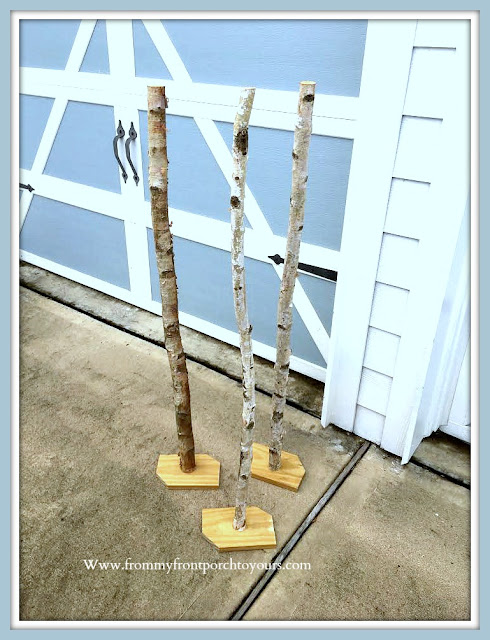
First step is to drill a pilot hole a little smaller than your screw in the middle of your tree trunk. Note when picking out trunks you do not want any that are too curvy or you will have problems with them staying up. Depending on where you are placing them and what type of base you are using you may have to add something heavy to keep the trees from falling over. The one I kept inside but the other two are on our front porch and I used pea gravel in the containers to keep the trees from blowing over. Worked perfectly!


DIY Fall Tree Tutorial-Base-FromMy Front Porch To Yours
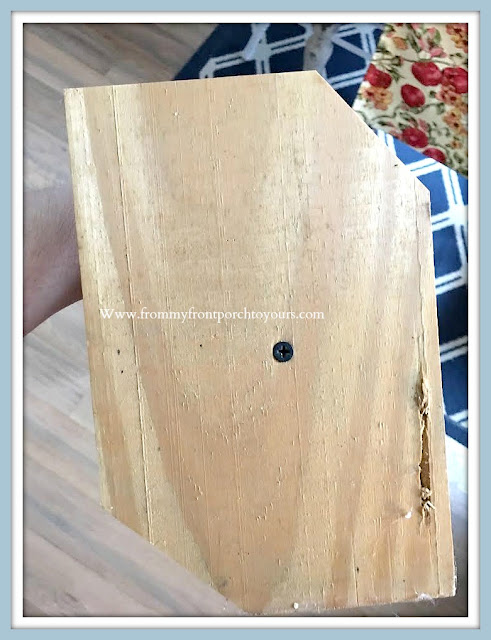
Next take your base, in my case a piece of scrap wood and drill a hole for the screw then screw the base to the tree trunk. We notched the sides of the scrap wood because I wanted them to be able to fit in whatever containers I have. If I had used the crafting wood slices it would have been a none issue.

DIY Fall Tree Tutorial-Leaf Spray-FromMy Front Porch To Yours
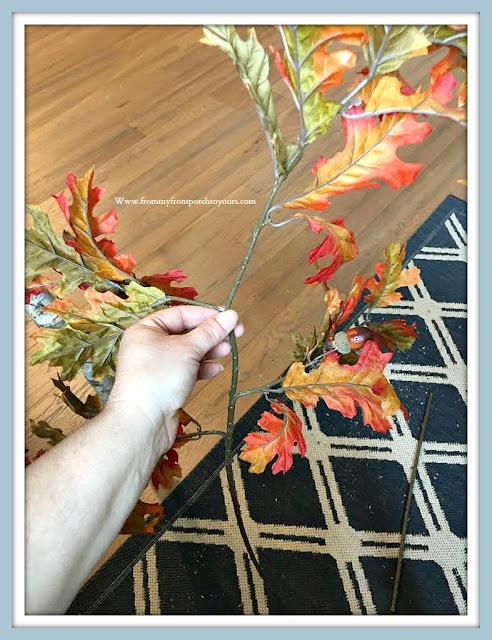
Next up take your sprays and pull the leaf sections apart, You will have one longer fuller top section per spray.

DIY Fall Tree Tutorial-FromMy Front Porch To Yours
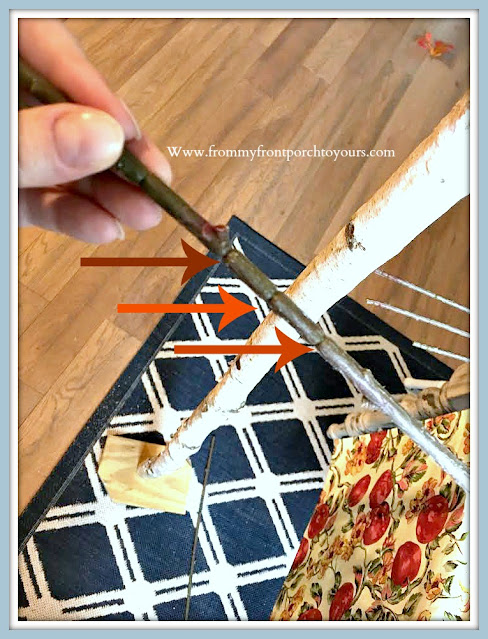
There are notches in some areas to make cutting easier.

DIY Fall Tree Tutorial-FromMy Front Porch To Yours
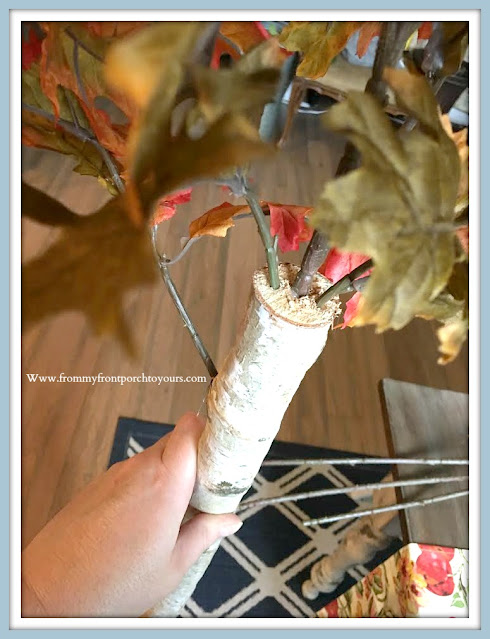
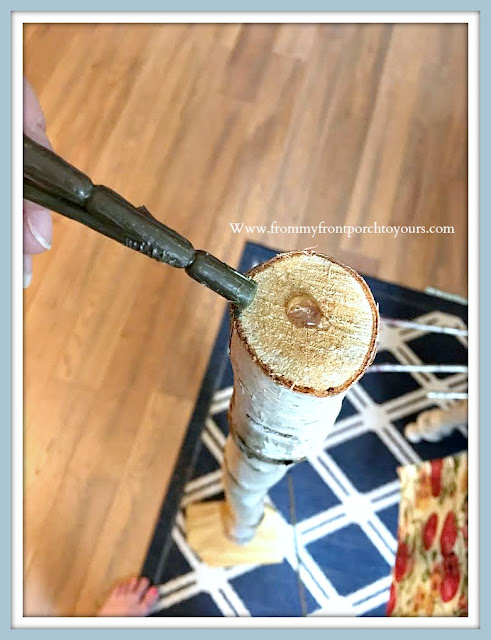
Next drill a hole in the center of your tree trunk then put in a dab of hot glue after you make sure that your first tree branch fits in the drilled hole. If it doesn't just go back and wiggle the drill a tad while you are drilling. Right after placing the hot glue put your first branch in the hole and hold it for about 20 seconds. Just long enough for it to stabilize. I like to use the longest branch I cut for the middle topper.

DIY Fall Tree Tutorial-FromMy Front Porch To Yours
After the first branch goes in then it is up to you where you want to put the rest of your branches. Each spray will give you I think 5 branches to attach so thats 25 branches if you use 5 sprays per tree. 

DIY Fall Tree Tutorial-FromMy Front Porch To Yours
I ended up putting three at the very top in varying sizes.

DIY Fall Tree Tutorial-FromMy Front Porch To Yours
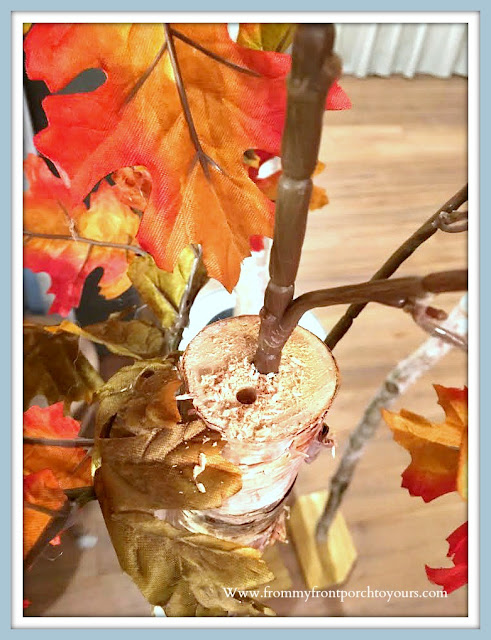
For the rest of your branches you want to initially drill straight in a little bit then angle your drill down. I hope that makes sense. You want to create a pocket of sorts. If your initial hole is not large enough when testing your branches then just go back and re-drill the same spot while wiggling it around a little. Each branch will be slightly different in thickness so you will need to test each branch before attaching with the hot glue. There is NO rhyme or reason to attaching your branches. Just place them where you think they would look best. Every tree is different!

DIY Fall Tree Tutorial-Cottage-Farmhouse-FromMy Front Porch To Yours
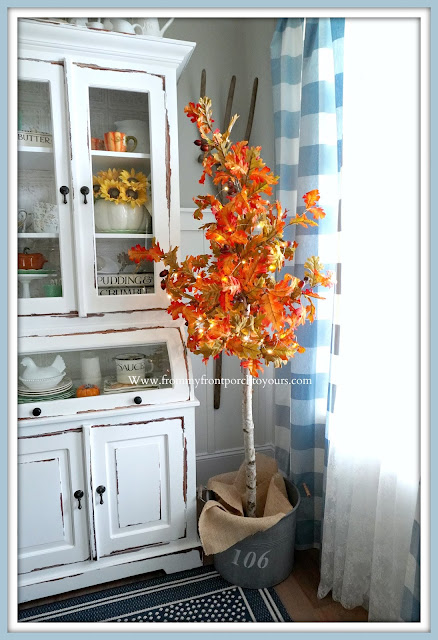
Here is the finished tree! From start to finish it takes about 30 minutes to make a tree. You can do this project inside or outside. Some may prefer to do it outside because of the wood shavings but they easily vacuum up if you decide to do it inside like I did. It has been way to hot outside!

DIY Fall Tree- Twinkle Lights-FromMy Front Porch To Yours
Once your trees are complete you can even add fairy lights to make them even more inviting!

***Note that anytime you are using power tools/glue guns you need to use proper safety measures.***


2 comments:

I love when ya stop by so leave me a comment if ya have some time! I always try and respond but sadly enough sometimes I am unable to return the love due to noreply blogger status.