 |
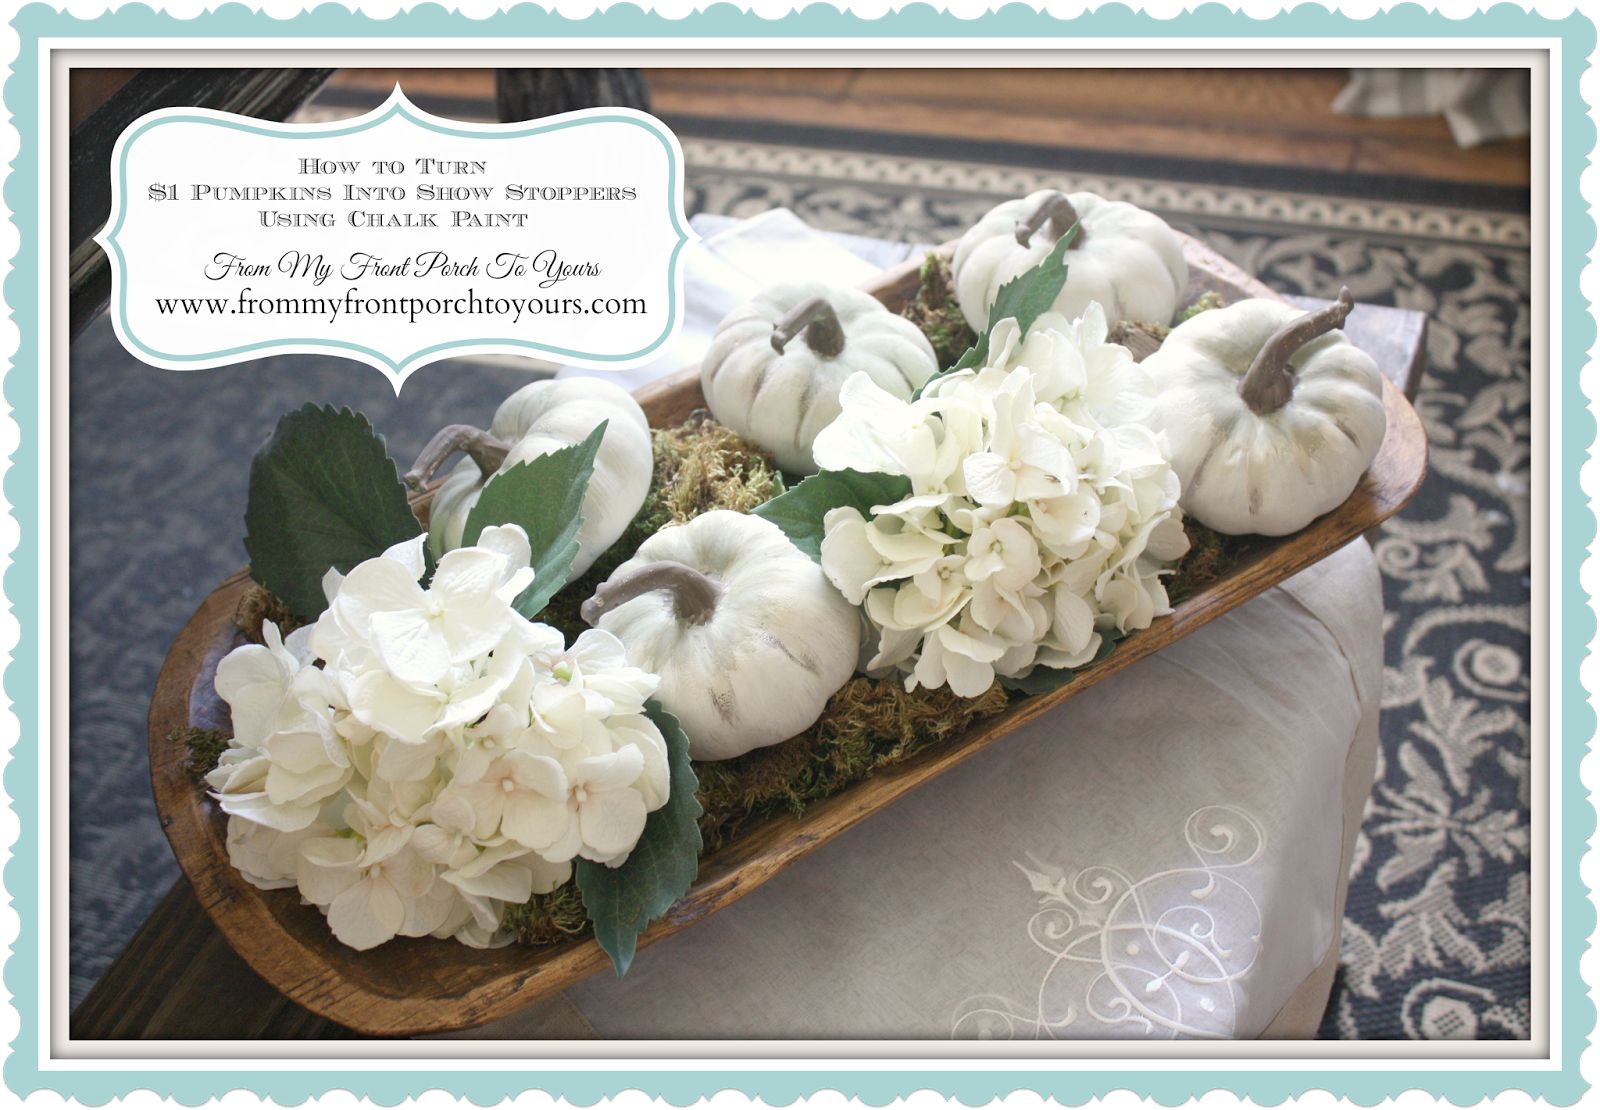
| A few weekends back I had some fun painting pumpkins. |
Showing posts with label annie sloan chalk paint. Show all posts
Showing posts with label annie sloan chalk paint. Show all posts
Tuesday, September 30, 2014
Friday, October 25, 2013
French Farmhouse DIY Kitchen Makeover
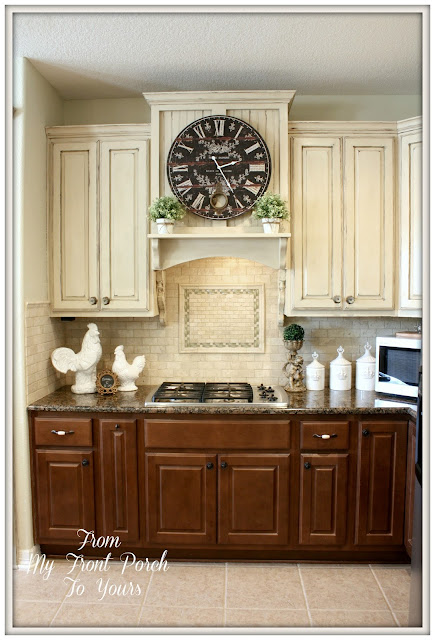 |
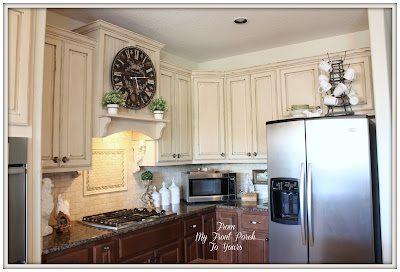
| The original plan was to paint the top and the bottom cabinets but I decided to keep the bottom half as is. It is a happy medium because I love light colored cabinets and The Hubster loves wood. |
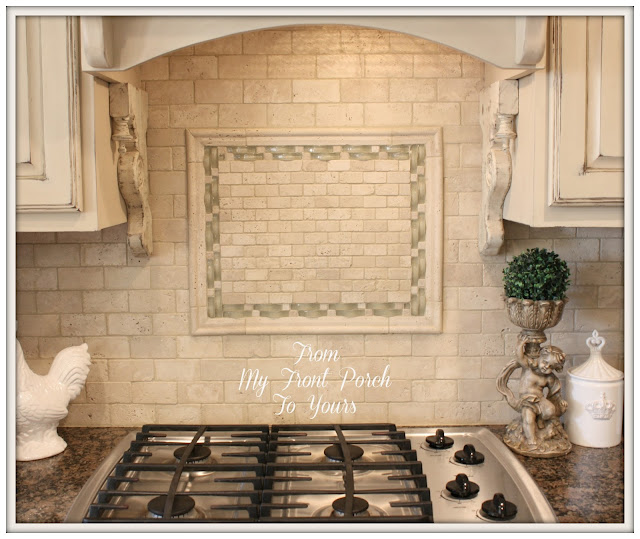 |
| We choose a travertine subway tile as well as a travertine/glass tile for the accent. It was very easy to install. |
 |
| We do NOT regret for one minute taking our huge microwave down from above the range. We knew as soon as we took it down it was not going back up. |
 |
| The corner here was always wasted space but makes the perfect spot for our new microwave. |
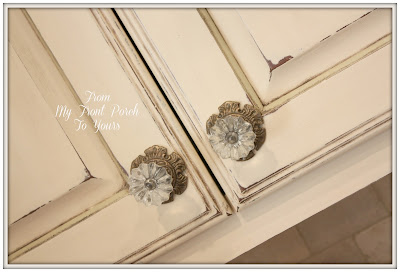 |
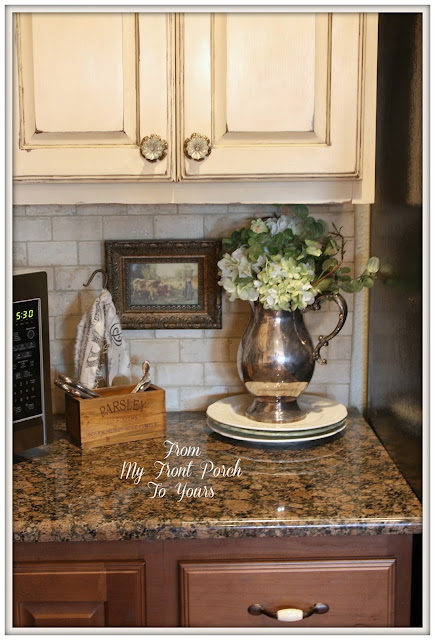
| I added beautiful glass knobs to our top cabinets. |
 |
| I also changed out our drawer pulls to ones that have similar coloring as the cabinets. |
 |
| The island was my inspiration piece in the room. The Hubster and I transformed it a few years back and I was not wanting to paint over it nor was I wanting to get rid of it. |
 |
| If you wanna see what this island looked like beforehand click here. |
 |
| Click Here to view Part 2. Thank you for stopping by to visit!
Sources:
Kitchen Cabinet Color- Annie Sloan Chalk Paint in Old Ochre
Wall Color- Autumn Haze by Glidden
Glass Knobs- Hobby Lobby
Drawer Pulls- Lowes
Travertine Tile- Floor & Decor
Round Clock- HomeGoods
Bottle Drying Rack- Decor Steals
Corbels- Local Antique Shop
|
Linking up to the following linky parties:
That DIY Party
Metamorphosis Mondays
Inspire Me Tuesday
Amaze Me Monday
Tuesday Treasures
Nifty Thrifty Tuesday
The Scoop
Wow Us Wednesdays
Be Inspired
Open House Party
The Inspiration Gallery
Feathered Nest Friday
Furniture Feature Friday
Saturday Nite Special
Metamorphosis Mondays
Inspire Me Tuesday
Amaze Me Monday
Tuesday Treasures
Nifty Thrifty Tuesday
The Scoop
Wow Us Wednesdays
Be Inspired
Open House Party
The Inspiration Gallery
Feathered Nest Friday
Furniture Feature Friday
Saturday Nite Special
Monday, April 8, 2013
Kitchen Update #4- Labeling
 |
| If you are thinking about painting your kitchen cabinets a tip that I am sure you have thought about is to label each door so you know exactly where they go. |
 |
| A tip from our lesson learned is to also label the hinges! The Hubster and I spent 30 minutes trying to get two of the doors to hang correctly after we put them back up. It finally dawned on us they were not working right because the hinges were not placed back on in the spot they came from. Now I am using a Sharpie to label all the hinges. A true time saver and sanity saver! Kitchen Reno Part 1 Kitchen Reno Part 2 Kitchen Reno Part 3 Stay tuned for more updates! See ya back here tomorrow for the most viewed links from last weeks Treasure Hunt Thursday. Linking up to the following parties: Amaze Me Monday Nifty Thrifty Tuesday Inspire Me Tuesday Tuesday Treasures Wow Us Wednesday |
Monday, January 21, 2013
$100 Laundry Room Makeover
Back in November I started getting the itch to change our laundry room up. With a tight budget ,holidays trips, broken washing machine, and more holiday festivities I was unable to make any head way. Over the past two weeks I kicked it into high gear though and I am excited to say that I have finally completed our laundry room makeover. The best part is that I only spent $100!
 |
| Welcome to our newly renovated laundry room. |
 |
| Back in December I won a $250 gift certificate to a local decor shop Laurie's. This architectural piece was one of the things that I purchased with it. I had no idea where I was going to put it but after I took down the vinyl saying I had on the wall up there this turned out to be the perfect spot for the piece. Cost to me free. |
 |
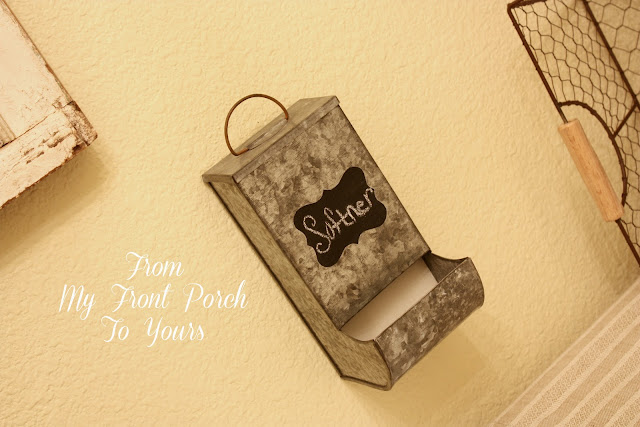
| I made my own chalk board labels with supplies on hand. |
 |
| I took down two of the iron pieces I had up here and replaced them with mirrors I had bought back in July when antiquing with my mama. They were just laying around collecting dust. |
 |
| I love the detail on them! |
 |
| I put back up my drying racks. These originally came from HobLob. |
 |
| My mama had bought me this vintage baptism gown back in July. It use to hang on the back of the guest room door. |
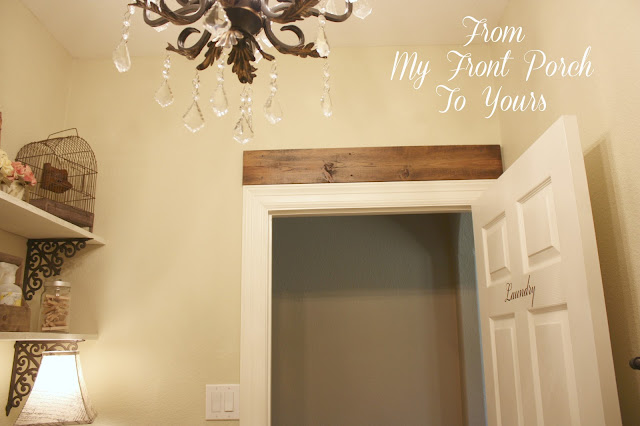 |
| I spent $13 on lumber to create faux wood beams. |
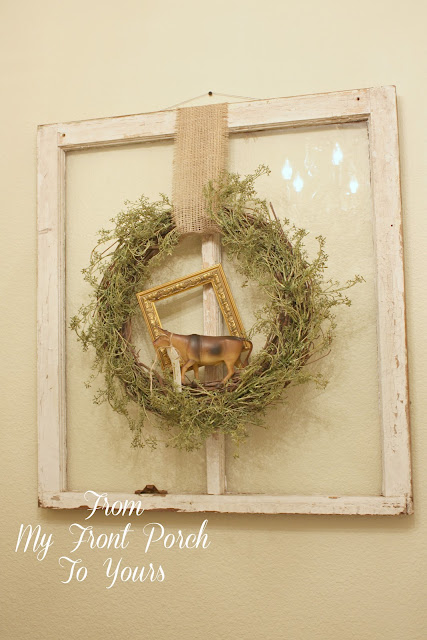 |
| The old window use to hang in our master bath and I had all the supplies already on hand for the wreath. |
 |
 |
| I already shared how I transformed this vintage dresser into a retreat for our Little Lady's kennel. If you missed that post you can see it here. |
 |
| Cost for that makeover was nothing since I already all of the supplies on hand again. These knobs are from HobLob and are my favorite! |
 |
| I spent $25 on iron brackets from HobLob and lumber to create the new shelving. |
 |
| Frame from my frame collection and flowers I have had since our first home back in 2002. |
 |
| Rustic bird cage I bought back in the fall. |
 |
| Vintage cow I bought back in the summer. Can you tell I love cows!;) |
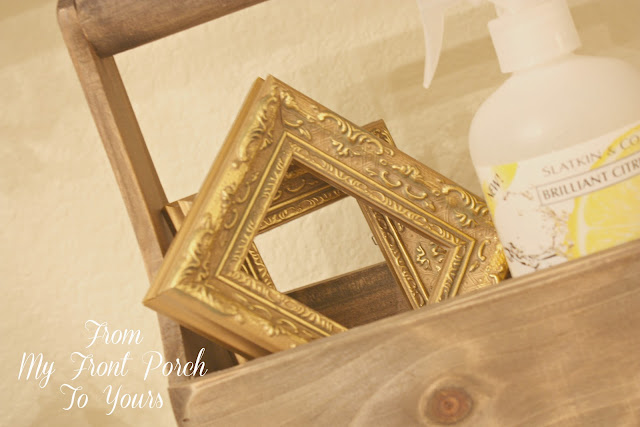 |
| Little gold frames my mama gave me for Christmas. |
 |
| Vintage scale I purchased back in July. |
 |
| Old washboard that I had in here previously. I just turned it around because I liked the black writing on it instead of the red that is on the other side. |
 |
| Note that my before pic here is really awful. I could not find one where I had the new accessories and stuff in there from the previous makeover in 2010 so trust me when I say it did look much better than that. You can see more pics of what the laundry room looked like before here. |
 |
| $100 later and lots of sweat equity I have the laundry room of my dreams and you can too! Just come up with a vision for your space by browsing places like blogs, FaceBook, HomeTalk, and Pinterest. After months of browsing inspirations my final inspiration came from the blog Faded Charm. I fell head over heels for Kathleen's laundry room. You can see it here. Next just look around your house for items you already have on hand and hunt down bargains for the items you do not. It may take a little longer but trust me it will be well worth it in the end! |
Linking up to the following linky parties:
Cowgirl Up
Tutorials & Tips
Wow Us Wednesdays
Blissful White Wednesday
Tutorials Tips & Tidbits
Feathered Nest Friday
Be Inspired Fridays
Fabulously Creative Friday
Tutorials & Tips
Wow Us Wednesdays
Blissful White Wednesday
Tutorials Tips & Tidbits
Feathered Nest Friday
Be Inspired Fridays
Fabulously Creative Friday
Subscribe to:
Posts (Atom)

