Wednesday, November 21, 2018

DIY Christmas Projects For Your Porch-Bouncy Ball Ornament & Fence Board Sign


From My Front Porch To Yours -Christmas Front Porch-DIY- Bouncy-Ball-Ornament

Today I thought that I would go back and share one of my favorite Christmas DIY projects. This one I completed in 2013 and it involved my boys bouncy ball. 
Christmas-DIY-Sign-From My Front Porch To Yours
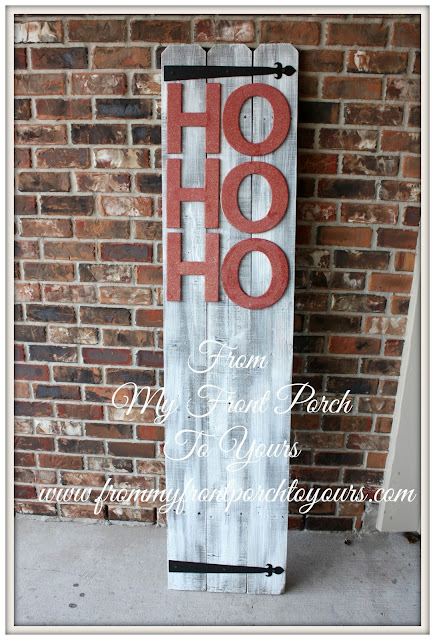
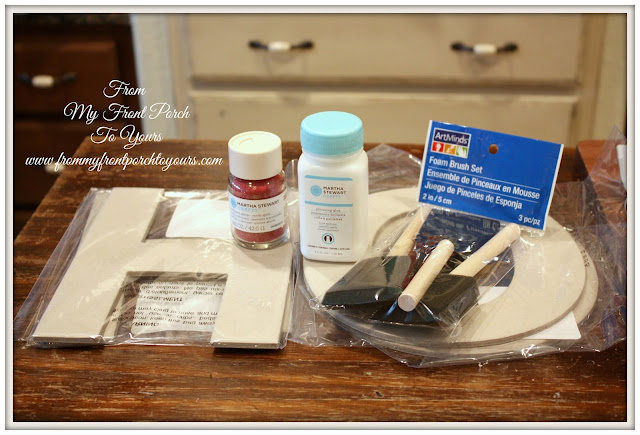
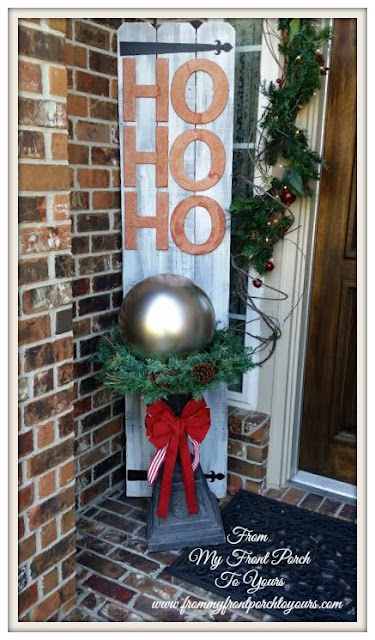
I used three sets of chip board letters that spell "Ho Ho Ho" and glitter. Chipboard letters you can find at any local craft store or you can spend a little more and use wood letters. I would recommend wood if your sign will be out in the elements.
DIY-Christmas-Front-Porch-Sign-Fence Boards-From My Front Porch To Yours
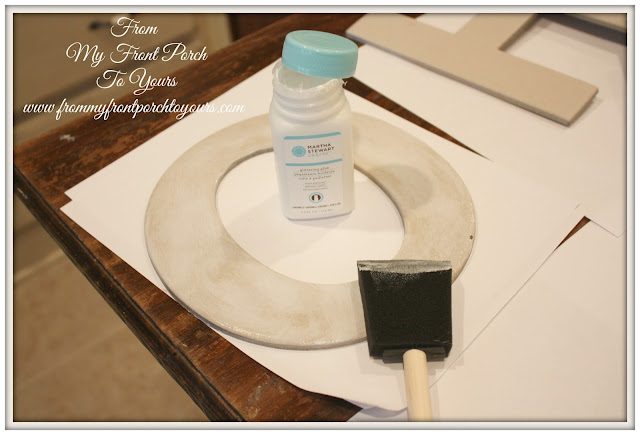
 I needed to spread the glue onto the chipboard letters with a foam brush. Ya gotta work quickly because the glue dries pretty fast.
Christmas-Fence Board-Sign-Tutorial-From My Front Porch To Yours
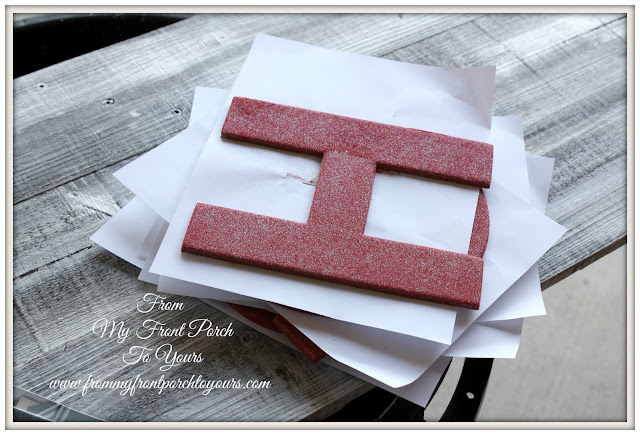
Next I sprinkled...poured...the glitter on each letter. Do this over a piece of paper because you can then easily pour the unused glitter back in to the bottle.
DIY-bouncy -ball- gazing ball-Christmas-Christmas Ornament- From My Front Porch To Yours
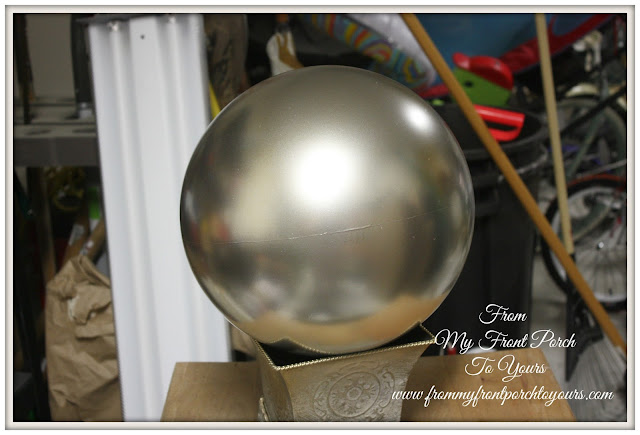
Next up was to spray the bouncy ball to make it look like a gazing ball. Be sure to use a primer for plastic first. I did not and so the ball remained sticky. 
DIY-bouncy -ball- gazing ball-Christmas-Ornament-Tutorial- From My Front Porch To Yours
I was getting really excited after I sprayed the ball. It was looking really pretty.
DIY Plank Sign-Christmas- From My Front Porch To Yours
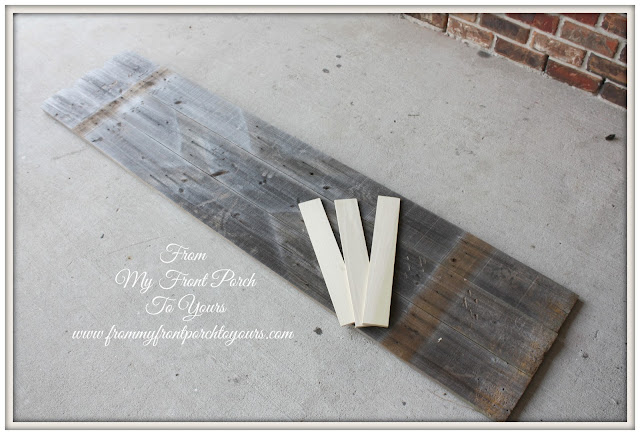
Next up I needed to make something for the chipboard "Ho Ho Ho". I had some old fence boards out in the garage as well as some scrap wood.  
DIY-Fence Board-Christmas Sign- From My Front Porch To Yours
The scrap strips were just the right length so no cutting needed.
DIY planked sign-Christmas-Tutorial- From My Front Porch To Yours
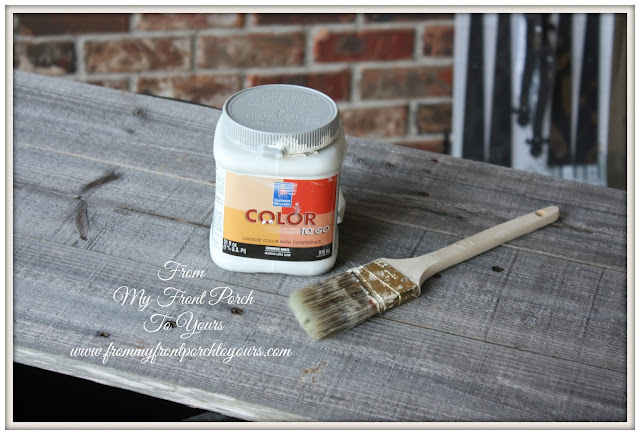
After I attached the boards with screws I dug thru my stock pile of paints and found some white to dry brush on.
DIY-Fence Board-Christmas-Porch-Sign-Tutorial-From My Front Porch To Yours
 I had purchased a few sets of Decorative Garage Door Hardware from HomeDepot when they were on Clearance and decided that they would be the perfect addition to the the "Ho Ho Ho" sign. I only used two straps so I have two more for a future project.
DIY-Fence-Christmas-Porch-Sign-Tutorial-From My Front Porch To Yours
Next up I attached the glittered chipboard letters to the front of the planks with hot glue. I did not want to put them on there permanently so hot glue was the perfect solution. Now when I want to use the sign for another saying I can easily pop the "Ho Ho Ho" off. The hot glue held up well outside since the sign was on the covered porch and not out in the elements. If using wood letters then I would use screws to attach the letters. 
DIY planked Christmas sign-Tutorial-From My Front Porch To Yours
Here is how it the sign came together. 
DIY-Christmas-Sign-Diy-Ornament-From My Front Porch To Yours
I liked how the ball/gazing ball came out but I was NOT in love with it. It was missing something. I ended up adding glitter to the ball to combat the sticky since I did not know to use plastic primer beforehand. I then decided that I really wanted to make the ball look like a Christmas ornament.
DIY-Gazing Ball- Christmas Ornament-From My Front Porch To Yours
After brainstorming on what I could use as the topper to achieve the Christmas ornament look I dug thru our kitchen drawers and found an old water bottle top that no longer had a water bottle to go with it. It was perfect so out to the garage it went to get spray painted. 
DIY Gazing Ball Christmas Ornament-Urn Filler-From My Front Porch To Yours
I attached it with some hot glue. It WAS exactly what the bouncy/gazing ball needed.
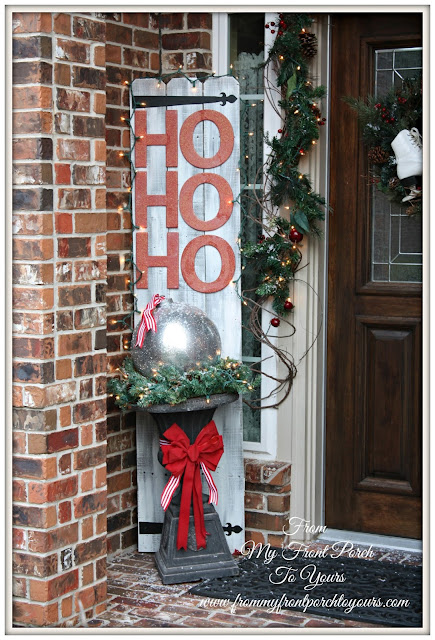
Christmas-DIY-Urn Filler-DIY-Christmas-Fence Board Sign-From My Front Porch To Yours
I really liked how this vignette turned out and now I am thinking I may just have to make another one for the porch this year at the new house!  


3 comments:

  1. What a fantastic and easy (my favorite) project/DIY
    Thanks Pamela- Happy Thanksgiving

    ReplyDelete
  2. Pamela,
    this is one of the best porch diy's ever!

    ReplyDelete
  3. Wonderful front porch project! Thank you for sharing. Love it

    ReplyDelete

I love when ya stop by so leave me a comment if ya have some time! I always try and respond but sadly enough sometimes I am unable to return the love due to noreply blogger status.