 |
As promised I am going to try and explain how I achieved our faux brick wall finish. We started with two faux brick panels from Lowes. You can read about their install in my DIY Faux Brick Wall Part 1 post. |
 |
| Here on the left is what the panel originally looked like and the right is what I am going to attempt to try and tell you how to achieve. Supplies I used:
Faux Brick Wall Panels- Lowes
Artist Paint brushes- you can find inexpensive packs of them at your local craft stores.
Paper Towels- Several Rolls of thick paper towels. I went thru two and half rolls.
Squirt Bottle of Water
Putty Knife
Dap Joint Compound- Lowes
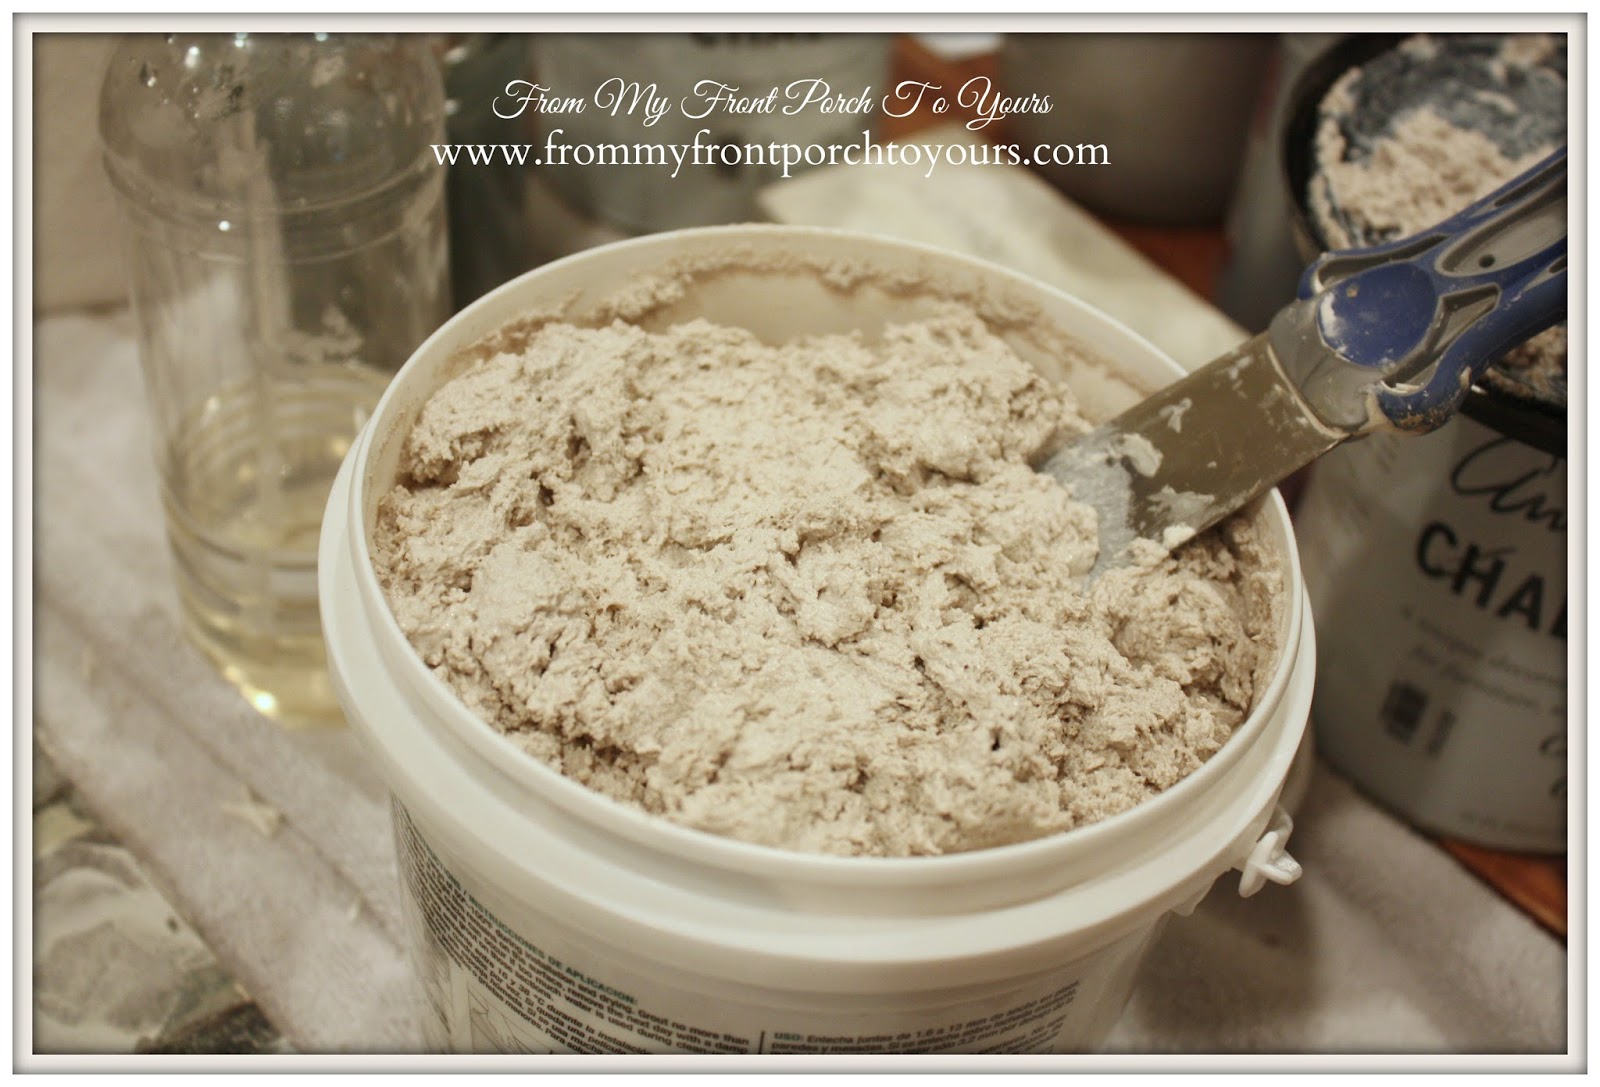
Ready To Use Grout- Lowes
Annie Sloan Chalk Paint- Robyn Story Designs
Miss Mustardseed Furniture Wax & Antiquing Wax- Robyn Story Designs
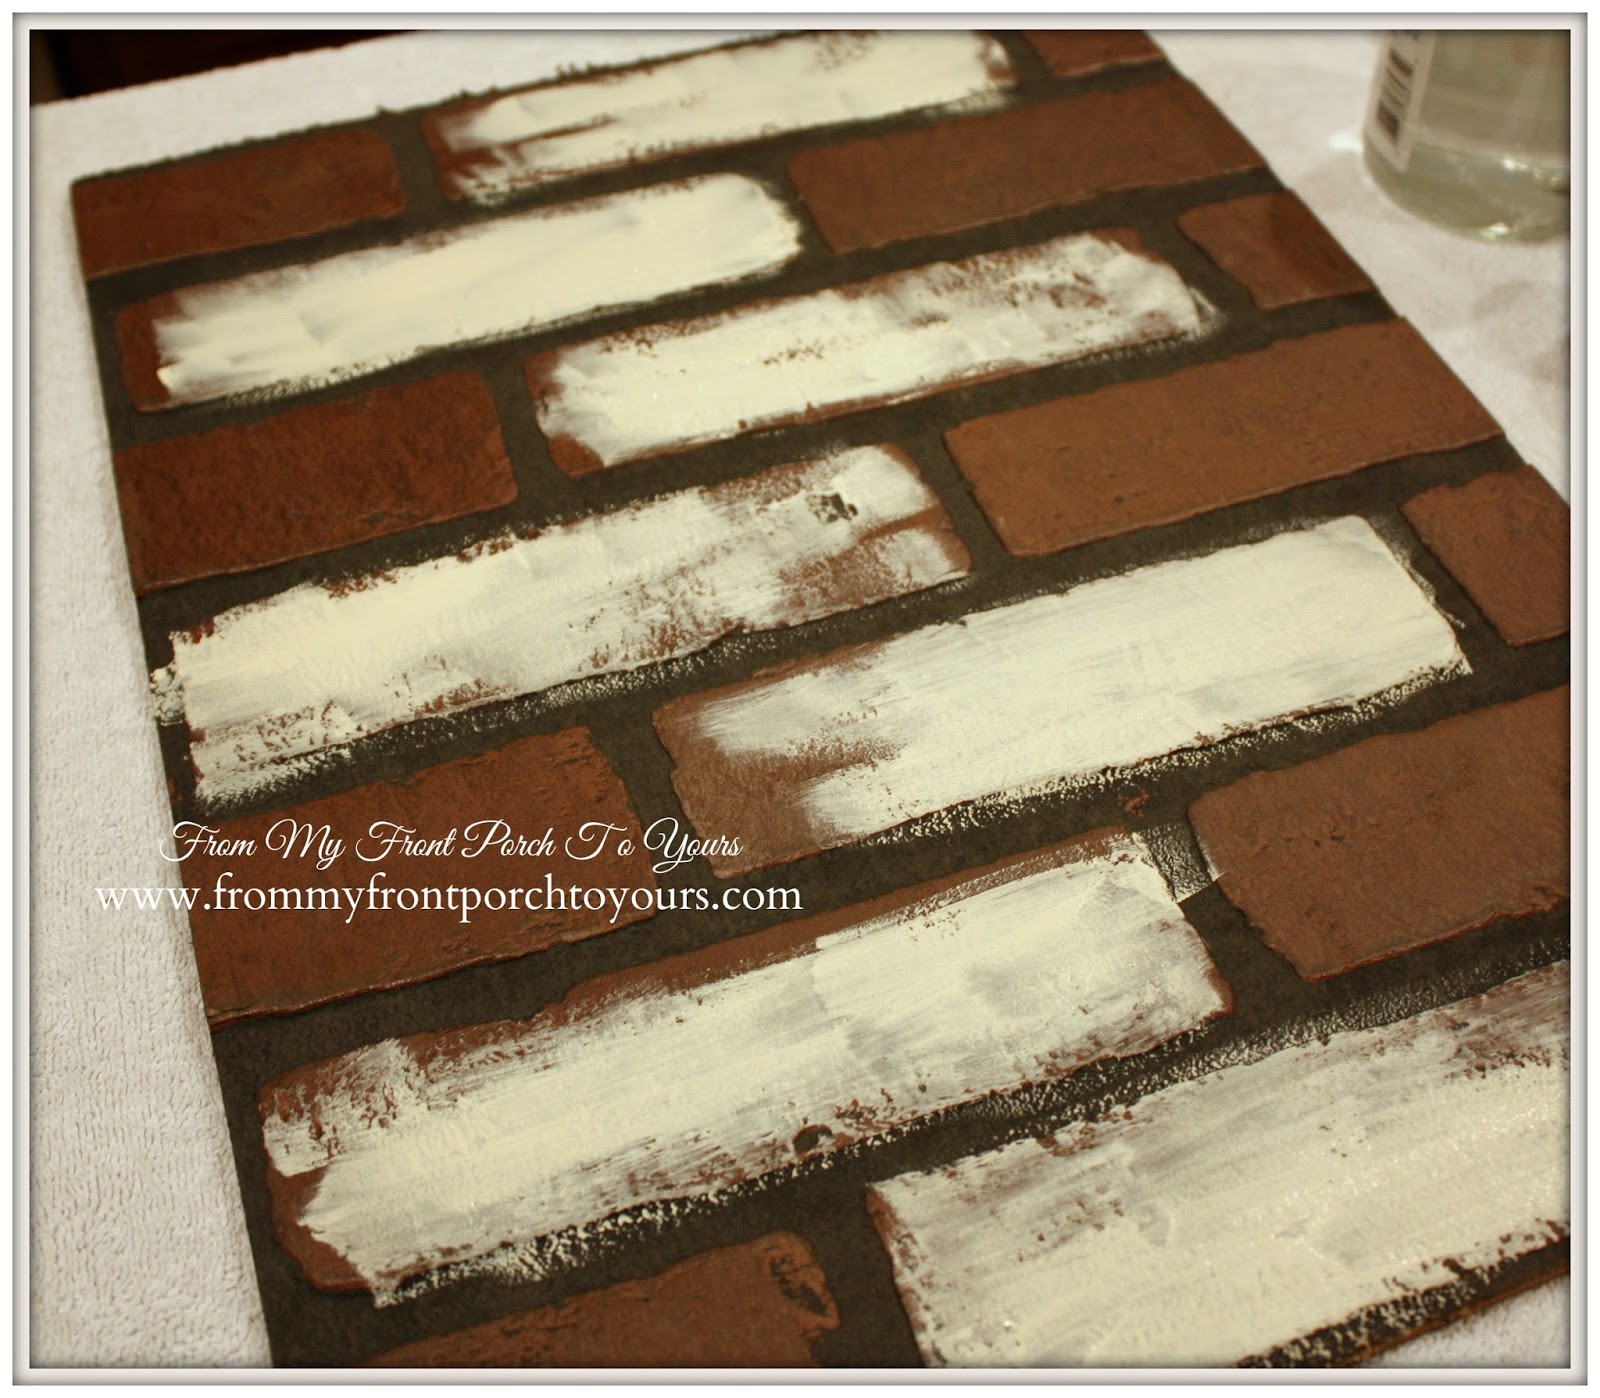
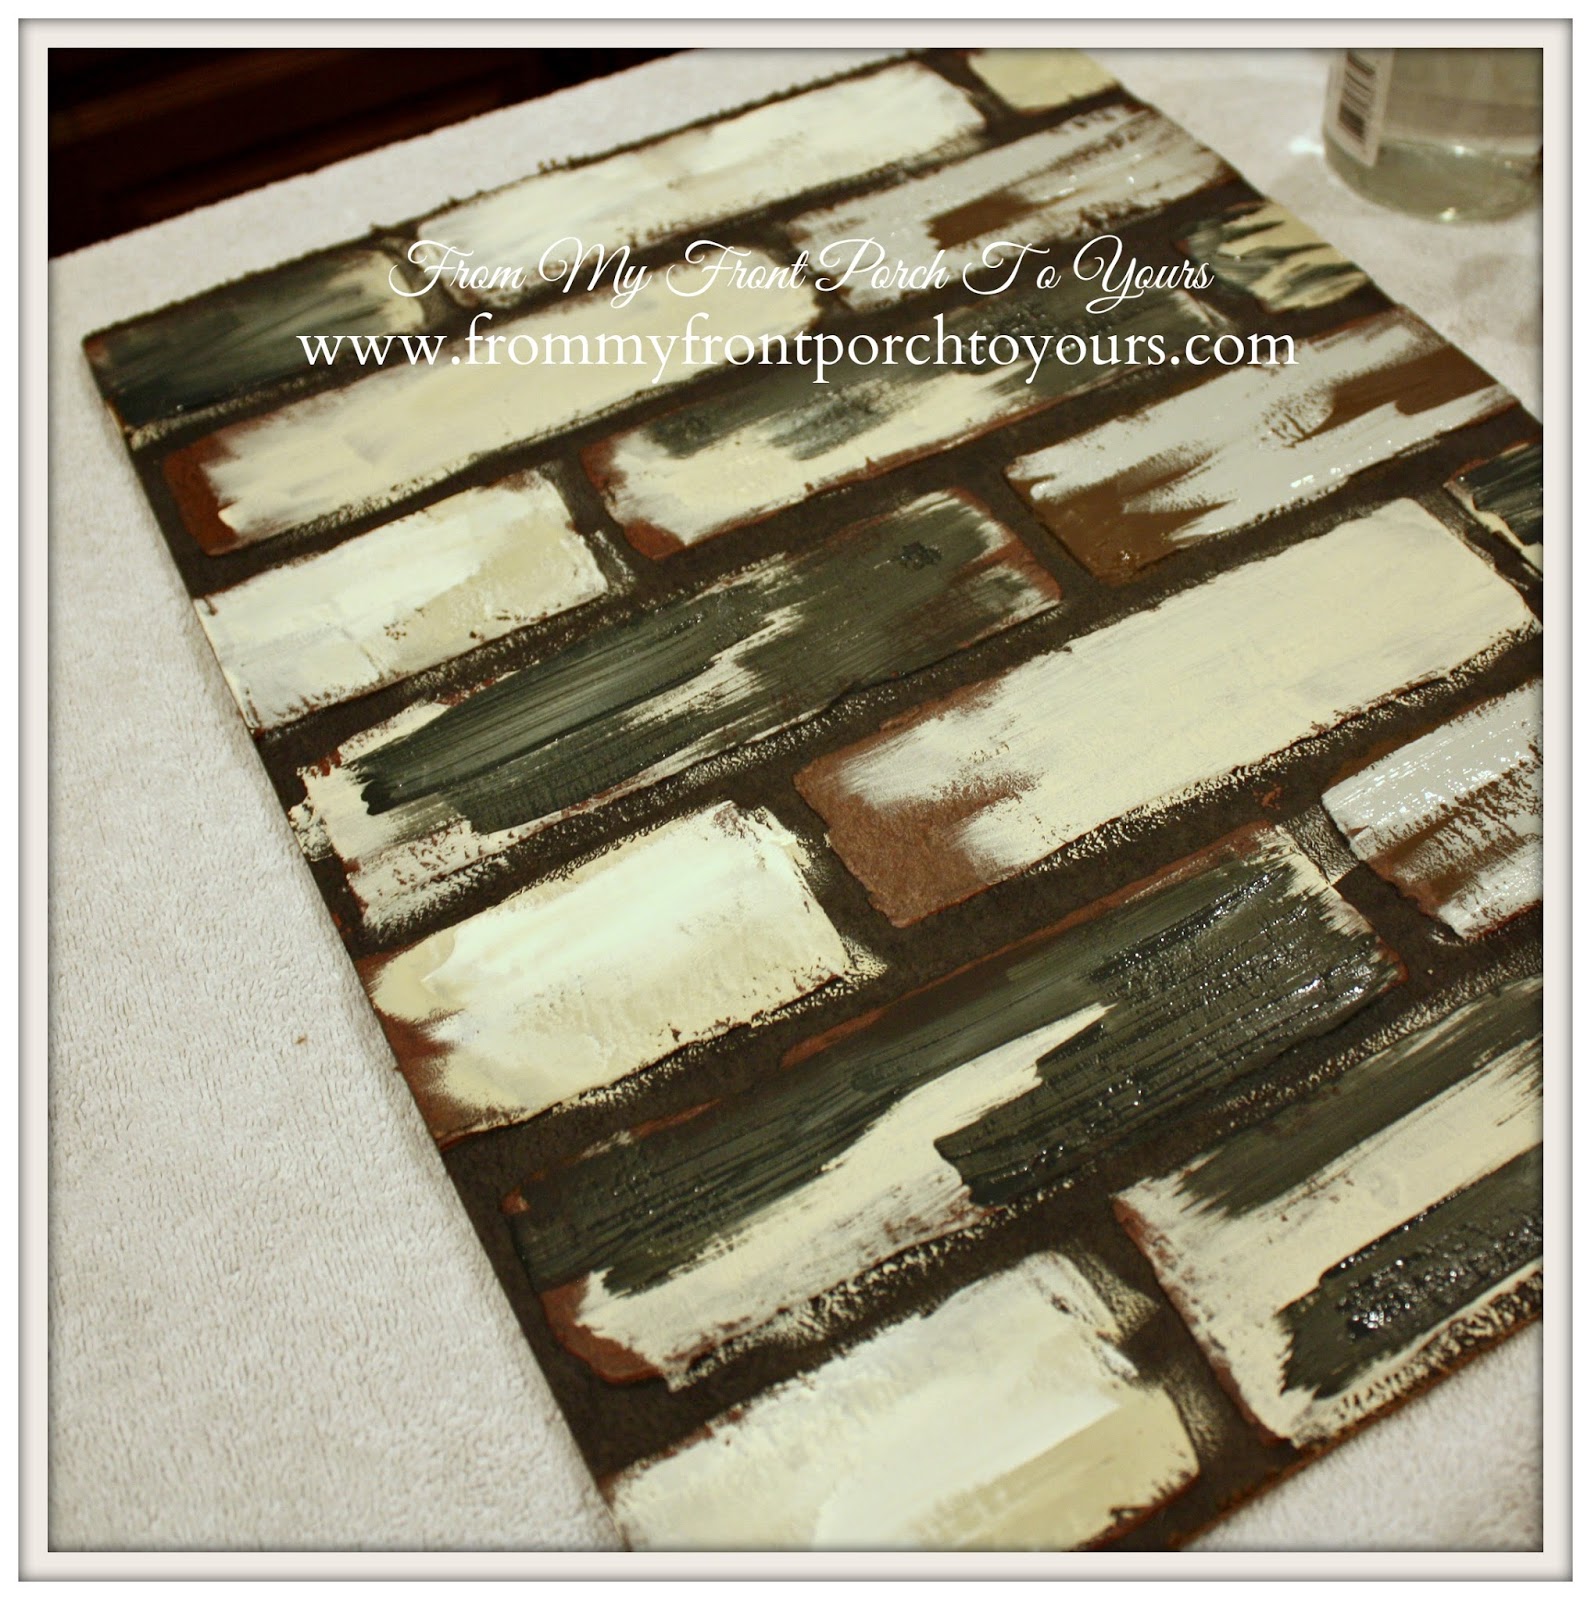
Once you have your paint supplies and joint compound I highly suggest you make a few sample boards before starting on your actual wall. Take note of which colors you use and how you placed them on the bricks. This will allow you to get a hang of the technique and decide on just the right color combination. I made three different sample boards. Your sample board will also allow you ease when choosing a grout color in store. Before you get started take note that you want to work the wall in sections. DO NOT attempt to do the entire wall all at once unless you know for a fact that you will be able to complete your entire wall from start to finish the same day. Trust me when I say this is not possible! My tip is to take pictures along the way after you add your paint layers. This way you can look back at the pattern you started with and can continue on with it with the next section. Hopefully this will make sense after you read the steps. |
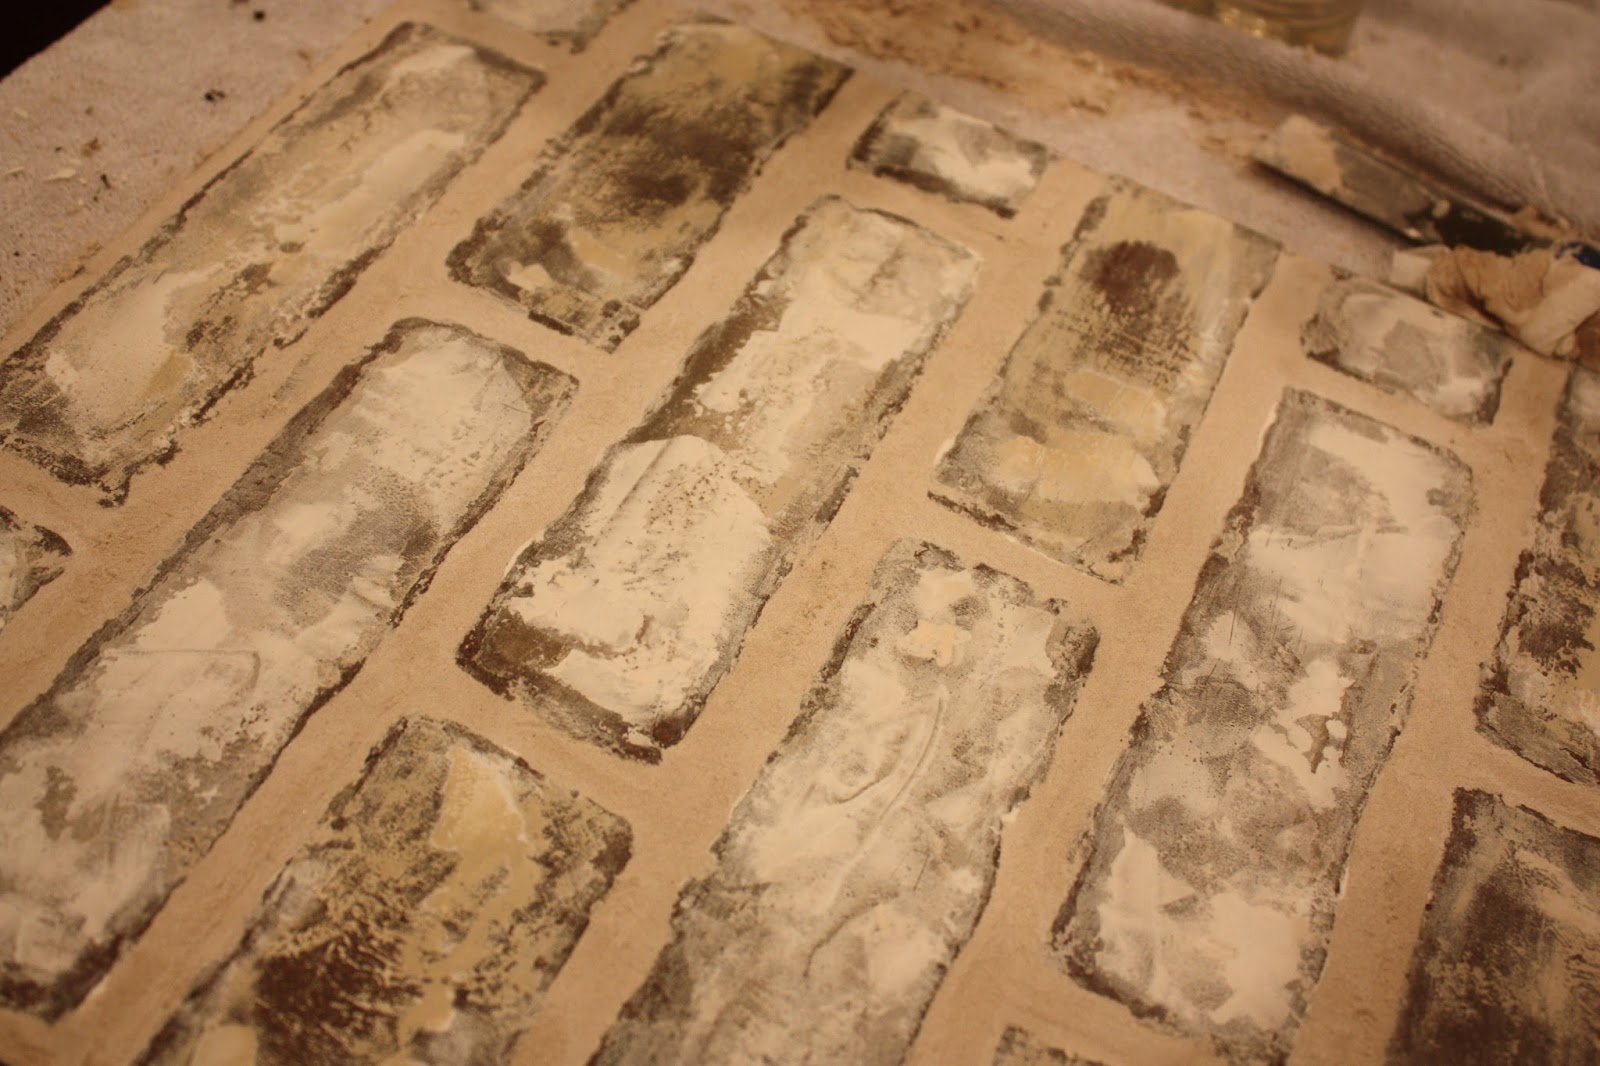 |
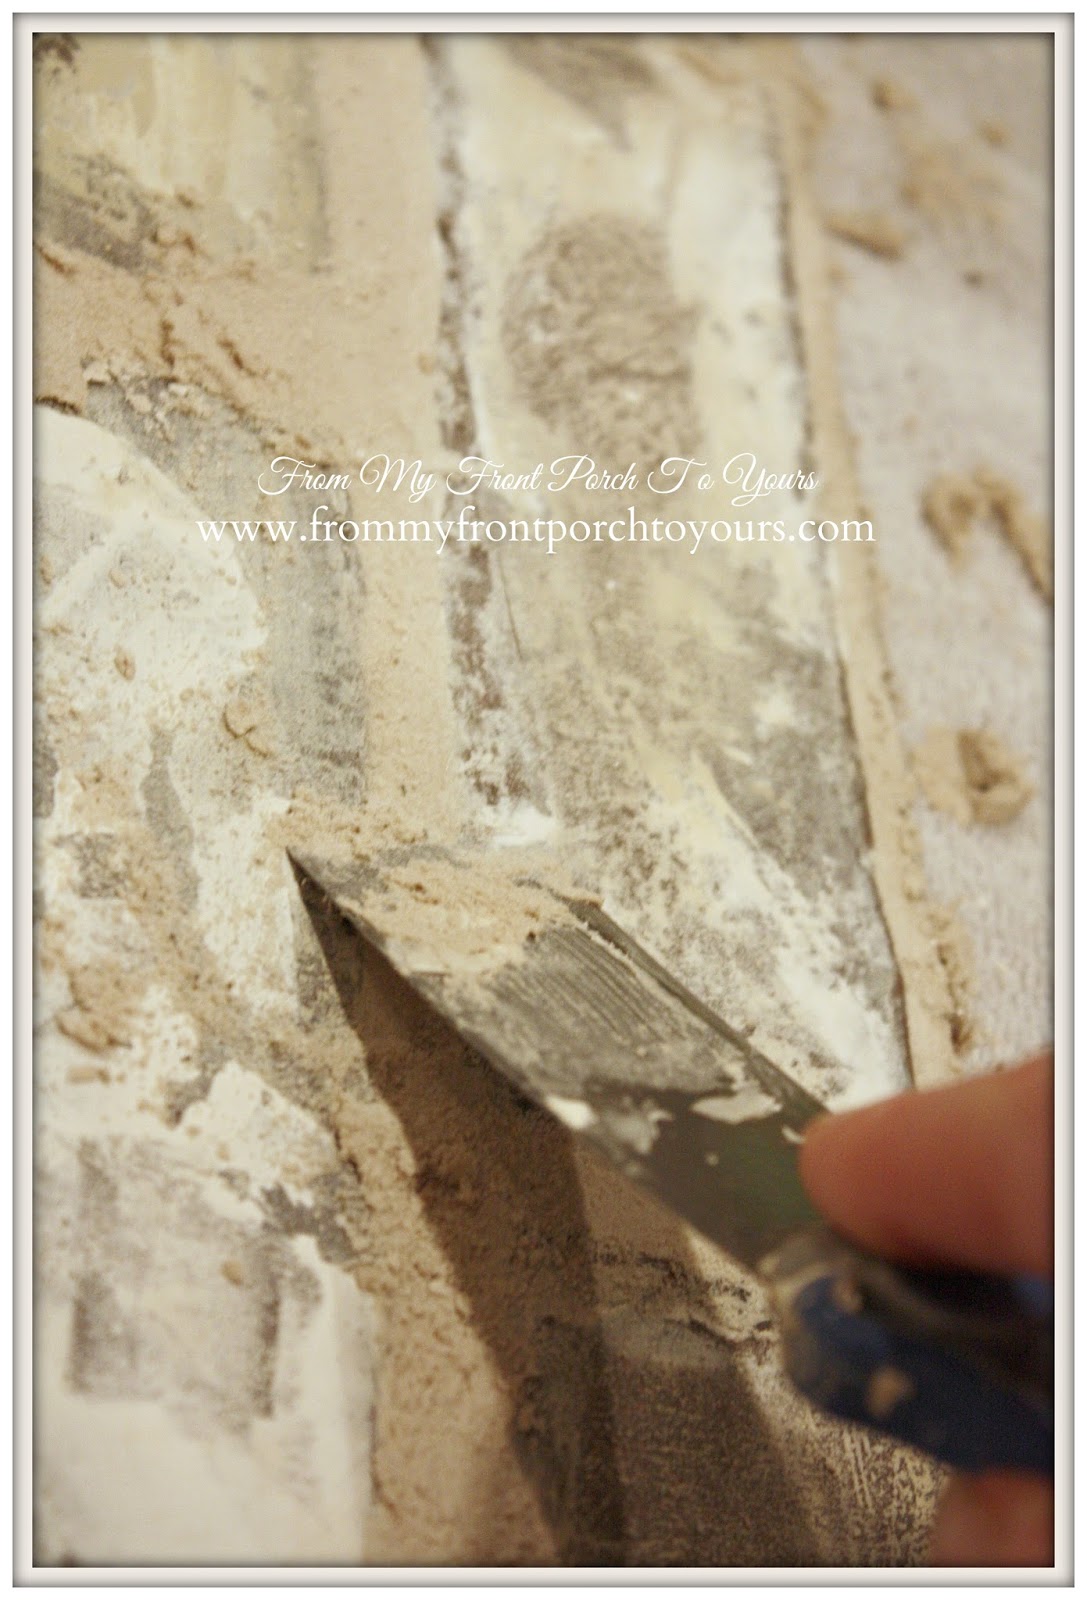
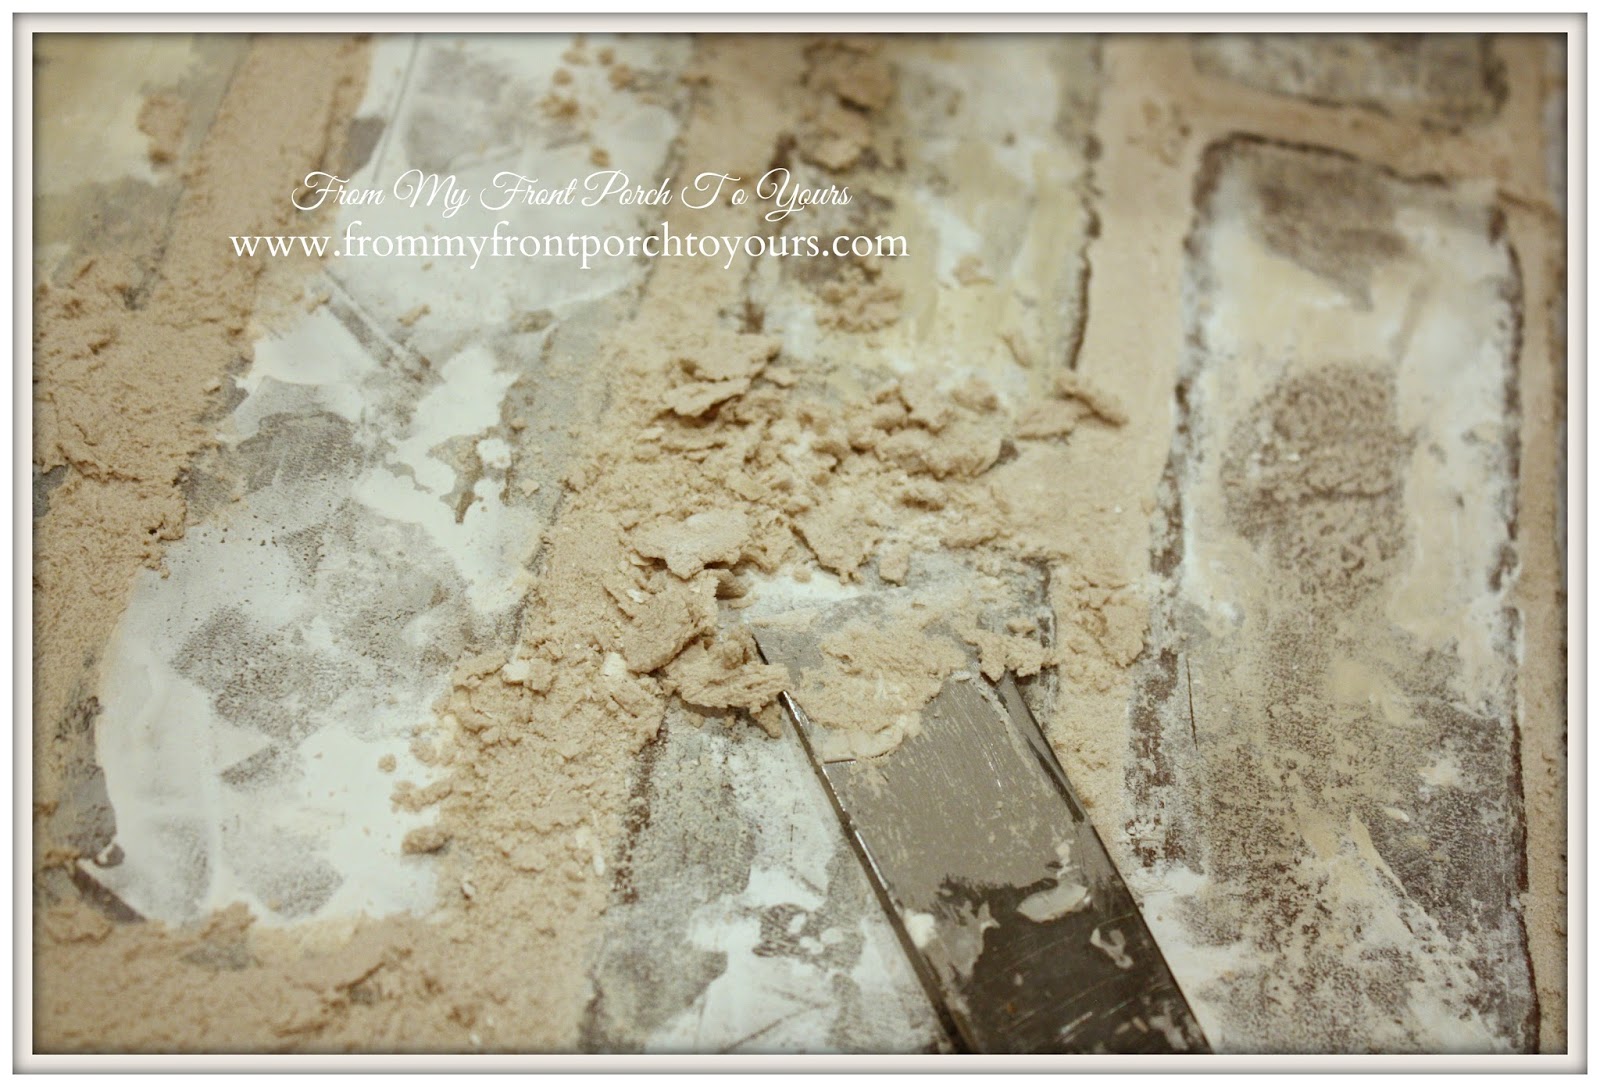
| I chose to scrap around every brick. It highlighted the bricks more. |
 |
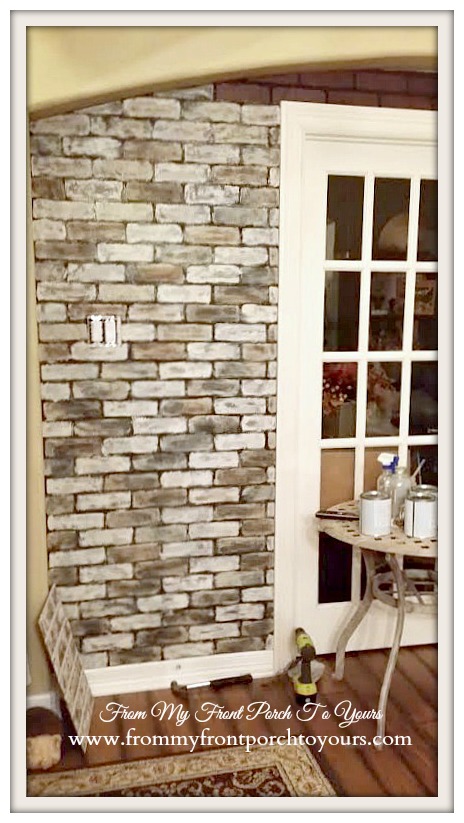
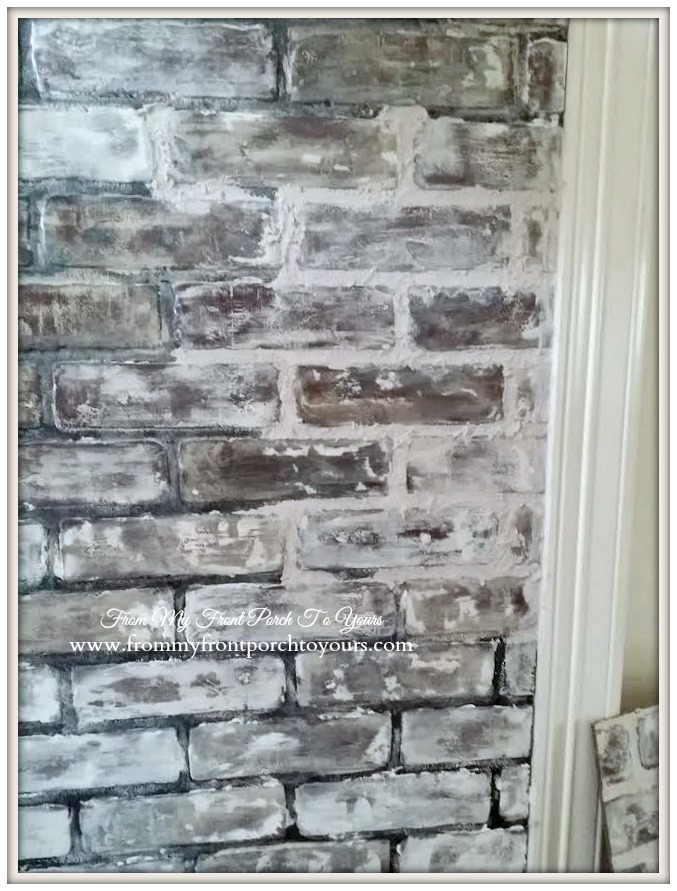
| After many hours of work and knuckle scraping you will step back with a sigh of relief realizing that you actually did make a cheap faux brick paneled wall look like a million bucks. Pat your self on the back and maybe even jump for joy!;) You can see more of this space in my Faux Brick Wall Reveal Post. |
 |
| I hope that I explained things clearly enough? If you have any questions I will try my best answer them. I wish I had some better pictures but again I was working late at night into the wee morning and a lot of times pictures were an after thought. As far as cost for this project if I did not already own a lot of the supplies I estimate the cost being around $360 with purchasing full quarts of chalk paint but having a ton left over for future projects. Since I owned all the paint and wax already my cost came out at around $110. A real brick wall for this space was just over $800 and that was just for the brick pavers and no other supplies. Mind you if I had it in the budget I would have rather used true bricks but you honestly can not tell the fauxed brick panels are not real brick unless you rub your hand across one of the bricks. I am truly amazed out how it all came together and trust me Mr. Front Porch will tell you I am very picky gal. **NOTE This is just how I completed the faux brick wall in our home. I used products that I like to use. It may not be the way others do it and it may not be the way you would prefer to do it. It is up to you to research what you feel is the best way to achieve the look you want. I am in no way responsible for anybody else's project turns out.** Sharing at these fabulous places: Savvy Southern Style |






Looks great Pamela! Lots of work, but well worth it. :) Julie
ReplyDeleteWow Pamela...you put a lot of work into both your project and the tutorial! I love the fresh and bright new look of the brick now and wow that is a lot of BRICK! Great project great tutorial great post!!!
ReplyDeleteWishing you a wonderful weekend to just sit and admire the fruits of your labor!
XO Barbara
It turned out beautiful, Pamela, and makes such a difference in your space. I'm getting ready to tackle a faux brick project as well, and I hope mine turns out looking so great!
ReplyDeleteAngie @ KnickofTime.net
Wow, what a lot of layering and work, but oh the outcome is worth it. You did a fabulous job and no one would know those are faux. Good job!!
ReplyDeleteWow, it became very pretty. You did a fantastic work here.
ReplyDeleteHave a great weekend
That is seriously crazy how you figured all that out, and your patience paid off it looks like a freaking brick wall!!!
ReplyDeleteI am so in love with this idea, thank you for sharing it! I am going to try this in my home, but in a much smaller space. Your tutorial makes sense and seems very thorough! Thanks again!
ReplyDeleteAbsolutely Amazing Pamela! LOVE IT!
ReplyDeletePamela, I am so impressed with your faux brick wall! It looks fabulous and you did an excellent job with the tutorial. Pinning!
ReplyDeletePamela, This is so amazing! I am currently working on Faux brick myself for our room...I am going about it in a different technique....not quite sure how it is going to turn out...but yours looks amazing! Tons of work but definitely paid off!
ReplyDeleteDeb
Wow, it looks great, Pamela! I did a faux brick project using joint compound to create the bricks. Yours looks like a much less messy process.
ReplyDeleteWow Pamela...you certainly did work very hard to achieve the look and it looks amazing!!!!....Gorgeous job!!
ReplyDeleteWow and wow! Talk about a lot of work! I love your finished project and how fantastic it looks but this girl won't be undertaking this project. Whew, I'm tired just from the tutorial! Haha. You are my hero!
ReplyDeleteI know this is going to take lots of time but I'm up for this challenge. Thank you for this tutorial. Have a spectacular weekend! Hope
ReplyDeleteHi Pamela,
ReplyDeleteI was waiting for this and glad you posted. I am thinking of doing a wall like this in my home. Lot's of work but well worth the end results. Your wall looks so great. Great job!!!!
Kris
Your wall looks really really great! Goes to prove if you do a job that you want to look good, you have to take your time and lots of (work) to do it. Again wonderful job...Love it!!
ReplyDeleteIt looks fabulous, and I know from experiance what a time consuming job this is.
ReplyDeleteLooks amazing in your home.
Xx
Dore
Amazing!!! You are totally creative and resourceful too!! Your directions are so easy to follow and understand. Even your warnings!!! I think you should be paid by someone ASCP?? For using her product for more than just furniture?!!!!
ReplyDeleteI will DEFINITELY be trying this soon! Looks great!
ReplyDeletePamela, I just left you a comment about how wonderful I thought your brick wall looked on your post at Wow Us Wednesdays. After coming over to this post and seeing all what you did, I have to change my comment to AMAZING.This is a true work of art and I can't even imagine starting a project like this. Beautiful job and so realistic..Happy Tuesday again, Judy
ReplyDeleteHonestly? One of the best if not THE best DIY projects I've seen in a long time. You nailed it. Stunning, gorgeous, fabulous, perfect. Love it!
ReplyDeletejust unbelievable--gorgeous result--
ReplyDeleteYour perseverance and patience is commendable
Do you think this would work for a kitchen backsplash?
ReplyDeleteHi Mari. Thank you for stopping by today. Yes, you could use it as a backsplash if you wanted to but my fear would be if any grease or anything splashed on it it would stain the finish on it. I personally would go for something like a travertine tile that looks similar to a brick like in my kitchen. To be honest taking out old tile and replacing it with new was far easier than creating the faux brick and took a lot less time. Now you could just use the same panel and just paint it white for a subway tile look and seal it with a clear sealant and that would be cool.
DeletePamela -- Again let me say I am in awe of your creativity. I live in a rental apartment and need to do something that can be dismantled. In the meantime after commenting on your tutorial I discovered a product on Amazon, kind of a faux brick contact paper, supposedly with some texture -- it had fairly good reviews. I'm thinking of ordering a roll and testing it to see if it needs/can hold up to any further "faux-ing" a la your technique.
DeleteYes! You just add one final step: coat the panels with a protective sealer made for concrete. It waterproofs the panels and provides a matte/invisible shield that resists stains, grease, etc. It can be found in Lowes or Home Depot with the concrete stains and other products.
DeleteI have been wanting to have bricks layed over the ugly concrete on my front patio area. I wonder if this would hold up to Florida weather?
ReplyDeleteYour wall looks fab! Good job.
You sure created an amazing wall! A lot of work, but it sure paid off!
ReplyDeleteJP
A beautiful job, but more work than I'm up to right now....
ReplyDeleteI will be looking at real estate soon, and now i need to remember to check and "brick" walls to be sure they are really brick! In the photos this looks so realistic. And it's something new to think about as I look at a room I want to "fix up." Thanks for sharing this and for taking so many photos and writing it all down in neat "chunks." It must have added a LOT of time to the whole process. Again, beautiful job!
Thank you for posting this!! My husband and I are currently revamping an old general store to make into an antique shop- as most old buildings are there are additions everywhere! So much paneling & some can only be "easily" replaced with more paneling. Brick panels look ok painted but they look amazing painted when you take the time like you did and if it wasn't for you I wouldn't have known how to do such a good job! Thank you So much!!
ReplyDeleteHi Pamela! Wanted to share my before, during and after with you since your project inspired me!!! I did a lot of the steps in your tutorial. It is a TON of work but $150 compared to $500 is an easy decision! Let me know if there's a place I can send photos!
ReplyDeleteRachel
Hi Rachel! I hope this response gets to you but I am not sure it will since you are coming up as unknown. You can email pics to me at frommyfrontporchtoyours@gmail.com
DeleteI love what you've done with your wall. I have a few outdoor projects id like to make look more rustic. Id like to give some planters a textured appearance. Some of them are metal. do you think grout would adhere to metal? I would need something that would withstand the weather. Any suggestions?
ReplyDeleteWow, great transformation! Although your before is nothing like our before! (ah, temporary rental homes and no money).
ReplyDeleteLOVE it! Read more
Looks really great! The best transformation look.
ReplyDeleteExcellent job and great detailed explanation! I love the colors you selected and your blending work~your wall definitely is my favorite brick "look"..I've seen something similar done on Fixer Upper (HGTV) and yours turned out just as nice, if not better! I will be ordering some of the Annie Sloan chalk paint for sure! Heard good things!
ReplyDeleteJust to clarify...the compound is used for aging and texture and the grout mainly to help the brick outline stand out. Would I need to use grout?
ReplyDeleteSo I already made the mistake of the pink joint compound:(
ReplyDeleteI had already planned on white washing over my German schmear anyhow, will the white paint cover the pink tinge do you think? I'm heart broken
It very well may. Sorry that happened to you! I was so irked when I could still see the pink.
DeleteHi! I love this, thanks for the clear steps. I would like to do this but it become more dark/brown in color. Would you recommend a darker/brown grout? Not using white paint, just the dark colors? Thanks for any advice!
ReplyDeleteThen yes I would choose whatever grout color goes best with your color scheme.
DeleteYou might have already answered this and I apologize if you have. Why didn’t you use the joint compound as the grout? I would think they would work the same.
ReplyDeleteDifferent texture. The grout makes it look and feel like real brick. Joint compound has a smooth texture where the grout is gritty.
Delete