 |
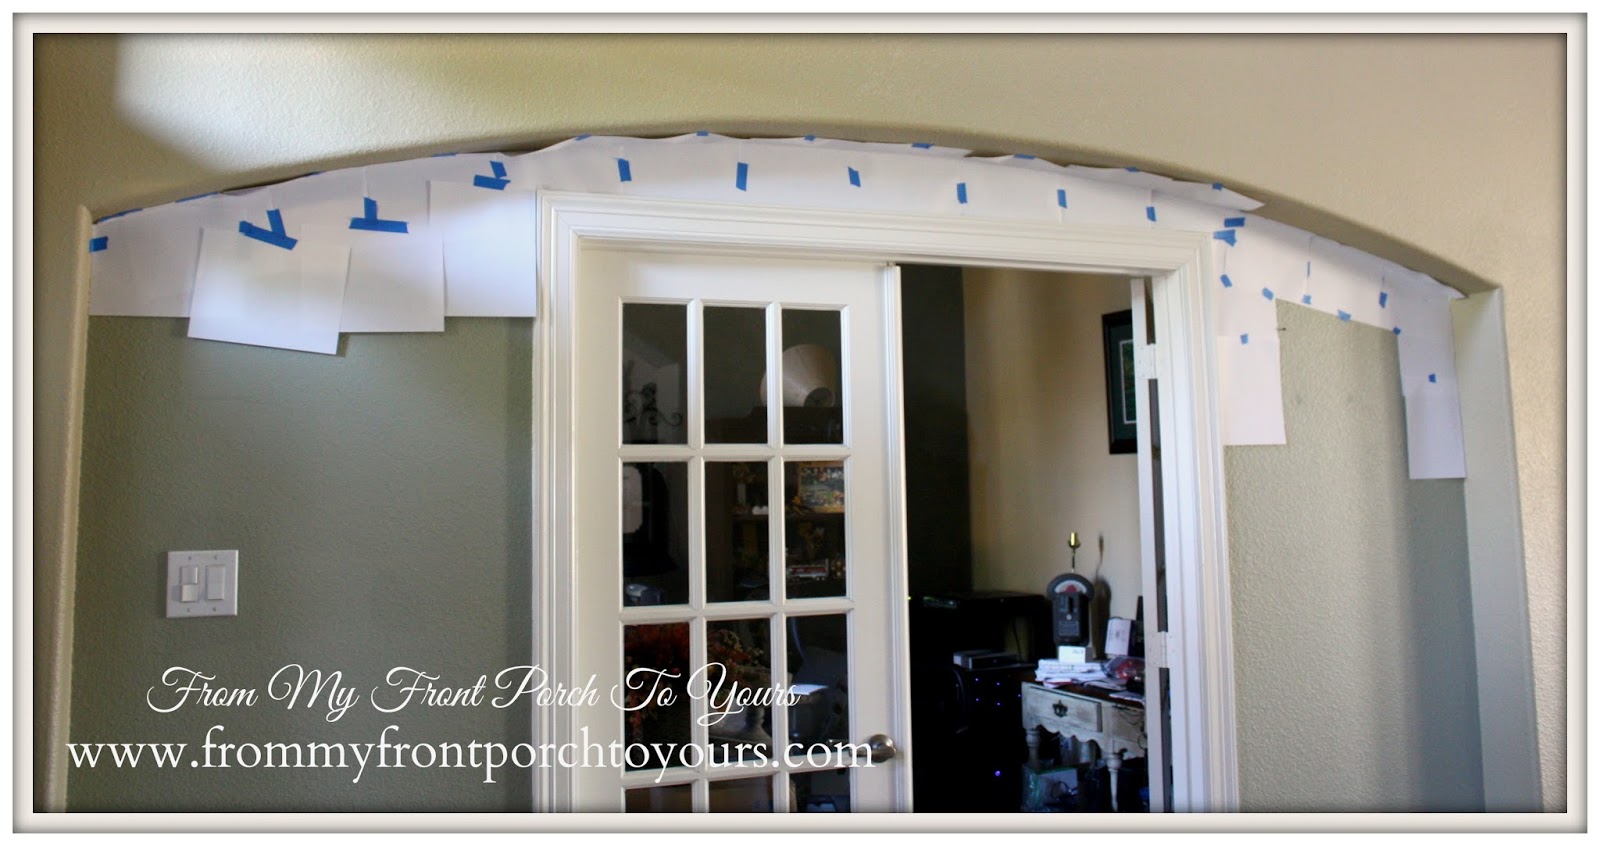
| First I made a template for the arch with just tape and plain printer paper. |
 |
| Next up I brought in my faux brick panels that I purchased from Lowes last week. They cost $26 a piece and are on the heavier side because of their size so it would have been helpful to have had Mr. Front Porch with me but I managed. I thankfully only needed two because I would not have been able to fit anymore than that in my SUV. I had to drive home with the lift gate open!:) |
 |
| After taking the measurements I used a red sharpie to draw out the outline of the template. |
 |
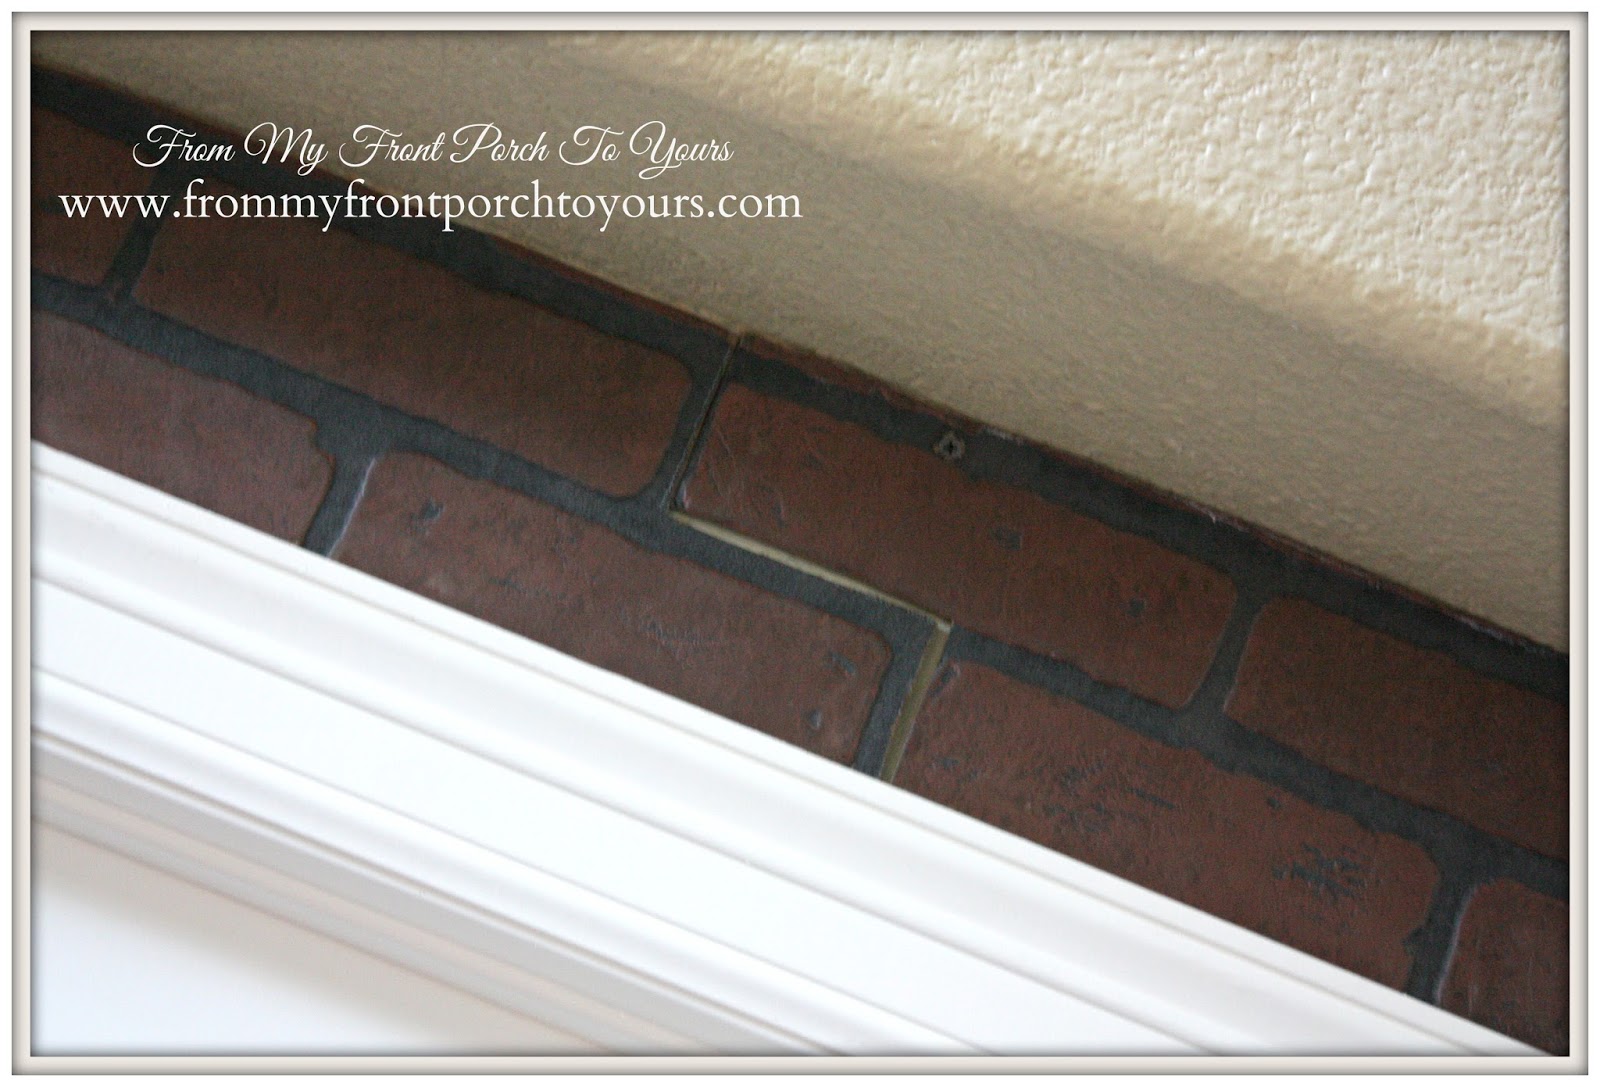
| The first panel went up really fast. The second not so much but that was ok. It was an easy fix. Just meant a little trimming here and there. I attached the panels to the wall with dry wall screws. |
 |
| I am so thrilled to have the panels up and thankful that Mr. Front Porch agreed to help me when he could have been watching football instead. I think I will keep him around!;) Mr. Front Porch is sorda scared with how dark the "brick" is now but I keep telling him to just trust me. Now I am in the process of figuring out the finishing process. I know I will be grouting the grout lines. Along with painting the bricks I am also wanting to add texture to make the faux bricks look more realistic. They have a little texture but not quite enough. Stay tuned for sample boards later this week. I have received several questions about what the faux brick panels are called so I have linked back to the Lowes website for those wanting to see. Visiting this fabulous blogs: Between Naps On The Porch Coastal Charm A Stroll Thru Life My Uncommon Suburbia Savvy Southern Style French Country Cottage |


What a great idea, Pamela and I know you will make it look even better.
ReplyDeleteHow exciting Pamela! I must say, I am dying to see the finished product. I once had this very same faux brink in my basement years ago. I am very intrigued to see the grouting and painting of the brick panels, exciting! Keep us posted. xo, Liz
ReplyDeleteThis is so fabulous! I will be looking forward to the next stage.
ReplyDeleteHi Pamela,
ReplyDeleteOh I cannot wait to see what you do to finish this. I have been thinking about doing this too so I will be curious to see how this comes out and how you do it. Excited to see the end results.
Kris
I've been wanting to do this forever but they don't sell those panels in any of the local stores! boo Loving your wall transformation!
ReplyDeleteIt looks great! Looking forward to seeing what you do to the brick next!
ReplyDeleteOh Pamela, I have been wanting to do this for awhile but am always scared it won't come out looking like the real thing. I know you are going to make it look gorgeous. I can't wait!
ReplyDeleteIt is gorgeous, Pamela! You won't believe me, but I have been thinking of the same thing. LOL.Got to show my husband this post! :) Enjoy your day!
ReplyDeleteIt looks terrific and when you get done it will be fabulous! We did real stone around the bar downstairs, got it from Lowes too. They come in 6 by 18 sheets and go up pretty easily. Here is the link if you want to check it out:) http://designsbypinky.blogspot.com/2014/10/fall-home-tour.html
ReplyDeleteLove, love it!!!....I used something similar in my very first home in the kitchen...no one realized it was "faux"...the wall looks great!!!
ReplyDeleteCan't wait to see what you do with the bricks !
ReplyDeleteI'm a lover of brick & I ADORE this! The color of the faux brick & style go perfectly with the trim & doors ! Love it!!
ReplyDeletePaige.Rose
www.TheQuaintSanctuary.blogspot.com
Ohhh it is gonna look great! love the brick....
ReplyDeleteOh It looks great already! I had a very good friend of mine that hand painted the bricks in his foyer. What a labor of love that was. It was just a plain flat painted foyer but he did it all by hand. Your solution was much easier:)
ReplyDeleteWow! I love it already and can't wait to see what you have planned. I had a laugh when I looked at your photo of the panel being sawn before I read the caption. I thought to myself, "Hmmm, Pamela likes the natural legs look." LOL!!
ReplyDeletekeep us posted....on pins and needles here. Can't wait for your reveal. Please tell us how you finish them when you do. Carry on! Thanks, Kathryn in California
ReplyDeleteI'm a big fan of brick too . . . and LOVE what you did with the faux brick!
ReplyDeleteThe treatment/change brings so much character to that arched wall. Great idea, Pamela!
And hats off to your husband . . . He did great job :0)
Thanks for the inspiration!
Suzanne
I can't wait to see the finished project!! I have been wanting to add faux brick to my dining, so I'm looking forward to seeing yours!
ReplyDeleteThis looks SO good! I've seen it done before where it's looked pretty good, but I think because it's in your archway it really sets off the look!
ReplyDeleteI am so curious to see what and how you did. I have had stone paneling on one wall in the Living Room for years and have done several different finishes on it with the last one being done just 2 years ago. i love the sneak peek you have shared !!
ReplyDeleteHugs,
Deb
I love this! I wonder if this brick paneling could be used for back splash? Can't wait to see the finished brick.
ReplyDeleteDo you remember what these panels were called at Lowes? All I have seen is the "AirStone" and we have such a large wall that we want to do it would just not be possible.
ReplyDeleteAshley I am adding a link for the panel at the end of this blog post. It will take ya to Lowes website so you can see what it was I used.
DeleteMargarita you can surely try but it will be a LOT harder to work with. It dries very quickly and if it is not how you want it to look then you will just be stuck with it. It dries hard like cement so you will not be able to get it off like you can the joint compound. The joint compound was hard enough once it dried. You would have to work in very very small ares at a time.
ReplyDeleteThank you kindly... I'm going to try this. Looking forward to more of your postings. :)
ReplyDelete