I went shopping today. It has been awhile since I went shopping and actually purchased things. I have been trying to be really good and get only things that I HAVE to have and just can not live without. Well today HomeGoods was really bad for me!;)
 |
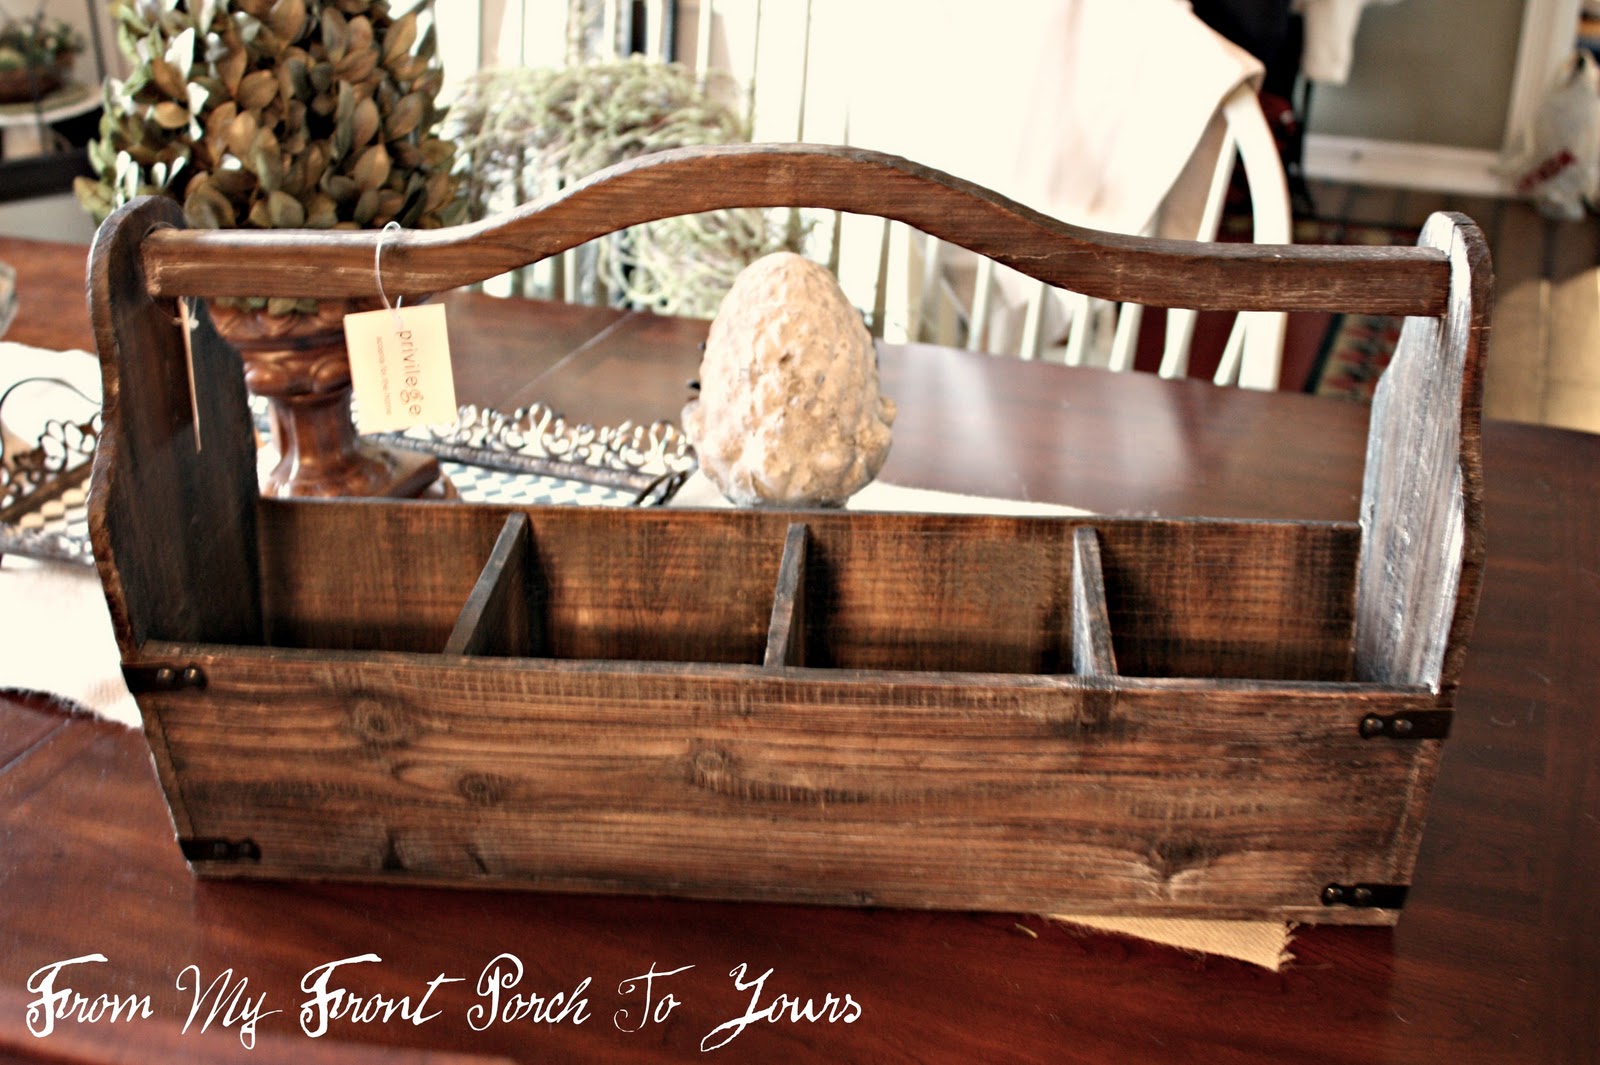
| Look at this awesome rustic tool caddy! As soon as I saw it things that had already hopped in my cart quickly hopped right back out. I knew this was a piece I HAD to have!;) |
 |
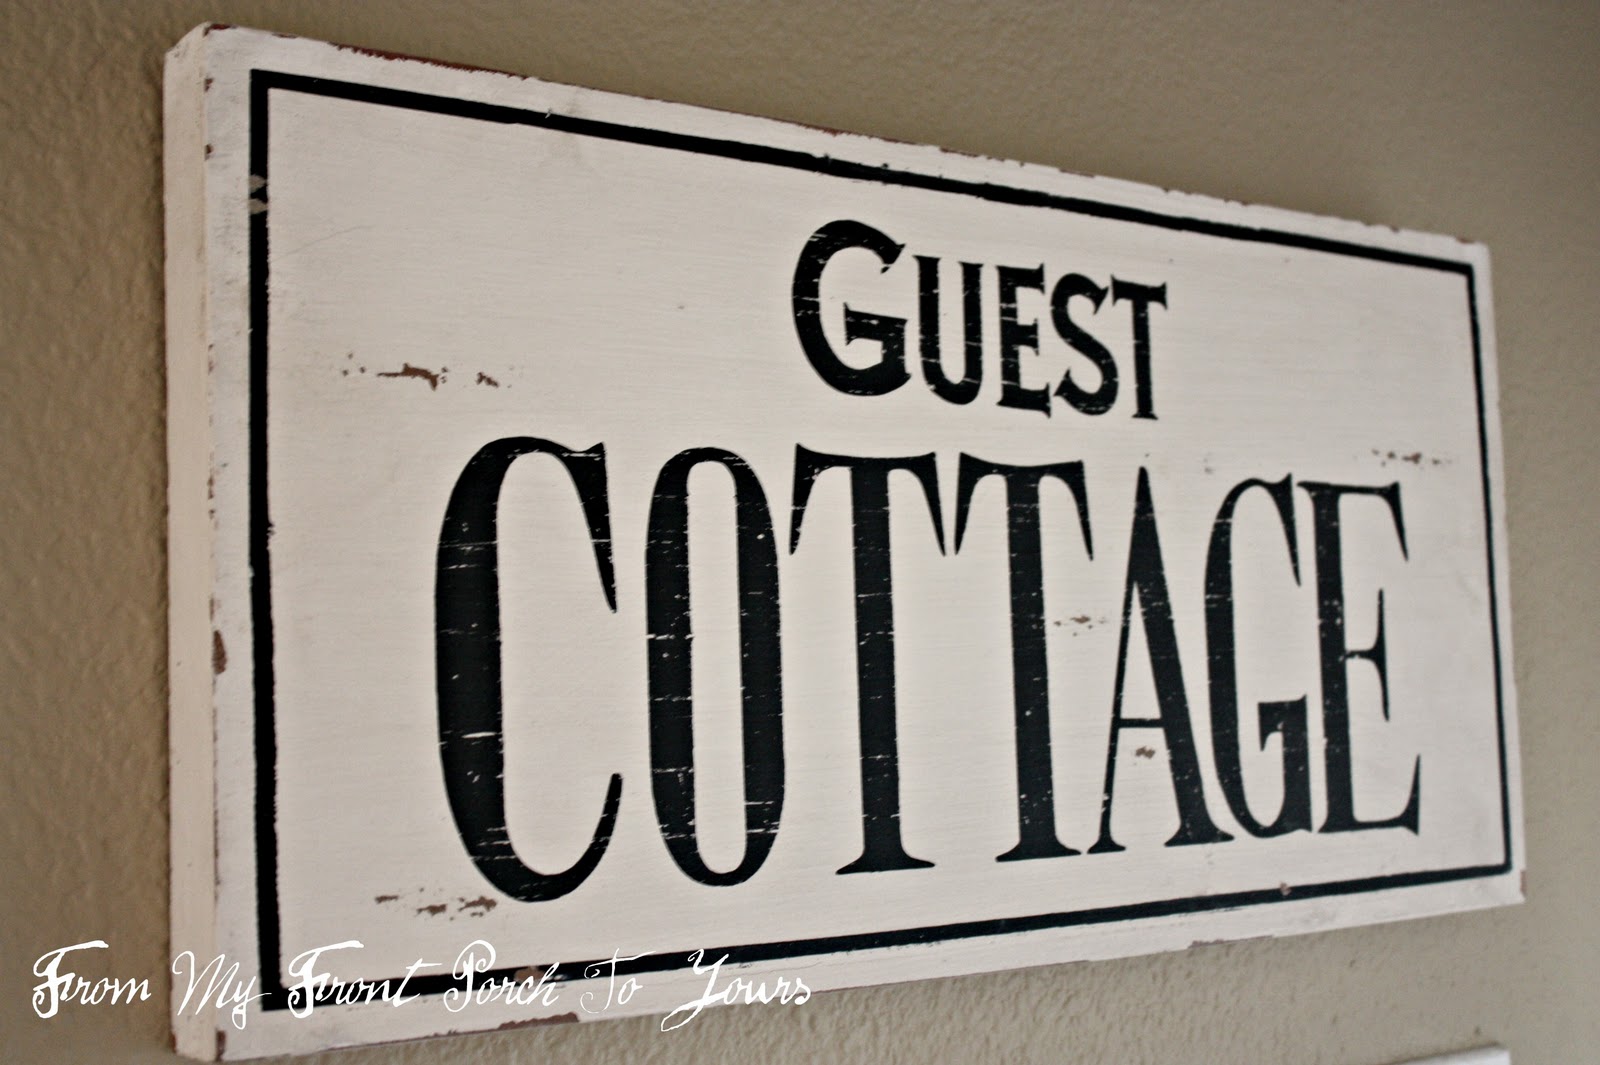
| Next up I found this cute Guest Cottage wooden sign. The lettering is not quite the styling I was hoping for but I figured I would bring it home and try it out since I had been hunting for one for awhile now. I think it is a keeper. Wait till you see where I put it. |
 |
| Next up I found this cute little plate rack and I say little because even though I thought it was big when I got it home it would not fit most of the dishes I had even the small ones. Hmmm, maybe why HomeGoods got them. I did though luck up and had some pretty little white plates that fit. I am still messing around with the decoration for it and the space it is in. I will share that soon as well. |
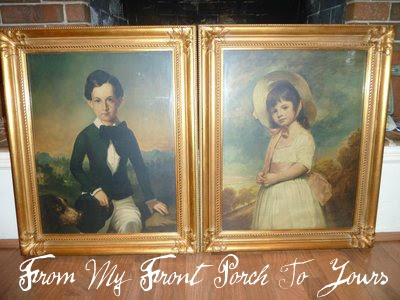 |
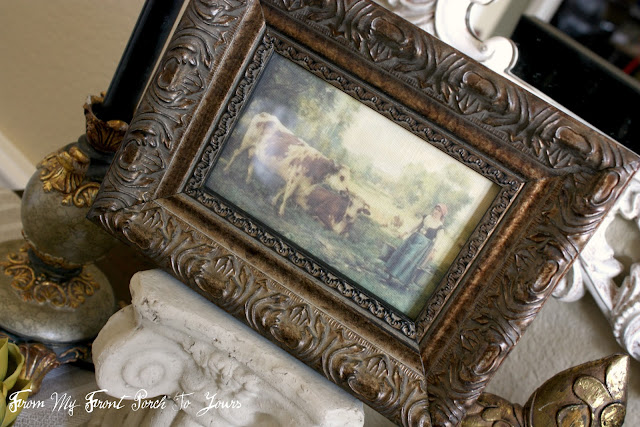
| Then the boys and I headed to look at these beauties that were posted on the local yard sale site. Needless to say they ended up coming home with me too!;) I told you today I did some serious shopping!;) |
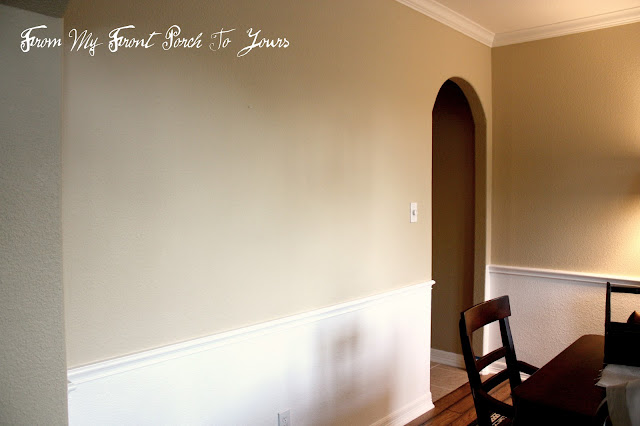 |
| When I saw those precious pictures I had visions of them going here on the blank wall in the dining room but now I am torn. They would look fabulous going up our stairs with a mirror hanging in the middle as well. Decisions decisions! Also if anybody knows anything about those portraits please let me know. The gal who was selling them tried to research them as did I and we came up with nothing other than they are very old. The paper on the back of one was gone and on the other it was super thin and falling off from old age. |
 |
I am linking up to the following link parties:
|


