
So the painting is done in our master bedroom. If you missed all the BEFORE pics you can click HERE and also enter to win a $50 Sherwin Williams gift card to go towards redoing a space in your home.  |
| I had big plans for this wall from the very beginning. It just took a little while to talk Mr. Front Porch into the idea. I have ALWAYS loved the look of planked walls and knew I wanted some in our home. I figure the master bedroom was the perfect space to start! |
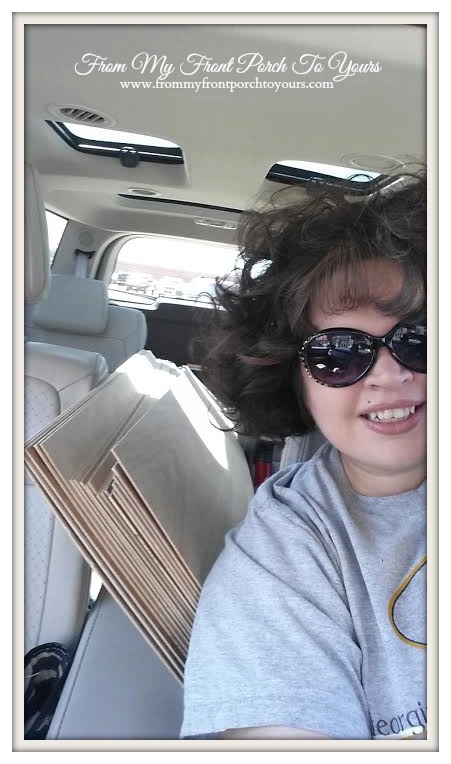 |
| Off to HomeDepot I went. |
 |
| I purchased 5 of the 2.7mm 4x8 Utility Panels and had them cut down for me into 5 inch strips. These were far less expensive than the Birch Plywood that I had purchased for our planked fireplace. If I had it in the budget though I would have gone and used the Birch Plywood for this project as well. The Birch is more substantial and thus you do not have to worry about it peeling, splintering, or breaking which could all happen with the less expensive plywood. With that said in the end, which you will see in a moment, I LOVE how the project turned out and you can not tell what type of wood I used. |
 |
| We chose the 5 inch strips so we could easily cut them with a few smaller for character. We started at the top because our ceiling was level all the way across and we figured if we had any wonky boards they would be less likely seen closer to the floor since the bed takes up a lot of the wall. |
 |
| This is our assistant. He was in charge of managing the project and well as you can see he is fast asleep! Littliest slept thru the entire installation of the paneling, nail gun and all. Now that is some serious napping!;) |
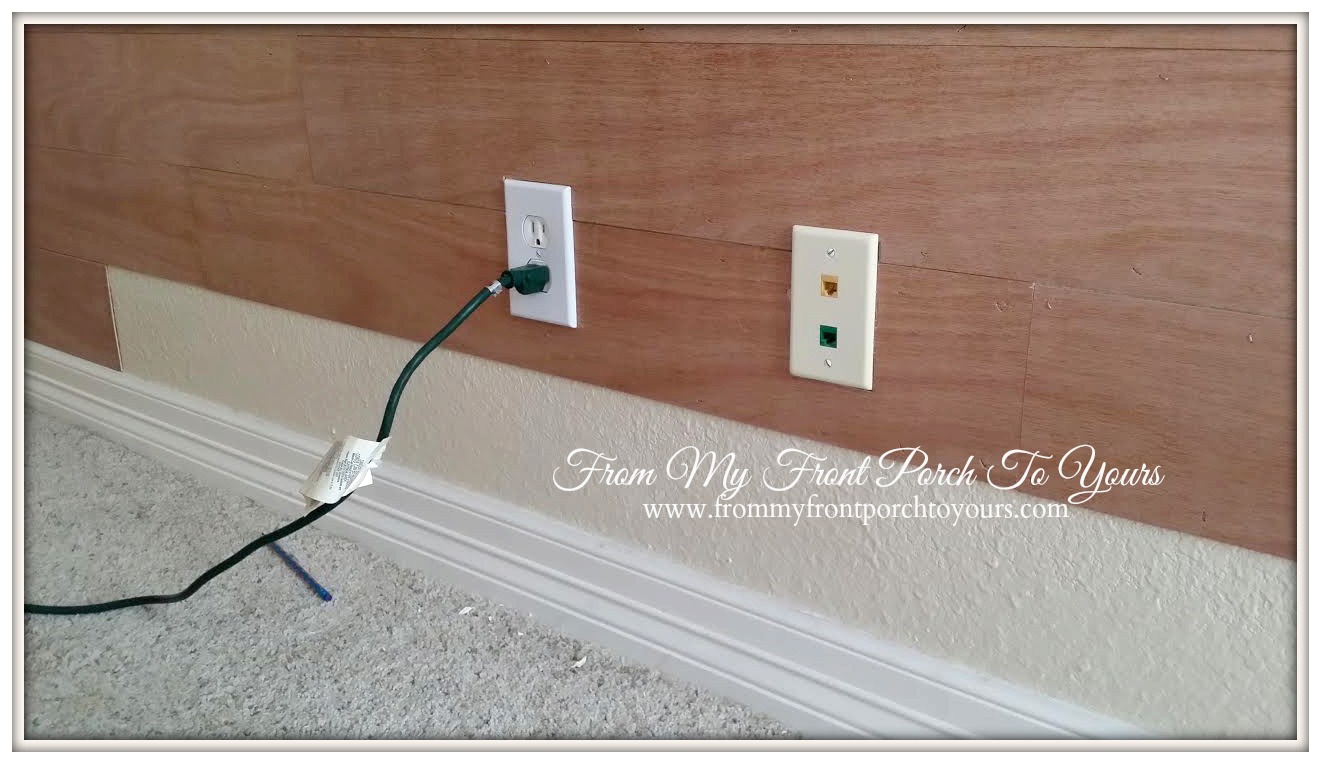 |
| One of the things that we were not looking forward to was fitting the planking around our outlets. It turned out to be a breeze! The plywood was so thin we did not have to extend our outlets out which was a plus. To get the correct cuts I took the plates off and then made a template with a piece of printer paper and then traced the outline onto the plank. It was SUPER easy. Mr. Front Porch was relieved!;) |
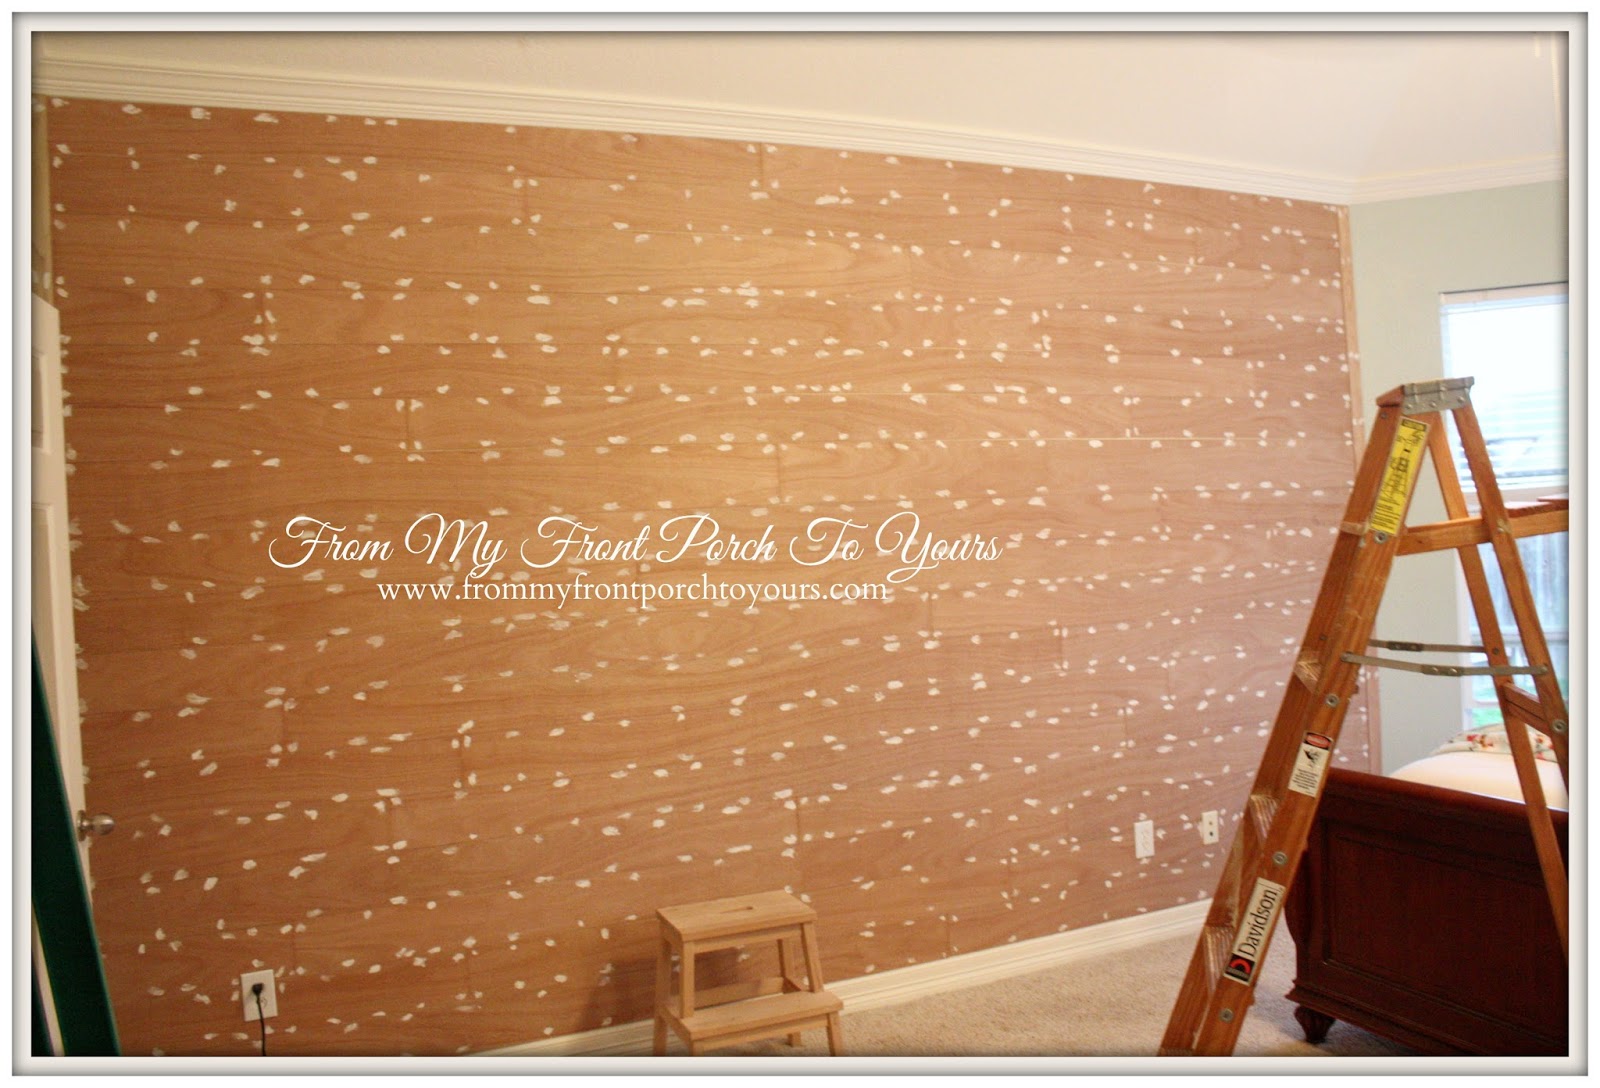 |
| After all the planks went up I used a nail finishing tool to ensure that all the nails were in deep enough and were not sticking out. Then I filled in all of the holes. Yes we used a LOT of nails. We wanted to ensure that the panels were not going to pop off. Now the proper way of doing things would have been to find the studs but we bypassed that. Another reason for all the nails was the fact that the thinner plywood tends to be a bit wavy so to combat that we just put nails where the waves were to get rid of them. I used a little liquid nails on the back of a few panels that were installed in the middle of the wall knowing I would be hanging things there. |
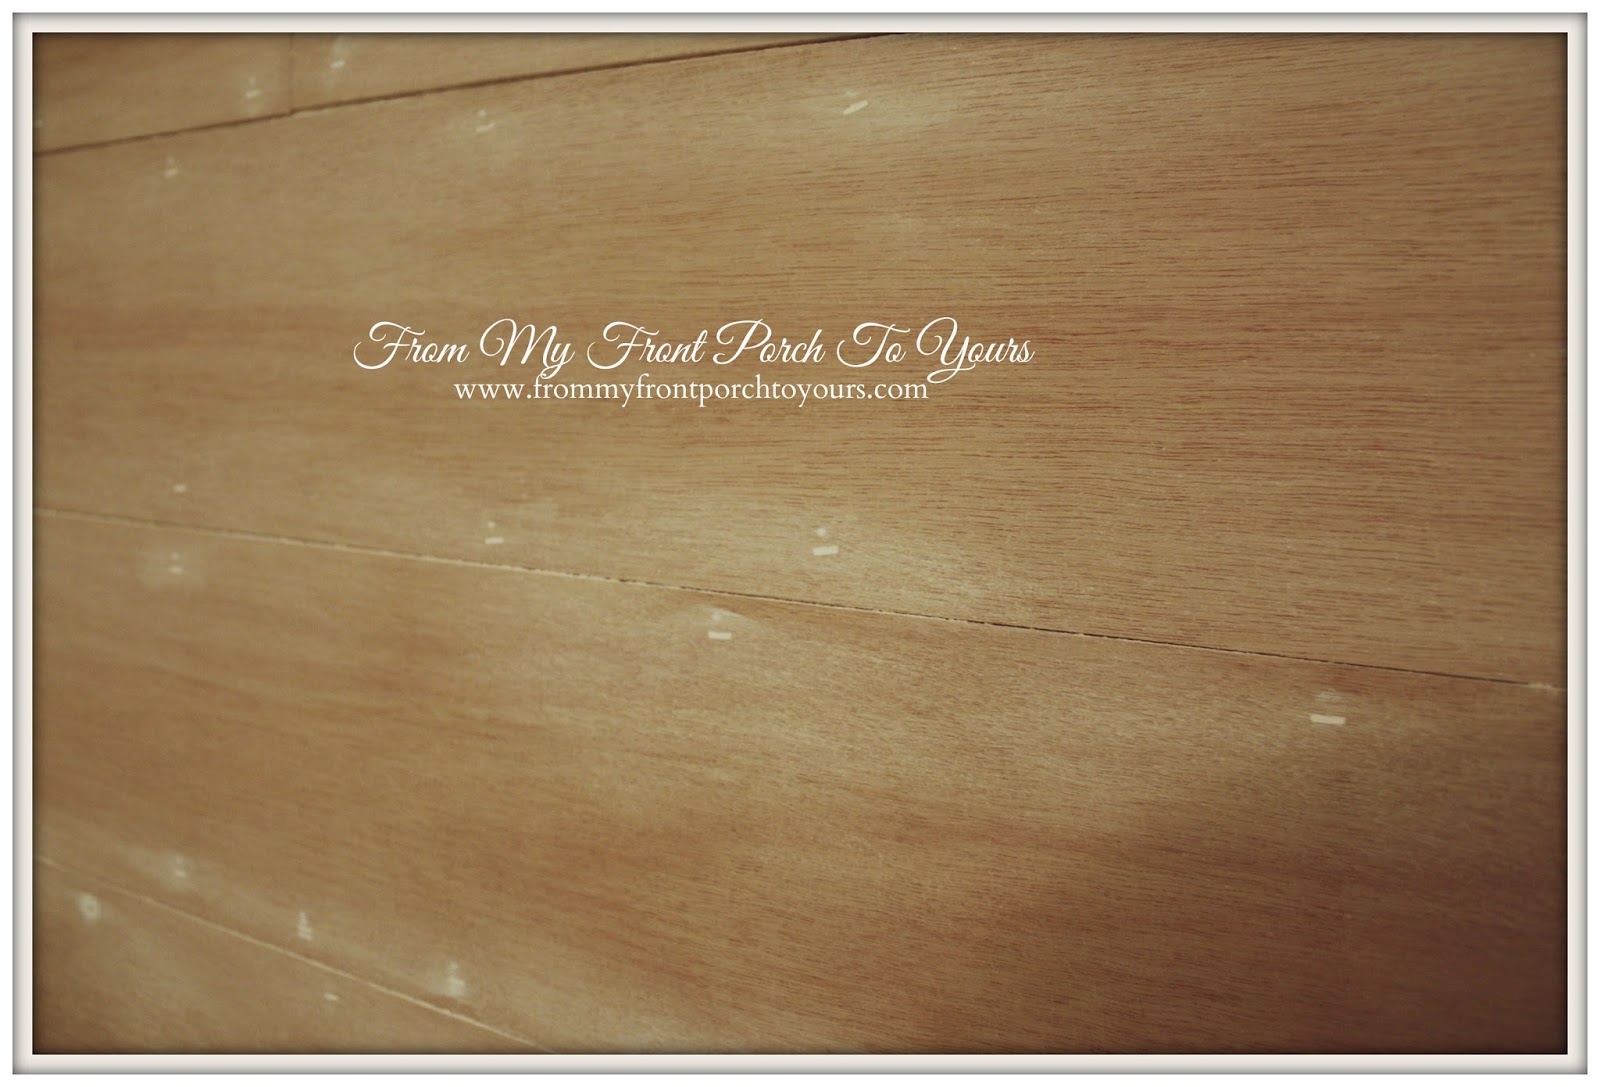 |
| After filling I got to sanding with a medium grit sanding block. I made sure to sand away all of the filler off because if you do not you will see it when you paint over it. The only filler you want left is the filler in your nail holes. |
 |
| After I sanded I vacuumed the entire wall to get all the filler dust in between the planks. |
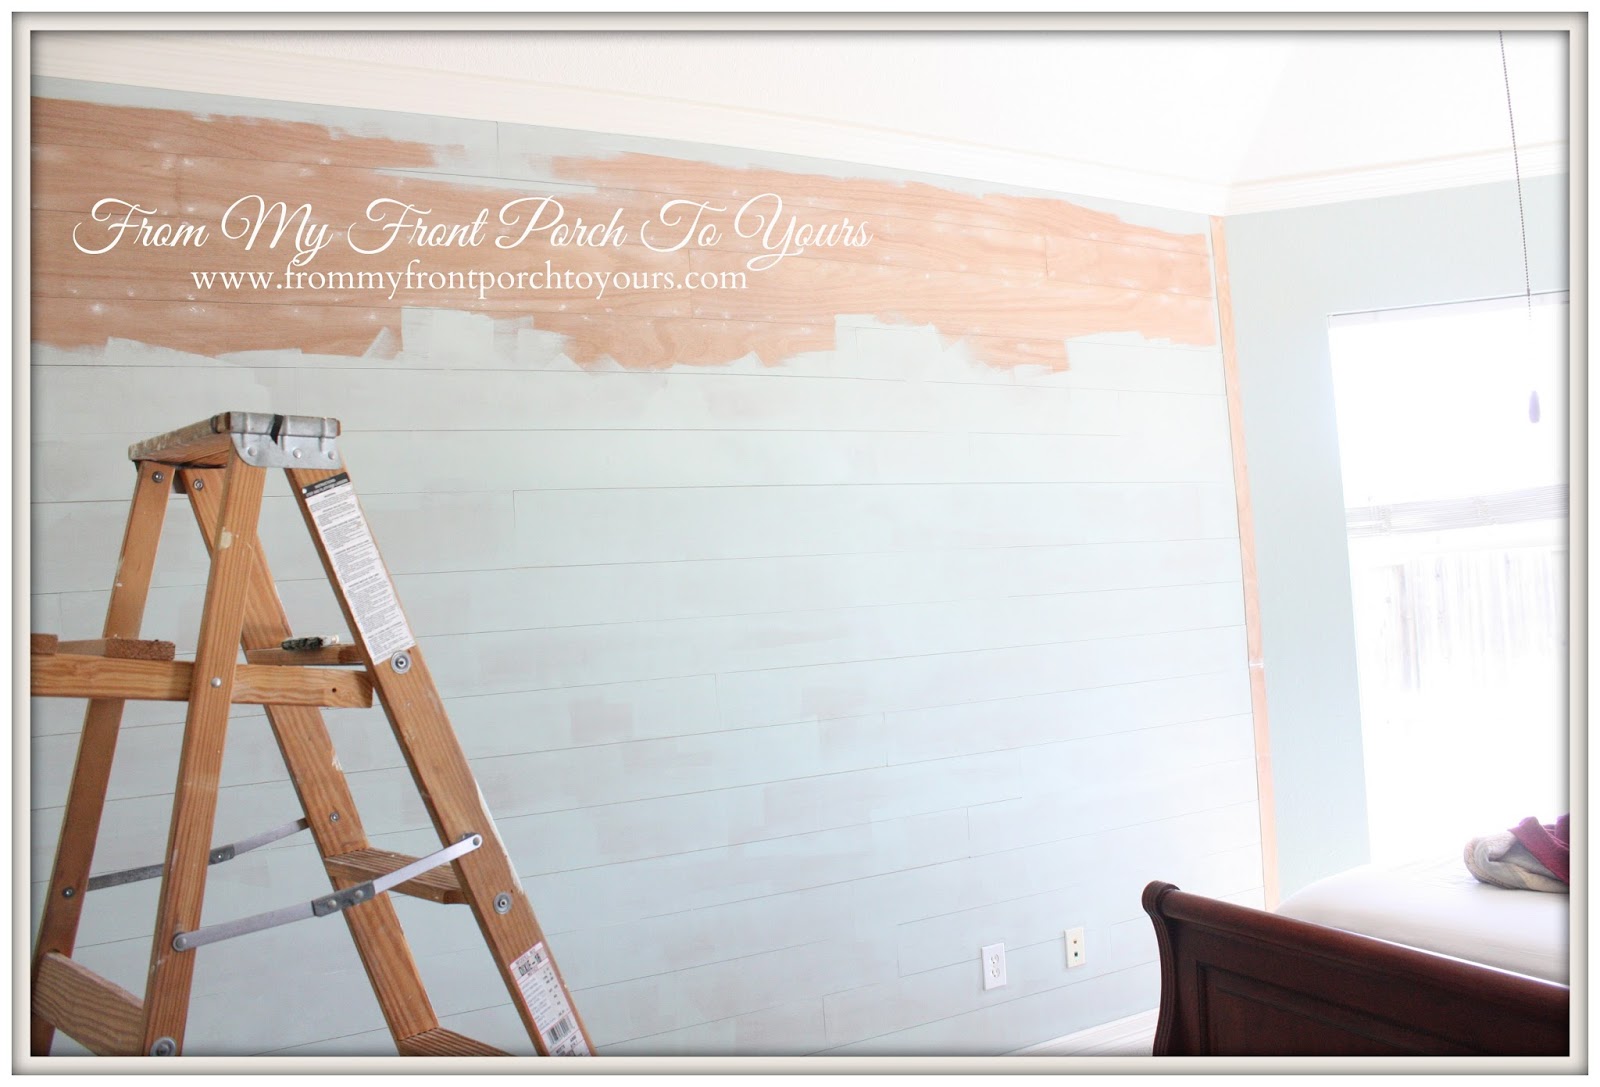 |
| Painting went fairly smoothly. I did learn that you always want to paint the wall behind your planks the same color you are planning on painting your planks in this case SW 6211 Rainwashed. I figured I would save time and paint by not doing it and had to go back with a little artist brush and paint in between some of the planks. Paint still saved but certainly not time. It took approximately two coats to fully cover the planks with no primer applied. If you do not want to risk it then I would apply primer first and then paint. |
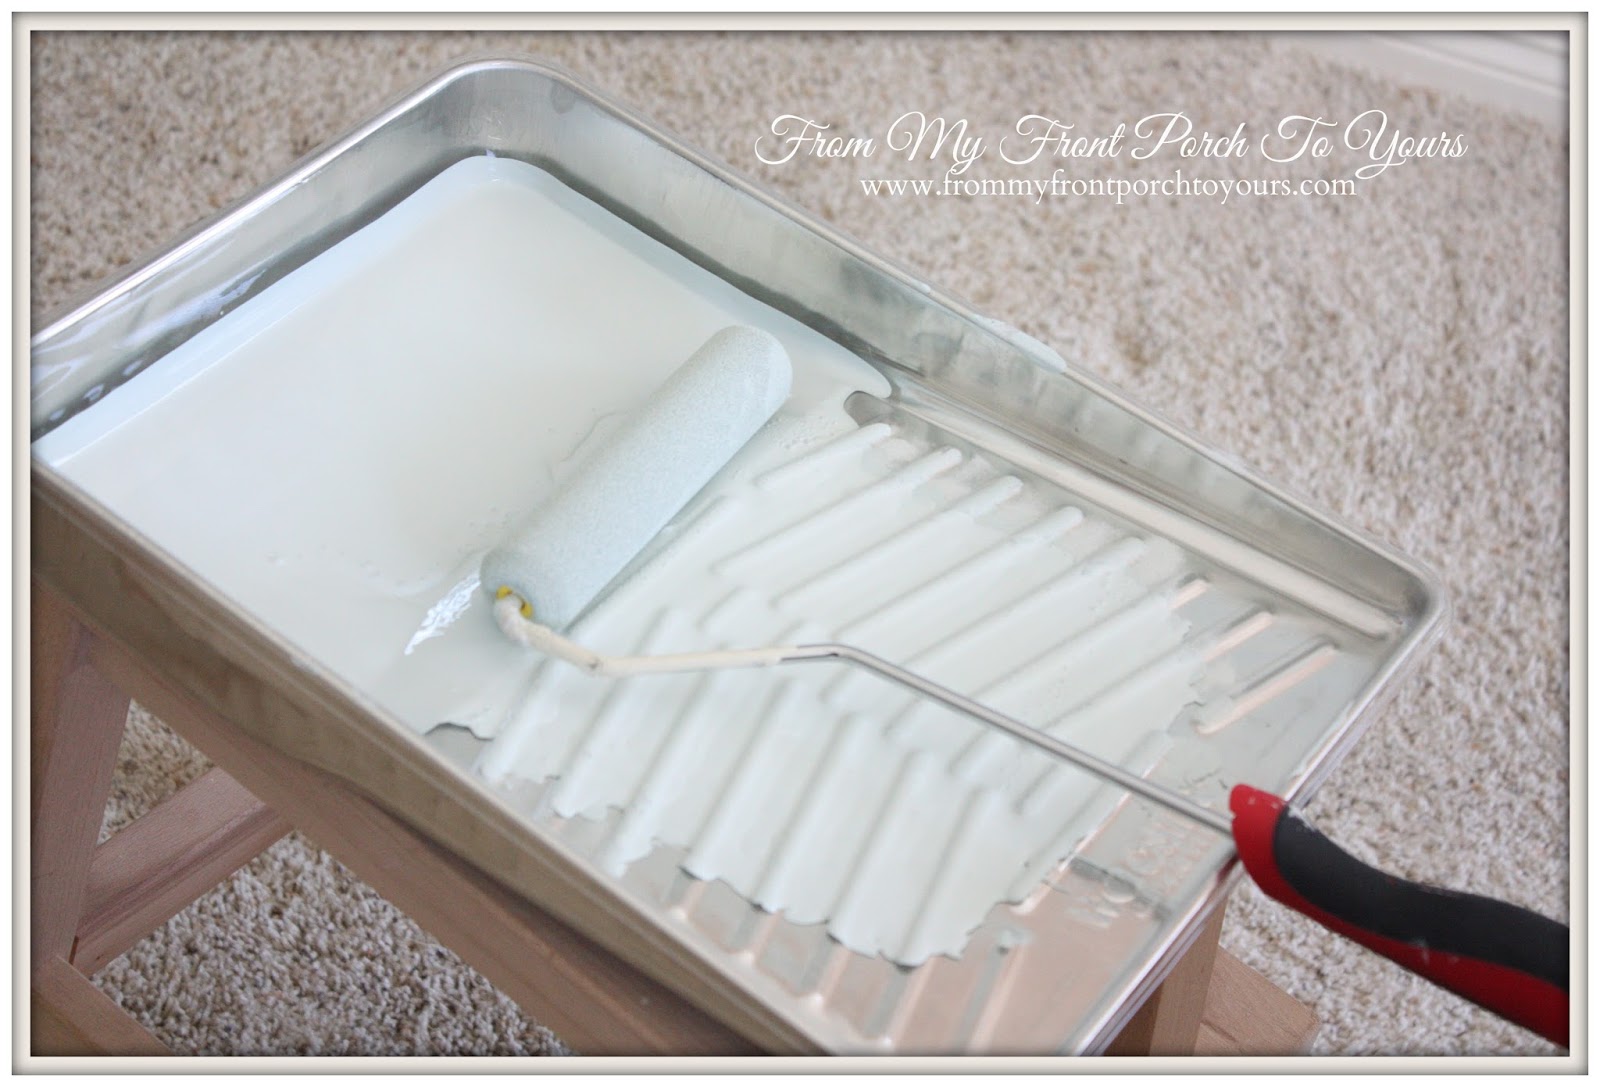 |
| The best thing to paint planks with I found is a foam roller. The paint goes on smoothly with no brush strokes! |
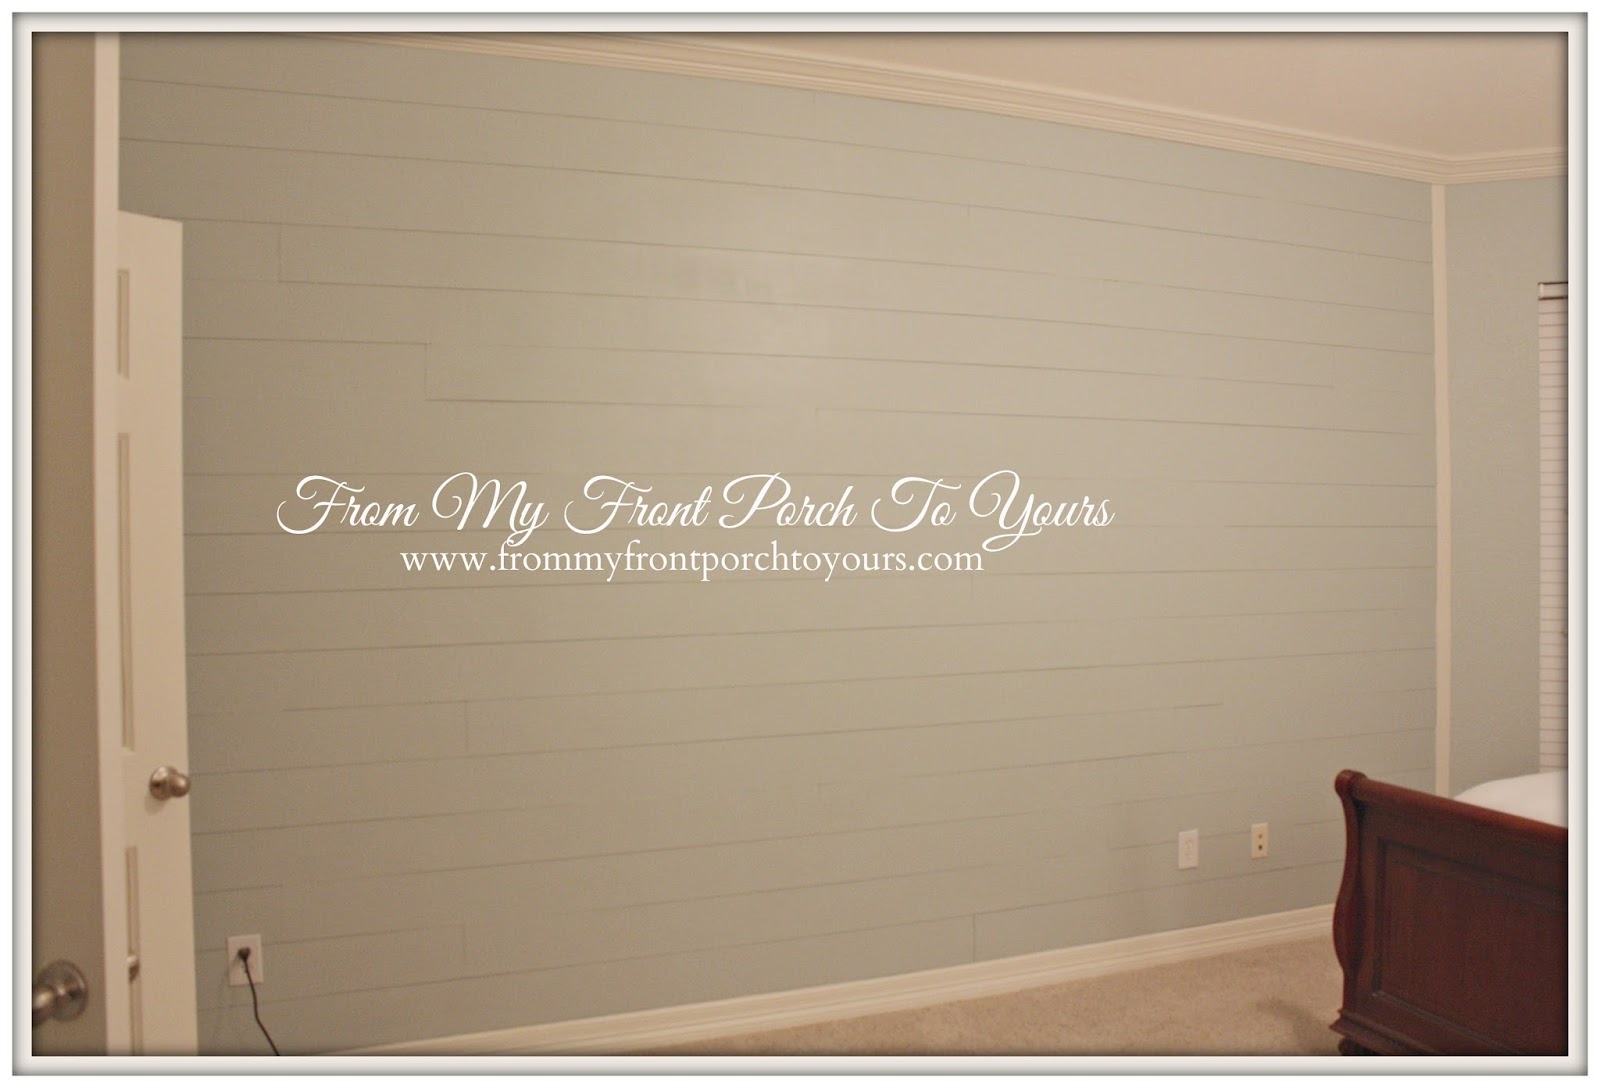 |
| This project took two days to complete and I could not be happier! It makes the entire room. Now all that is left to our master bedroom makeover is decorating. Stay tuned!:) |
Sharing over at:
