Showing posts with label dining room makeover. Show all posts

Saturday, June 28, 2014

Dining Room Seating


I have collected pieces for our dining room over time so it has been a matter of mix and matching pieces.

These were the first set of chairs I purchased for our dining room table. They worked great till I changed out the top of our dining room table to planks.
That resulted in me swapping out the arm chairs for the frenchy arm chairs that were in our office.
That was great but then the armless chairs I felt no longer went with the space so I took them out.
To replace the armless chairs that I sold I am in the process of painting two of these round back french chairs I have. Yes, I said paint, fabric and all but I will share about that in another post.
Once I decided on using the french round back chairs I decided the frenchy armed chairs were too much in the space so I went out and purchased a set of Kubu chairs from Target when they went on sale. 
Now that leaves the Windsor bench. I LOVE this bench but sadly it no longer goes with everything else in the dining room. I was/am so torn on what to do with it. I am trying to sell it because I honestly have no where to put it but that still leaves me with having to figure out what to use in its place.
The first thing that came to mind were these crate ottomans. I have had this pic for awhile now and forget where I snatched it from but I know you can buy them from Ballard Designs for a whopping $499 each and I would need not one but two. Seeing as just one is out of the question two are certainly not happening. 

Then I found this bench which has similar styling to the legs as the round back french chairs I am painting. It is $249 over on Wayfair.
I also found this bench over on Wayfair as well and thought it would be perfect since it has casters. Oldest and Littliest are the ones who sit at the bench when we eat in the dinning room so I figured having casters would make it so much easier for them to get in and out. I can not find the link right now but this one was priced around $270.

Since the Windsor bench has not sold yet I am not in the market to be spending that type of cash so I have come up with another plan! Two words- Ana White.
Stay tuned!:)

Monday, June 9, 2014

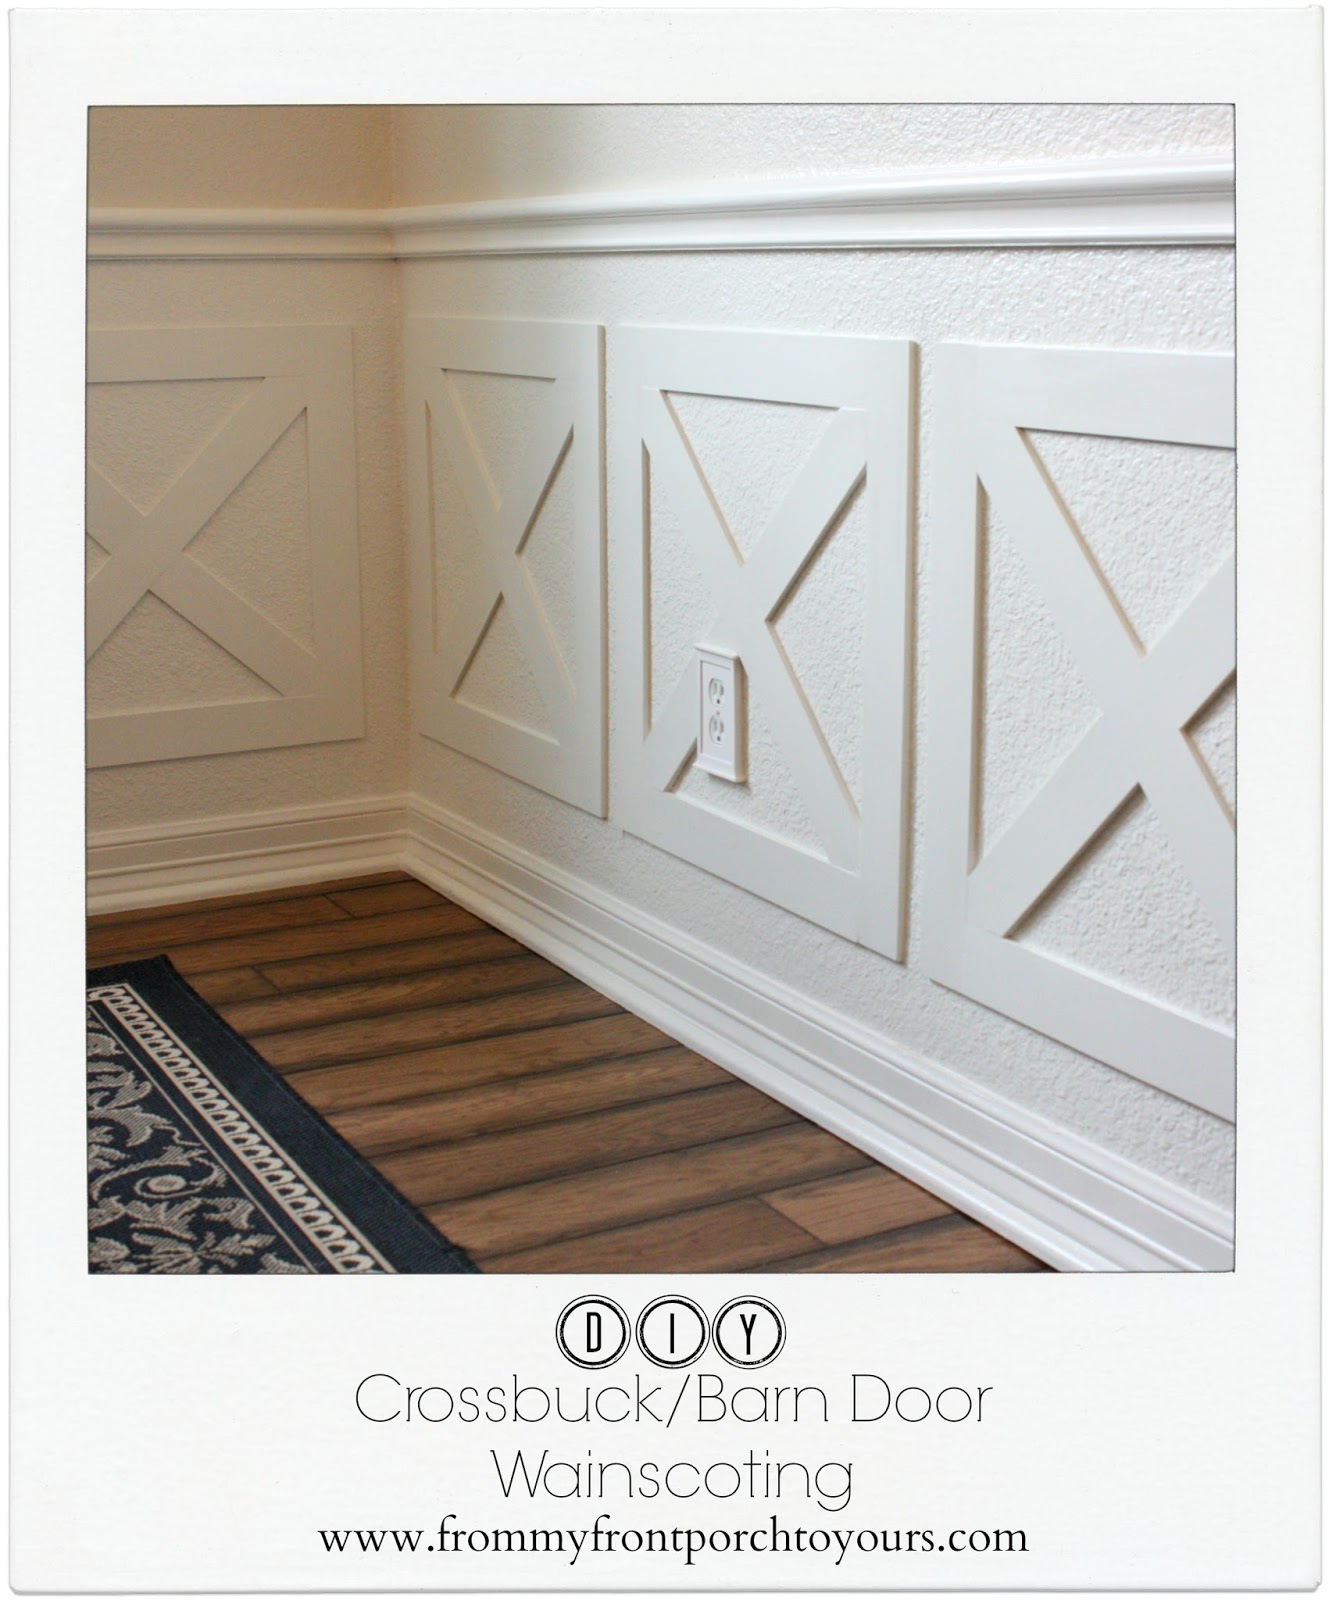
DIY Crossbuck/Barn Door Dining Room Wainscoting


DIY Wainscoting Crossbuck Barn Door
With the bedroom completed I wanted to move on to adding Farmhouse charm to our dining room. Mr. Front Porch was not on board. He thought the dining room was just fine so I was on my own for this makeover. I chose to create a Crossbuck design commonly referred to as a Barn Door design.
DIY Wainscoting Crossbuck Barn Door
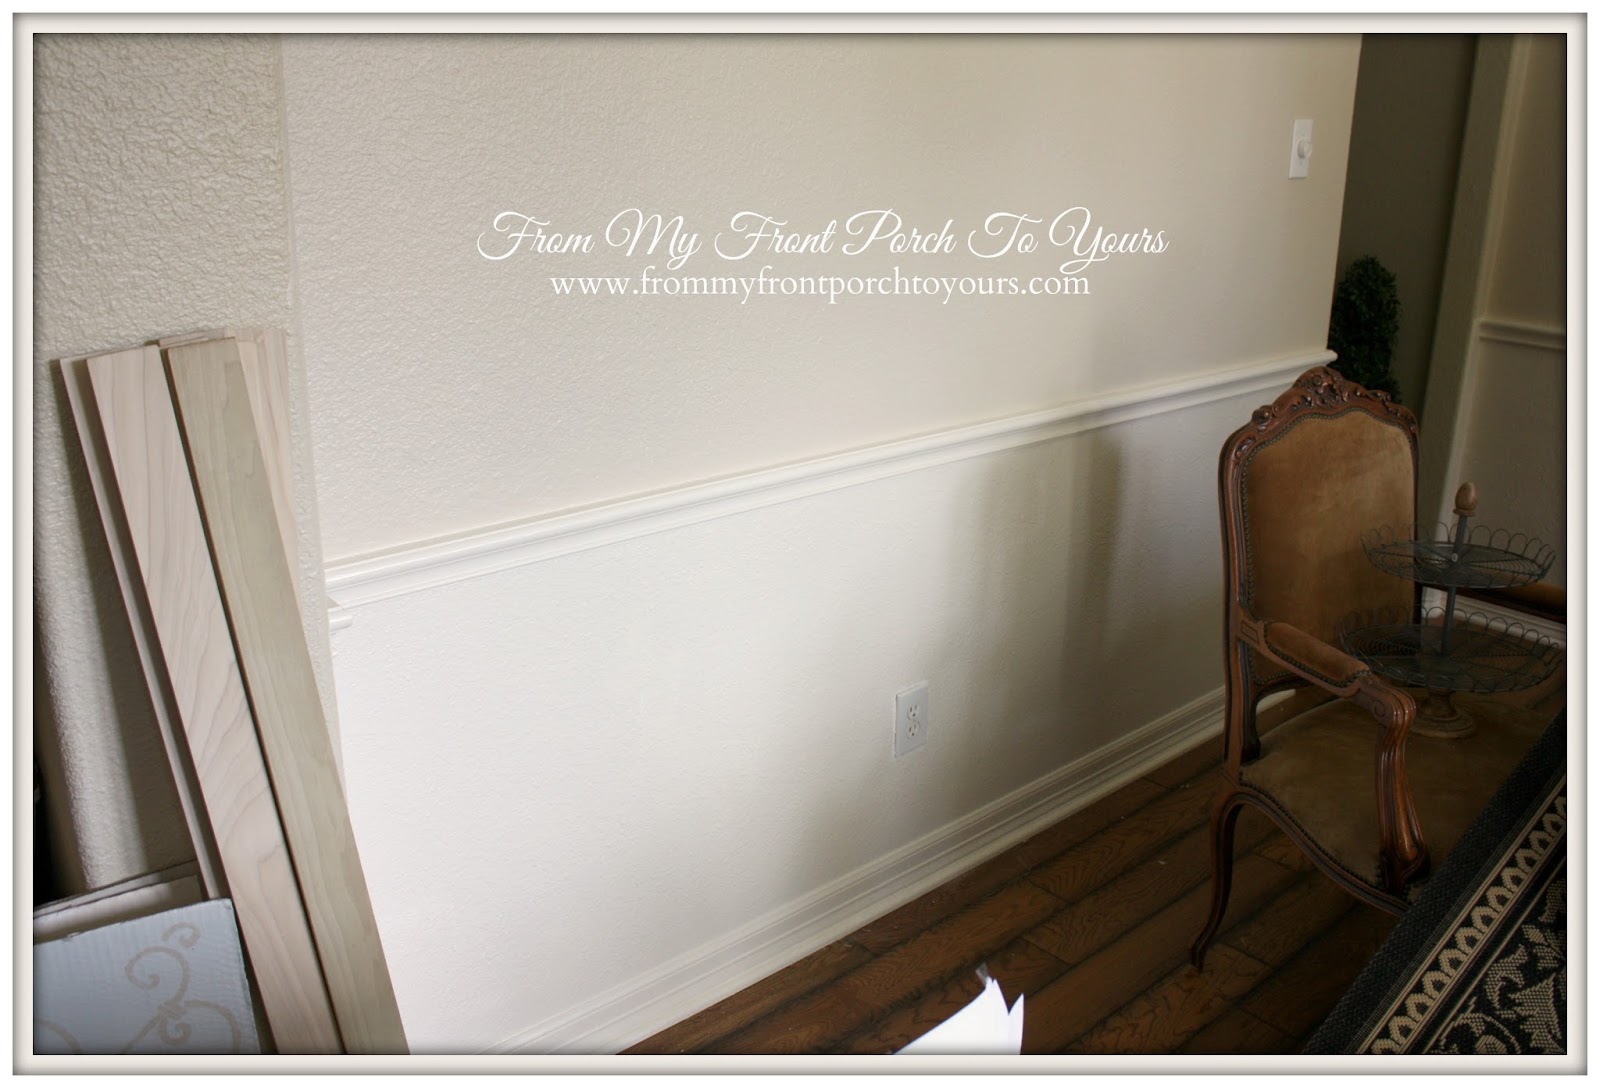
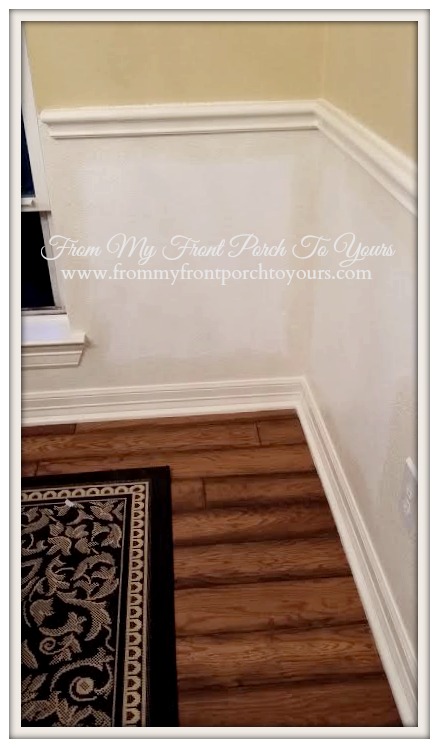
The walls were recently painted with Sherwin Williams Maison Blanche and the bottom freshened up with some white.
DIY Wainscoting Crossbuck Barn Door
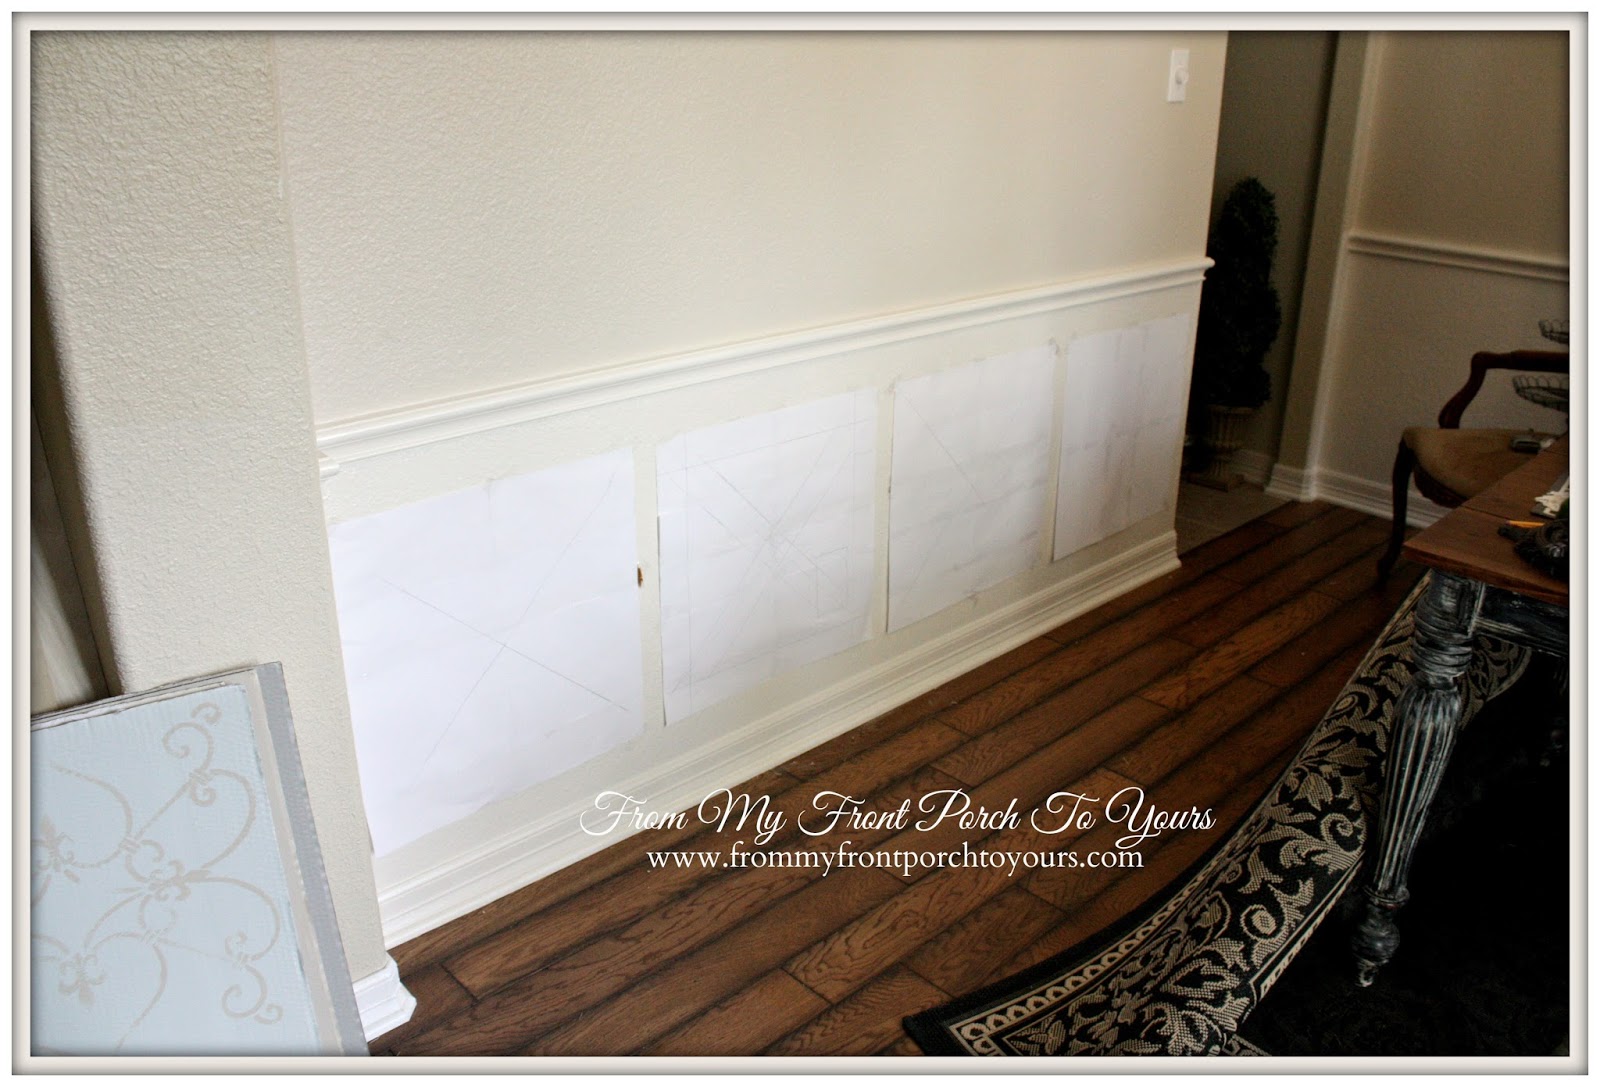
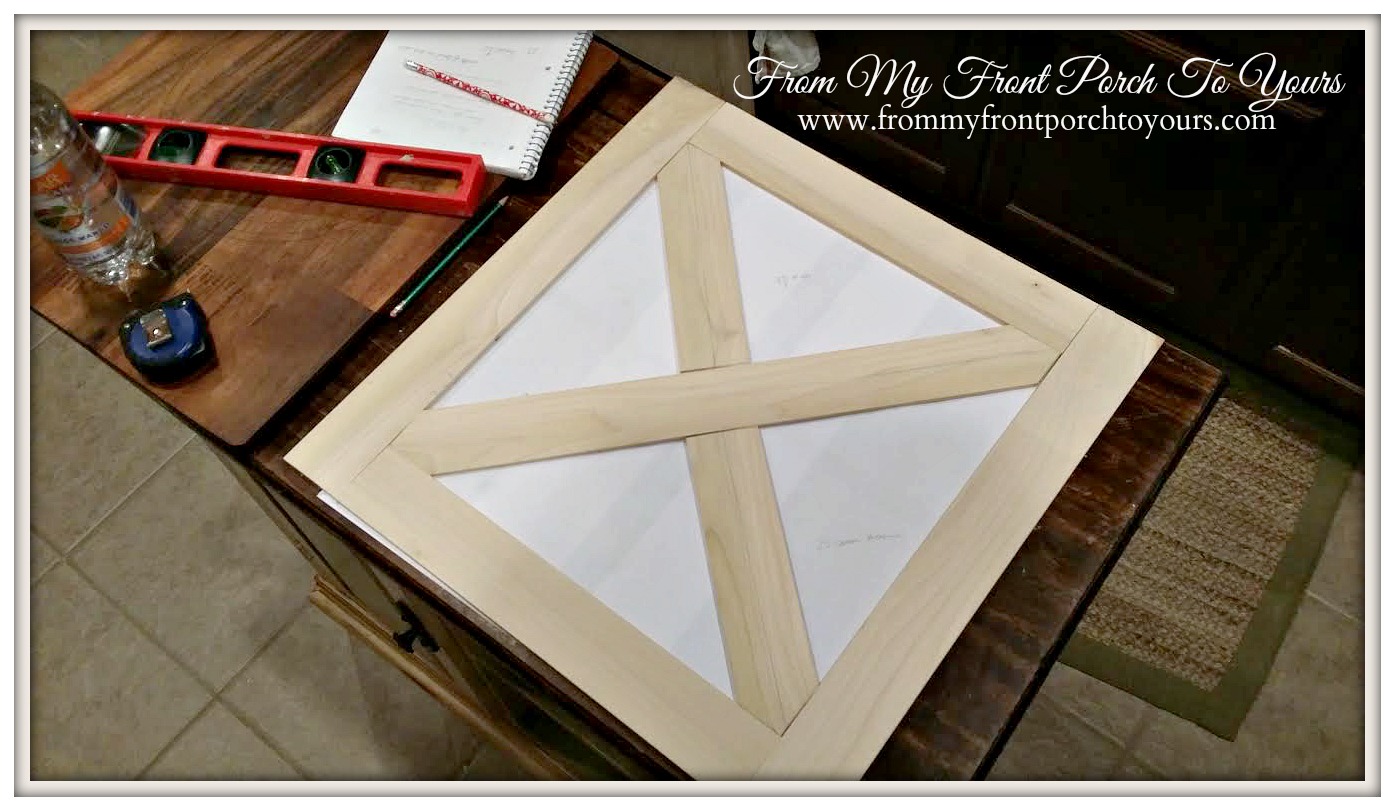
Next up I created templates for my design with just some printer paper. I went with 22 inch squares for our space. 
DIY Wainscoting Crossbuck Barn Door
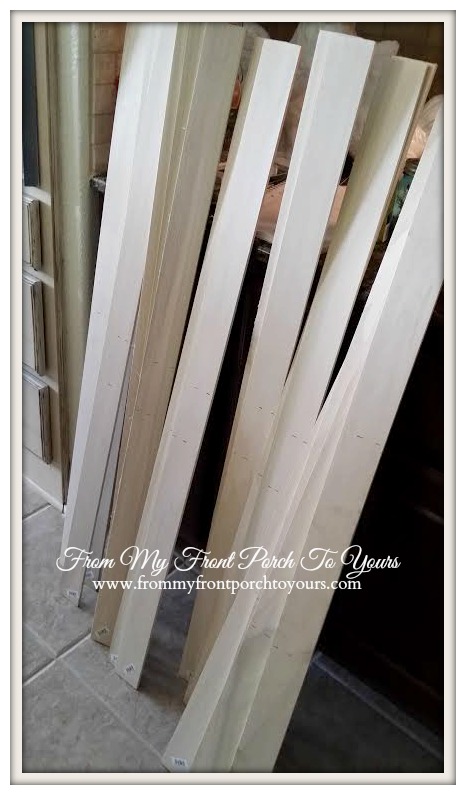
To create the squares I used 1/4 3X4 Poplar boards. These you can purchase at Home Depot or Lowes. I chose Home Depot because they were $3.07 a board where as at Lowes they were over $4. I used approx 3 boards for each square. Because of this it took a few weeks before I had enough boards to complete the entire space. They do not keep a large amount of these boards on hand at one time. I am sure I probably could have asked them to order me what I needed but it gave me time to figure out exactly what I was doing.Now a VERY important part of this project is the fact that I had ZERO experience with wood working! That is right none what so ever so if I can accomplish this project on my own so can you. 
DIY Wainscoting Crossbuck Barn Door
 I used Mr. Front Porch's miter saw to cut my boards. The side boards are 22 inches long and my top and bottom boards are 17 inches long because I needed to factor in the width of the boards to equal 22 inches all the way around.

 Next up was to create the center board of the design.
DIY Wainscoting Crossbuck Barn Door
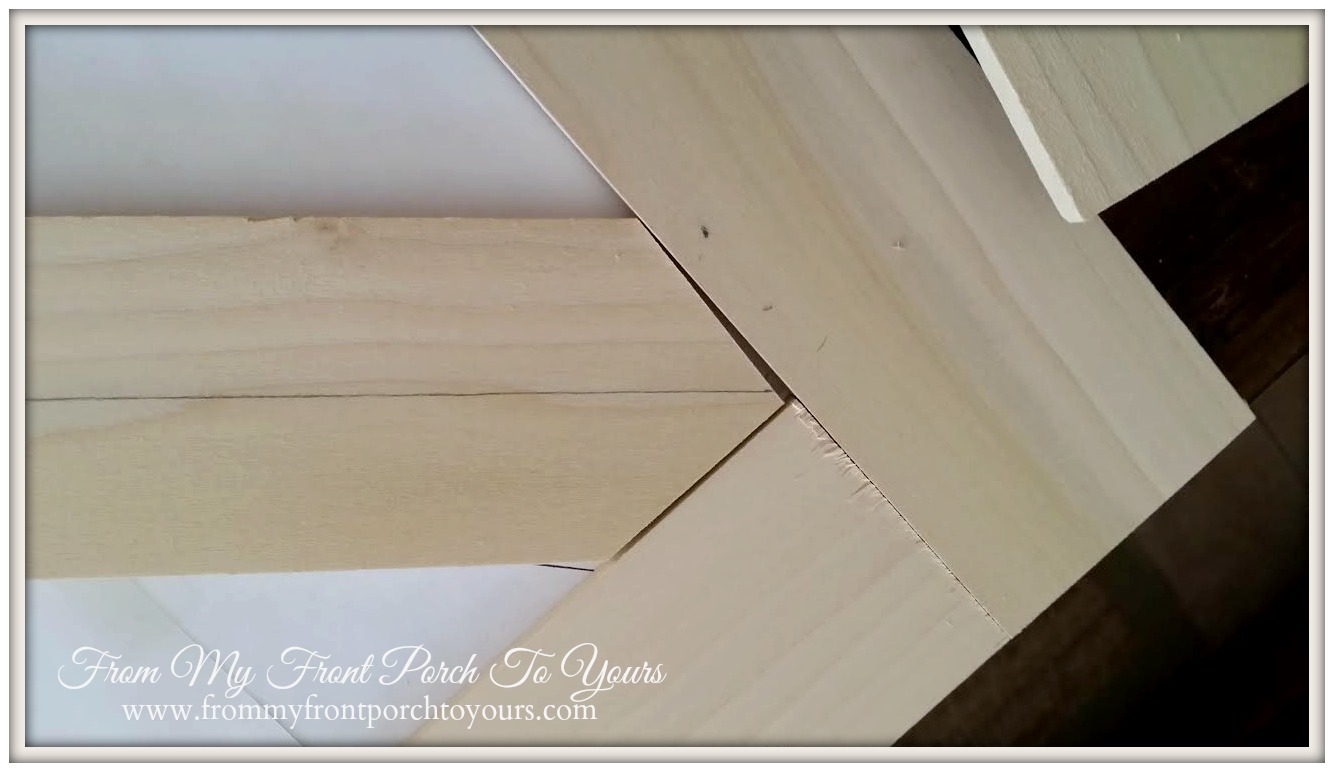
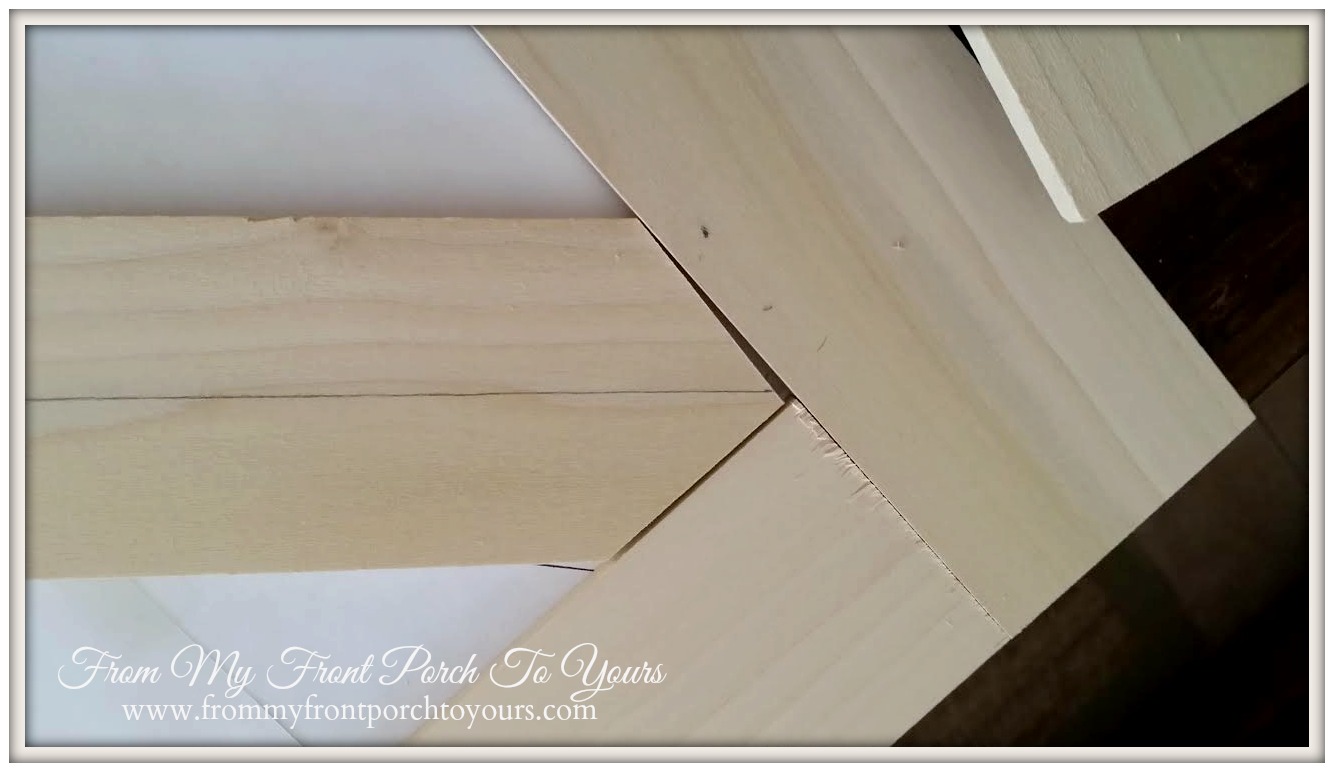
I lined up the center of the board to each of the corners and marked where I needed to cut them. 
DIY Wainscoting Crossbuck Barn Door
You can draw a center line if you want to down each board but after the first one I just started guesstamating the center and it worked out just fine.
DIY Wainscoting Crossbuck Barn Door
I made sure my pieces all fit together on a flat surface. Not bad for a beginner!;) Make sure to follow all safety precautions like wearing safety goggles when cutting your boards. Be sure to sand all your boards down smooth before installation. Some of them may be rough to the touch.
DIY Wainscoting Crossbuck Barn Door
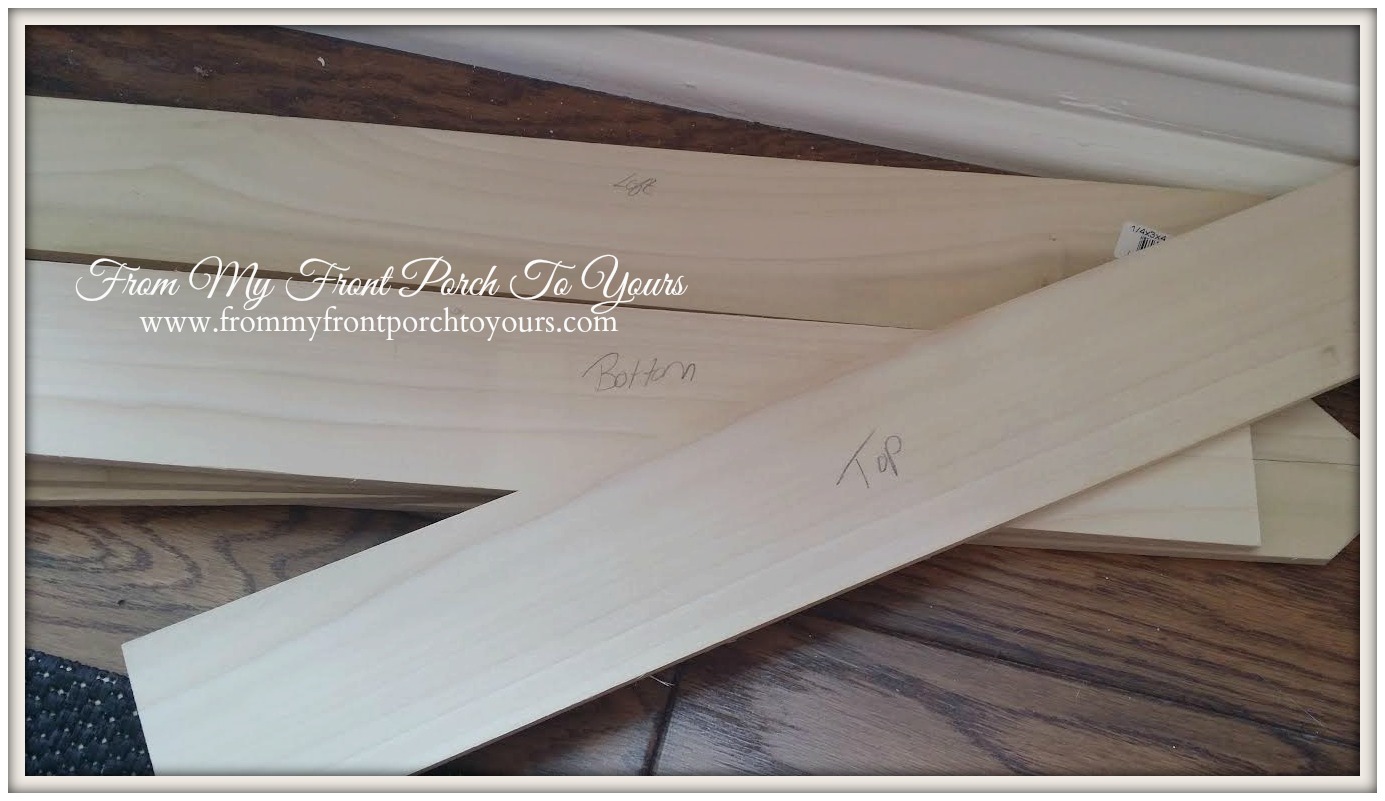
Something I found quite helpful was to label your boards and keep them in sets. I cut each board design one square at a time to make sure all the pieces would fit together. You could technically just cut all the boards at once but to me that leaves a larger window for error.
DIY Wainscoting Crossbuck Barn Door
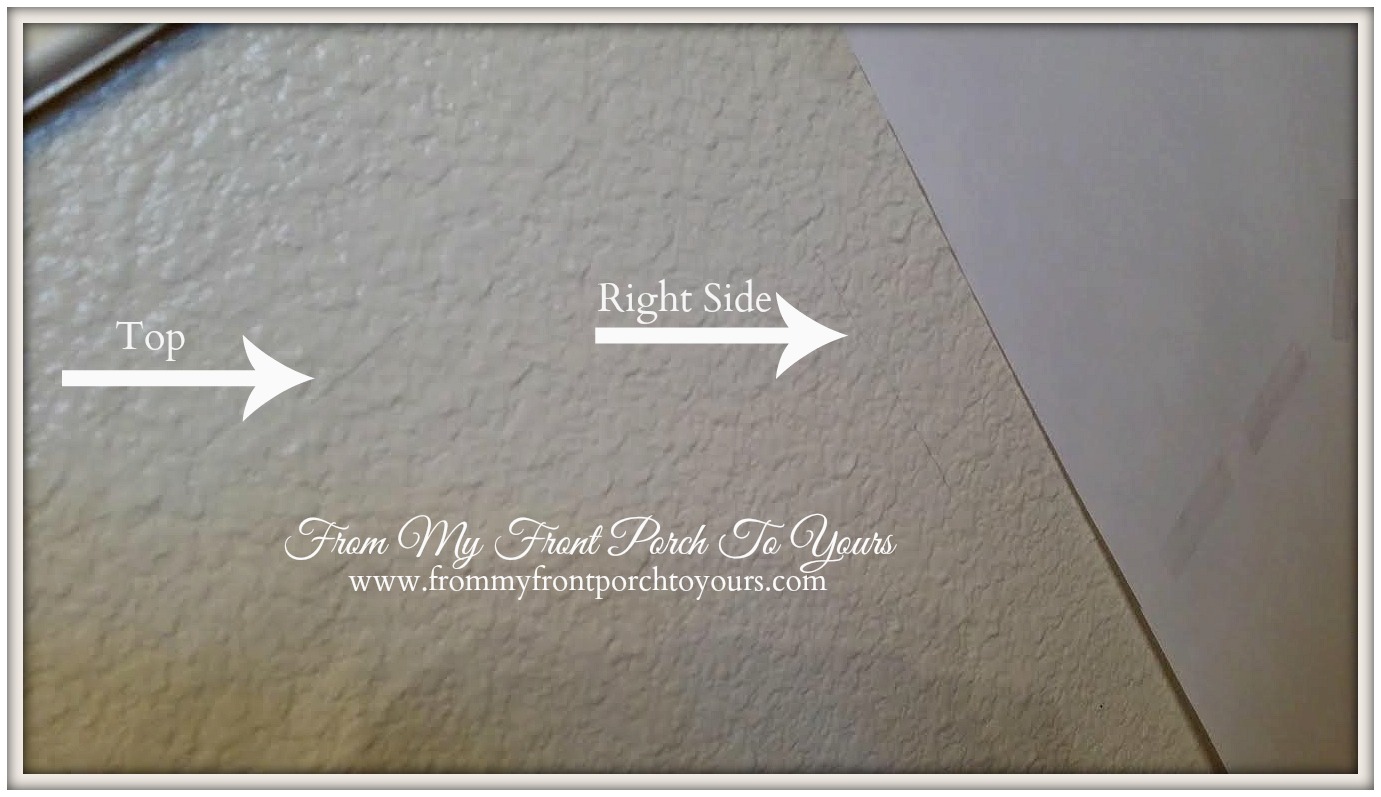
After my squares were cut before I took down my templates I marked the top and bottom where the starter boards needed to line up. This made life super easy when installing the boards! Every now and then bust out the tape measure just to double check your work.
DIY Wainscoting Crossbuck Barn Door
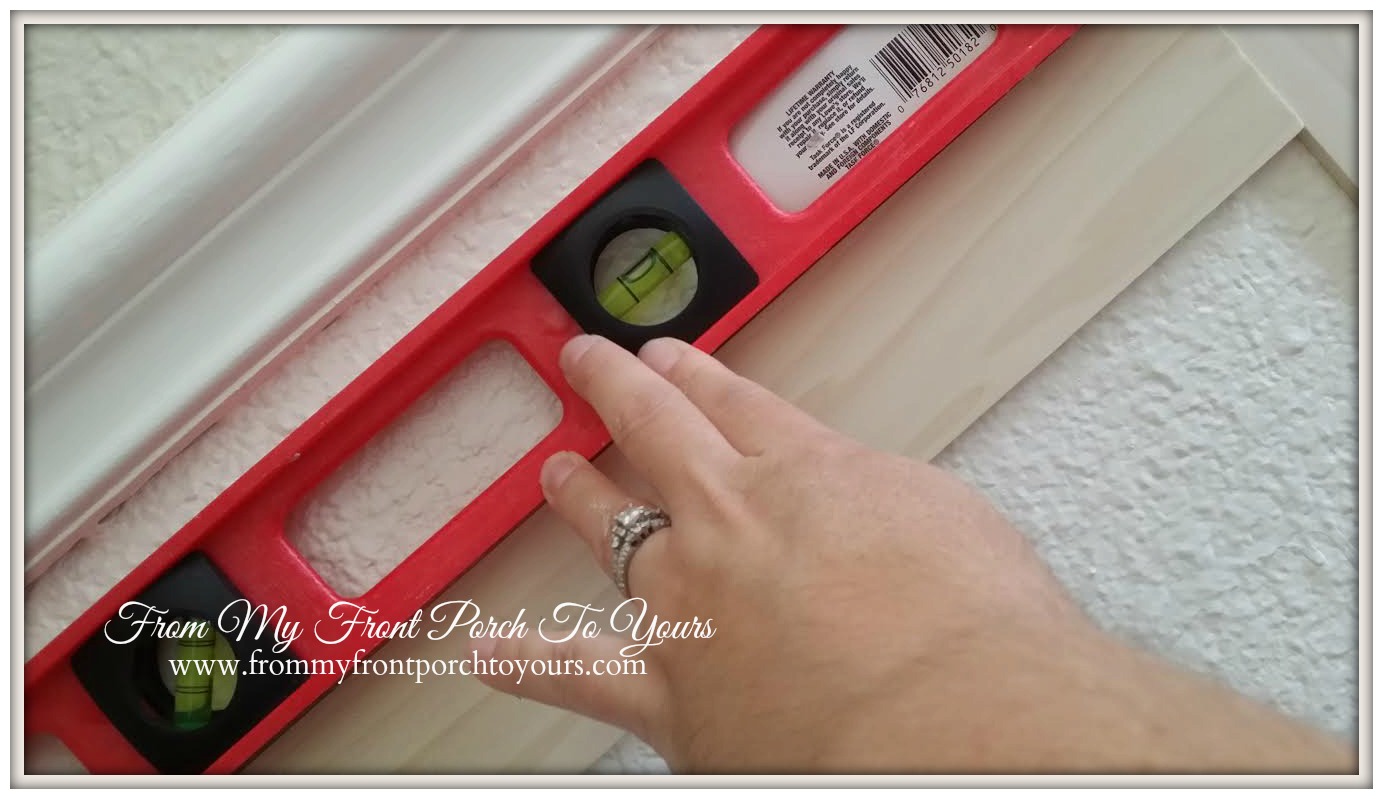
I used a level to make sure all my outside boards were  level. 
DIY Wainscoting Crossbuck Barn Door
The boards went up super fast! I just used our nail gun to secure them. You may want to add adhesive but I chose not to in case I decide one day down the road I want to take it all down.
DIY Wainscoting Crossbuck Barn Door
Next up I used joint compound to fill in all the nail holes and slight gaps. Be sure at this point to make sure your nails are flush with the wood. If not use a nail finishing tool to make them flush.
DIY Wainscoting Crossbuck Barn Door
After everything was filled in I sanded the joint compound off and starting caulking. The caulking is what took me the longest and was the messiest.
 
After caulking was completed I used a paint brush to paint the inside edges of the design and then a wide foam brush for the rest so I would not see brush marks.
DIY Wainscoting Crossbuck Barn Door
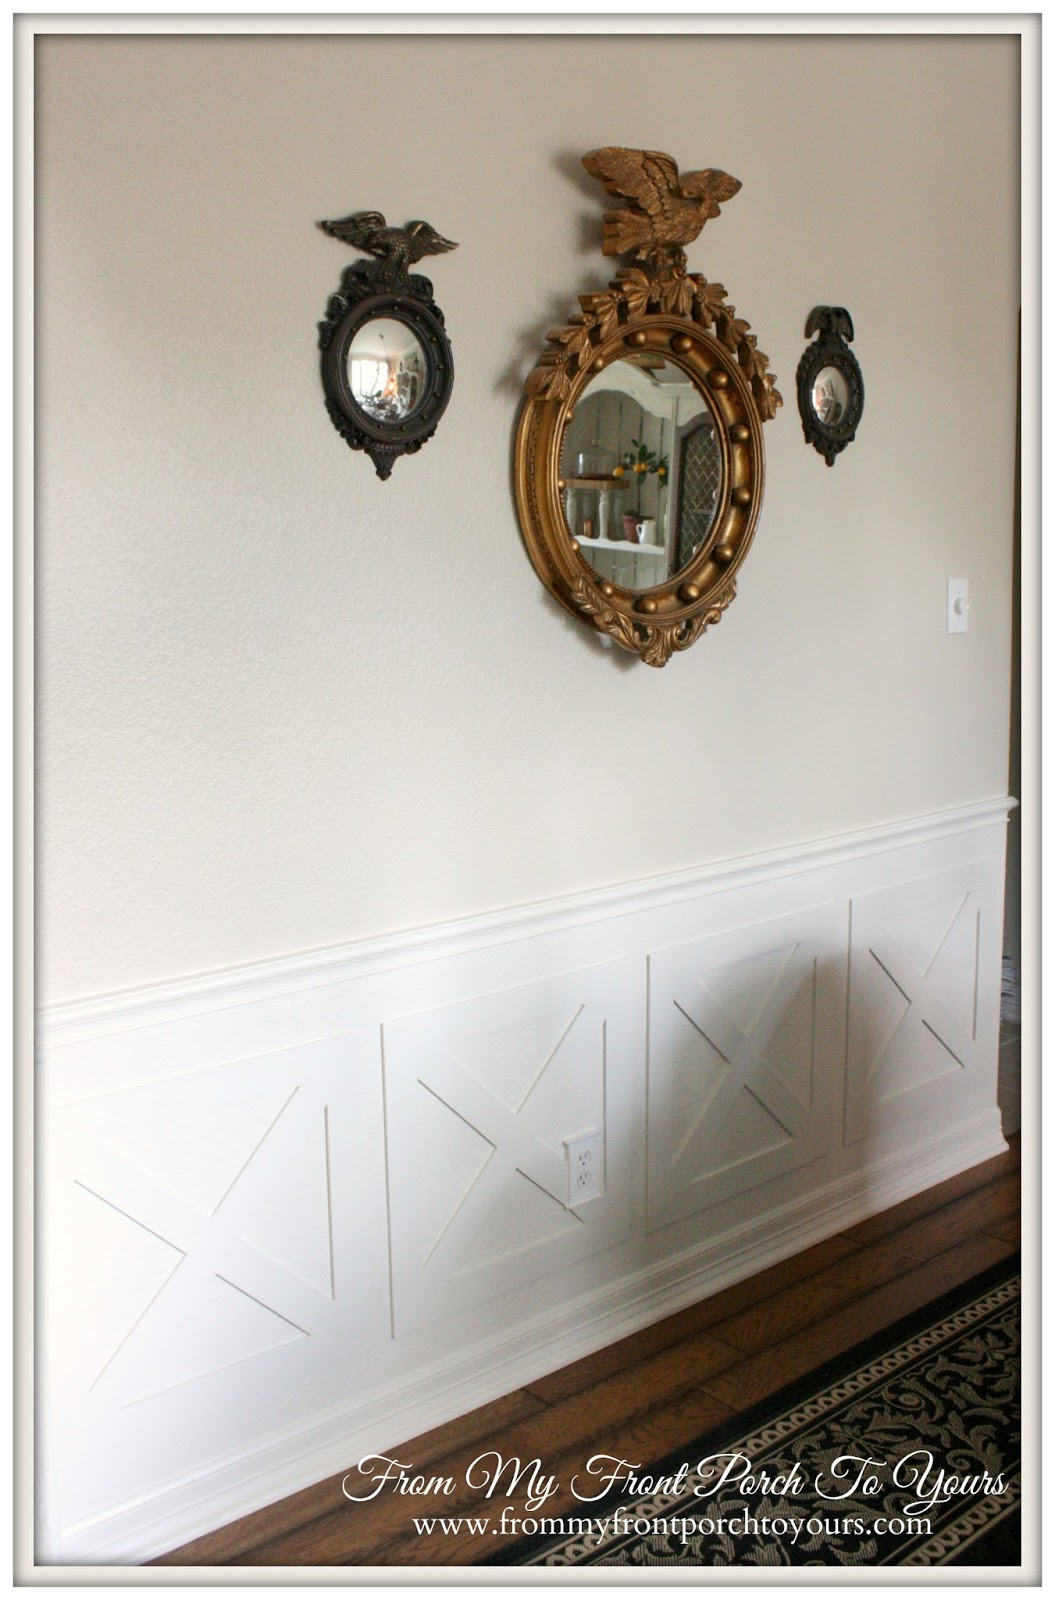
 To add to the overall design I took down the basic outlet covers and purchased these more decorative ones at Lowes. I felt that looked more custom and built in to the design.
DIY Wainscoting Crossbuck Barn Door
I am just loving how the project turned out!
DIY Wainscoting Crossbuck Barn Door
It was exactly what this space needed and I can not wait to show you all the entire room. I am working on a few more projects though for this space so be sure to keep checking back!

**Note this is how I completed this custom project for our home. It is up to you to research all methods before attempting this project yourself to determine which method will work best for you and your home. I am NOT responsible for how another project turns out.**

Visiting at these fine spots:

Wednesday, May 28, 2014

Dining Room Changes

On Monday I finally get to reveal our master bedroom makeover! It has been completed for a little while so I have since started on another makeover. Mr. Front Porch does not understand why I can not leave well enough alone!;)
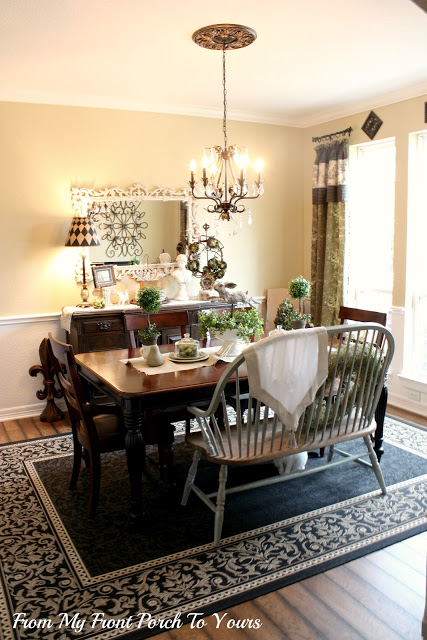
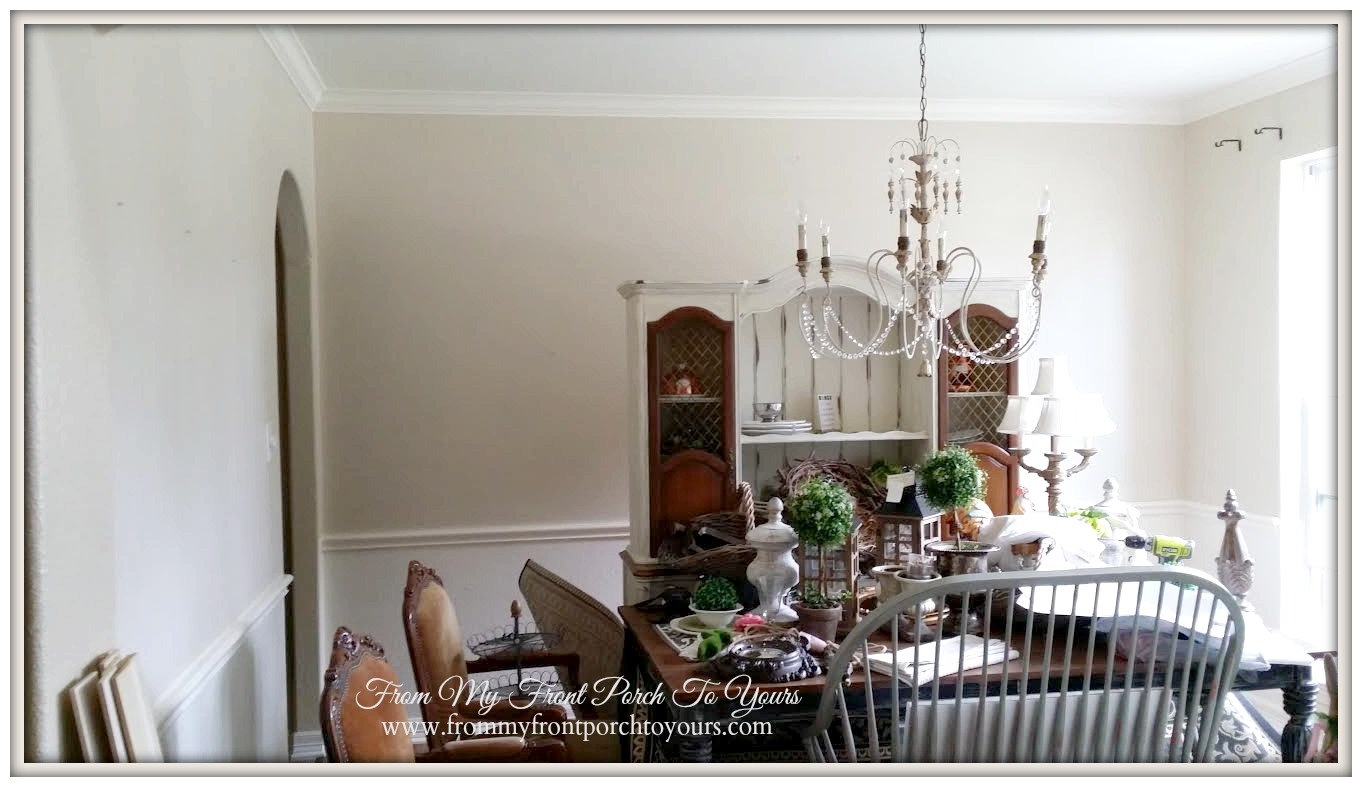
Our dining room has slowly been evolving over the last 5 years. 4 years ago I painted the walls SW Ivoire. 
Since then I traded out the buffet for a hutch and we made a custom plank top for the table. I even swapped out the chandy to a divine frenchy one. Things were coming together. Last year though, I started changing out the paint colors in our home for lighter and brighter and well the dining room no longer flowed with the rest of our home like I wanted.
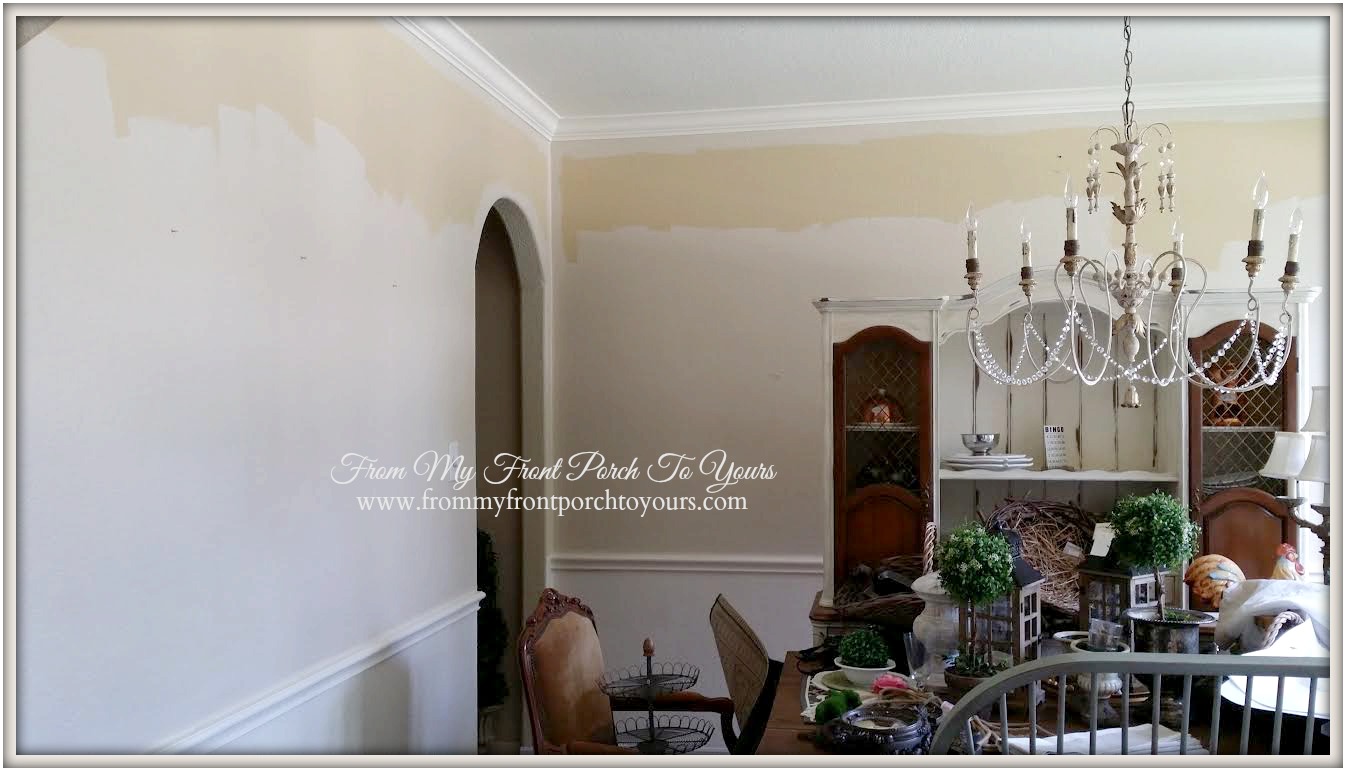
In comes SW Maison Blanche!
I am already loving the brighter, airy feel it gives to the space.
Even the bottom half was freshened up. I went back to its original white. I had painted it a bright white 4 years ago and with Maison Blanche it was just too white. I needed a creamy white.
And of course I could not stop at fresh paint. I have been out in the garage using the miter saw! Can't wait to show you more.

See everybody back here this evening at 7 p.m. central time for Treasure Hunt Thursday.