
 |
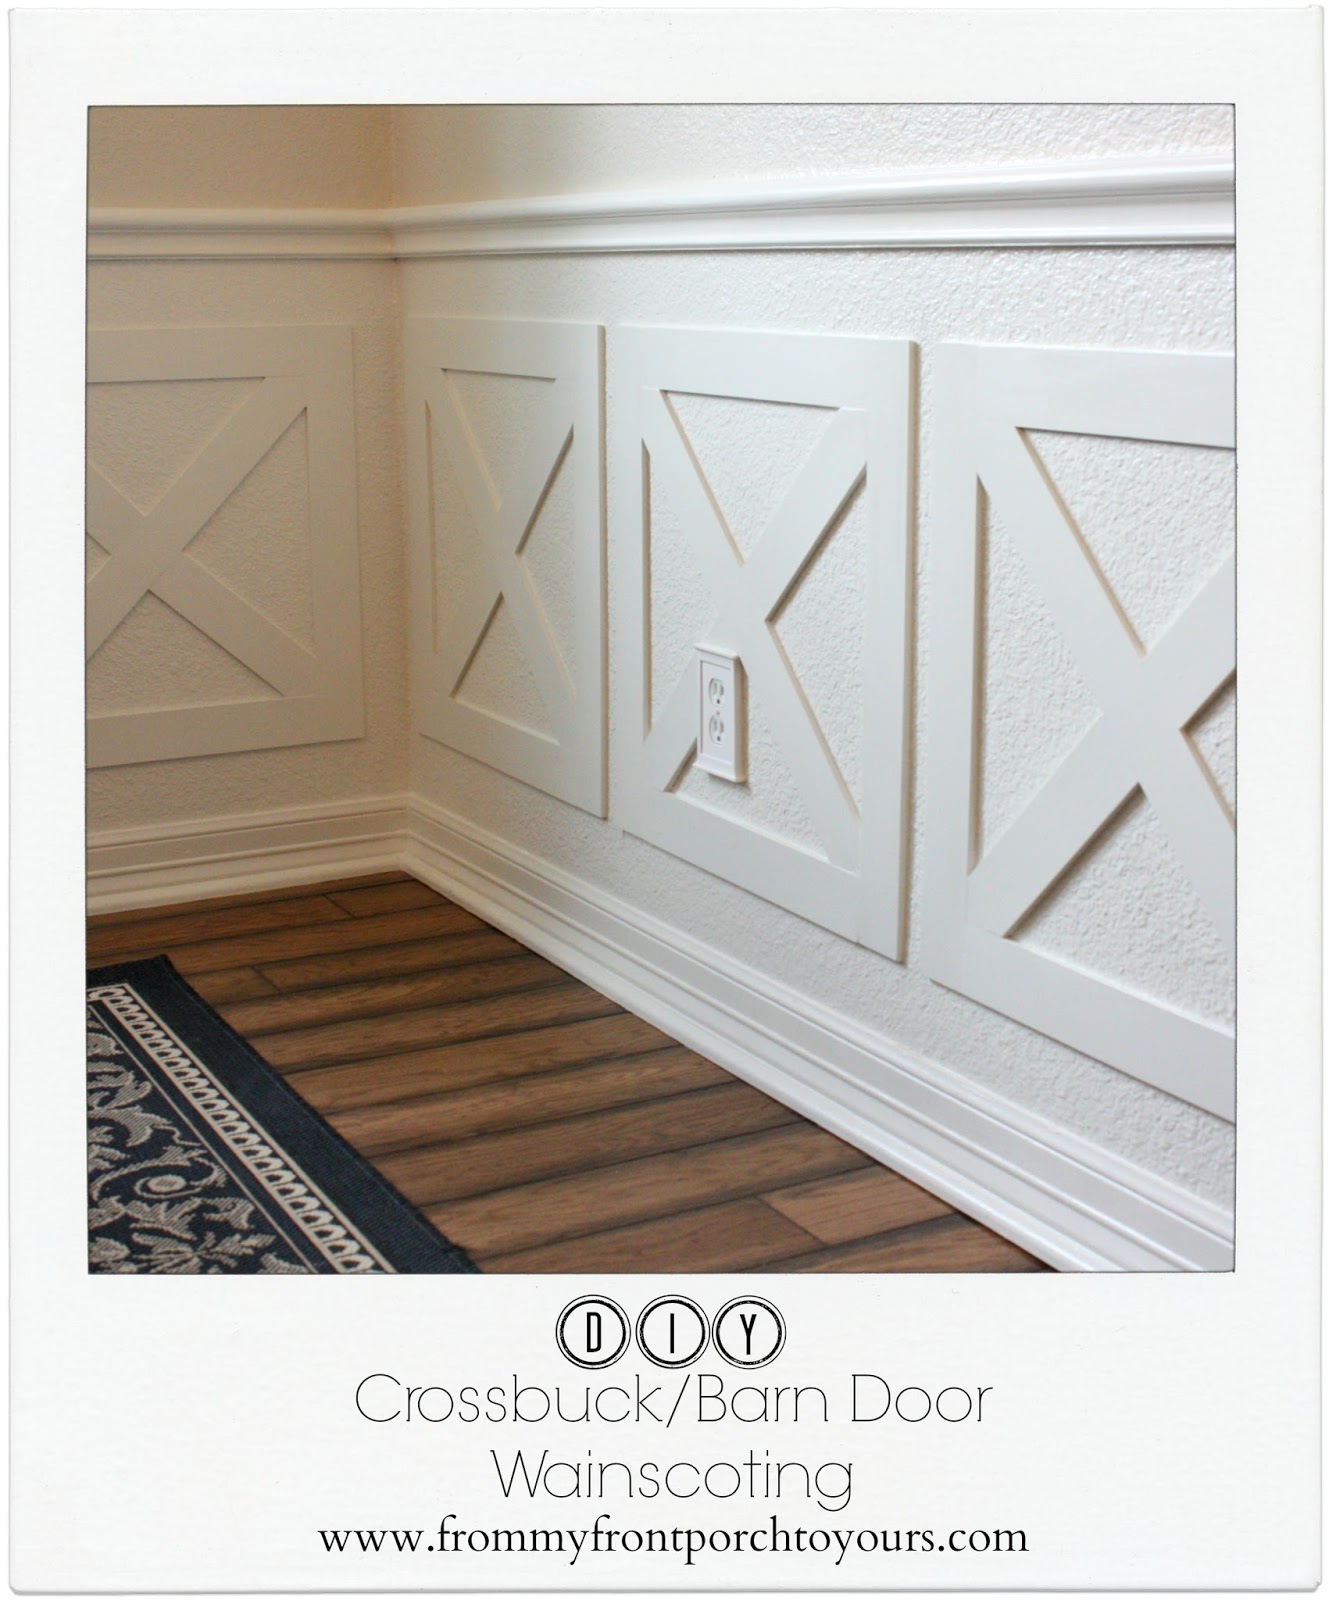
| With the bedroom completed I wanted to move on to adding Farmhouse charm to our dining room. Mr. Front Porch was not on board. He thought the dining room was just fine so I was on my own for this makeover. I chose to create a Crossbuck design commonly referred to as a Barn Door design. |
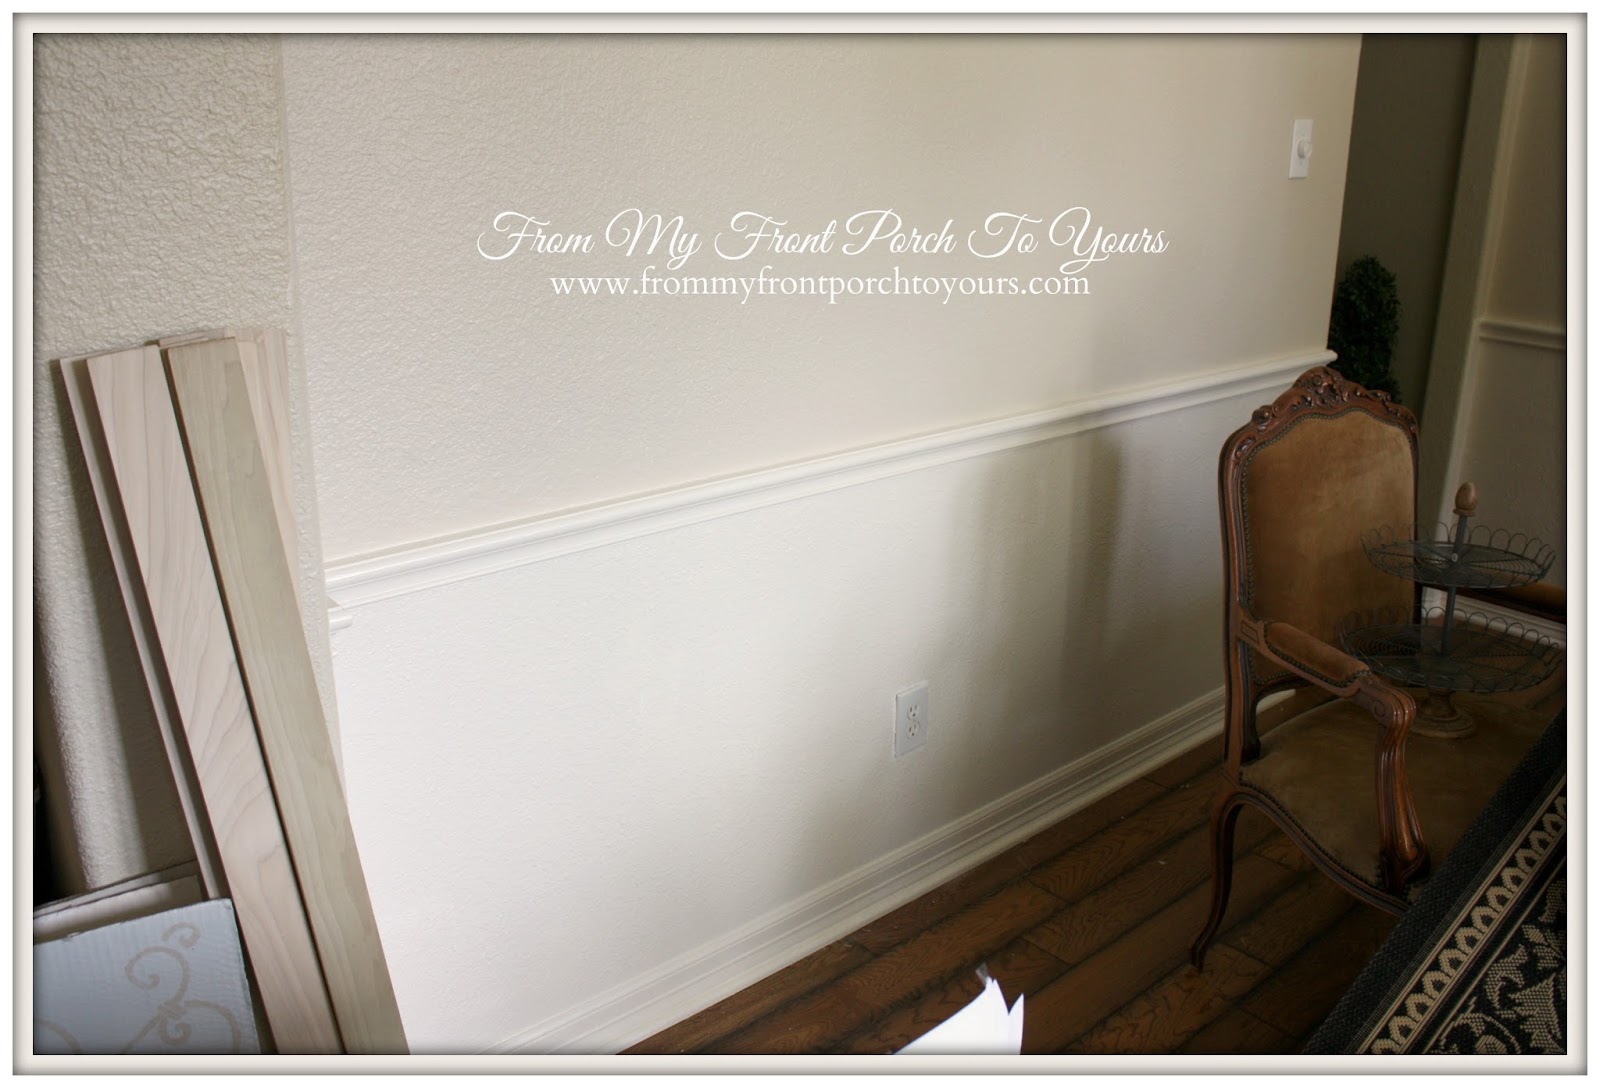 |
| The walls were recently painted with Sherwin Williams Maison Blanche and the bottom freshened up with some white. |
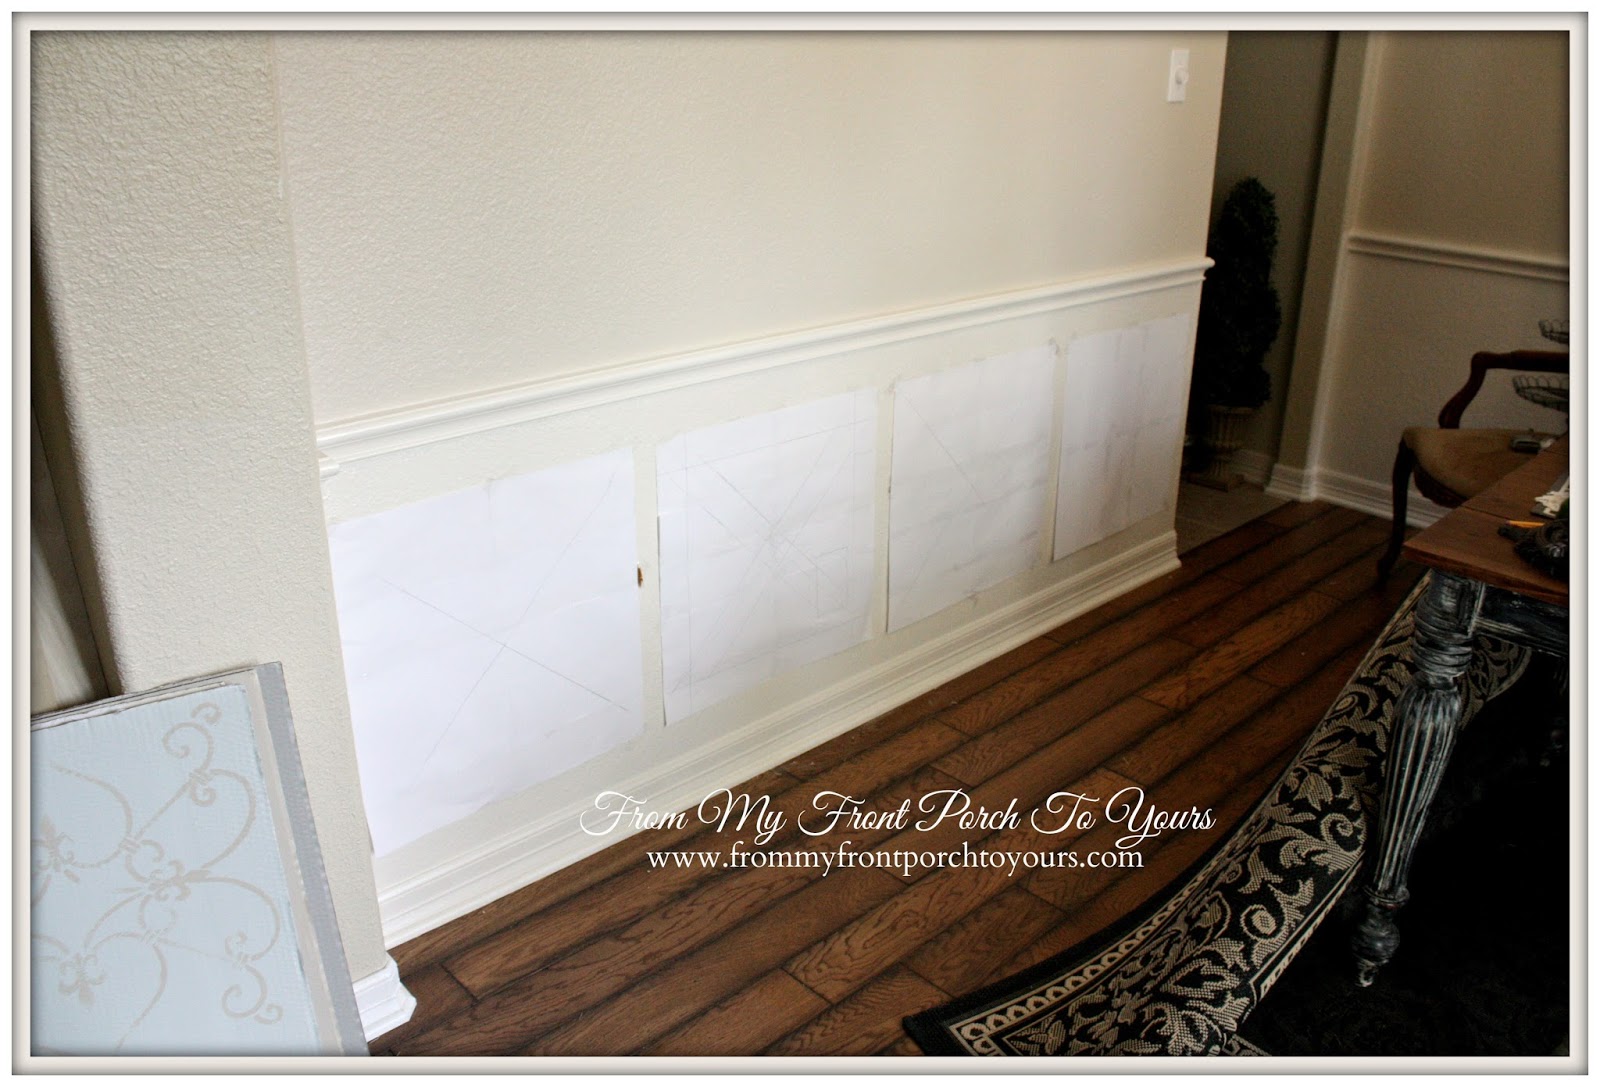 |
| Next up I created templates for my design with just some printer paper. I went with 22 inch squares for our space. |
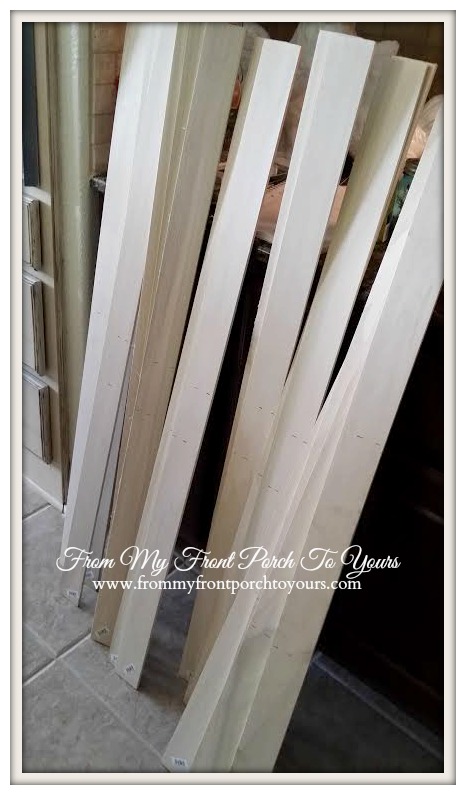 |
| To create the squares I used 1/4 3X4 Poplar boards. These you can purchase at Home Depot or Lowes. I chose Home Depot because they were $3.07 a board where as at Lowes they were over $4. I used approx 3 boards for each square. Because of this it took a few weeks before I had enough boards to complete the entire space. They do not keep a large amount of these boards on hand at one time. I am sure I probably could have asked them to order me what I needed but it gave me time to figure out exactly what I was doing.Now a VERY important part of this project is the fact that I had ZERO experience with wood working! That is right none what so ever so if I can accomplish this project on my own so can you. |
 |
| I used Mr. Front Porch's miter saw to cut my boards. The side boards are 22 inches long and my top and bottom boards are 17 inches long because I needed to factor in the width of the boards to equal 22 inches all the way around. Next up was to create the center board of the design. |
 |
| I lined up the center of the board to each of the corners and marked where I needed to cut them. |
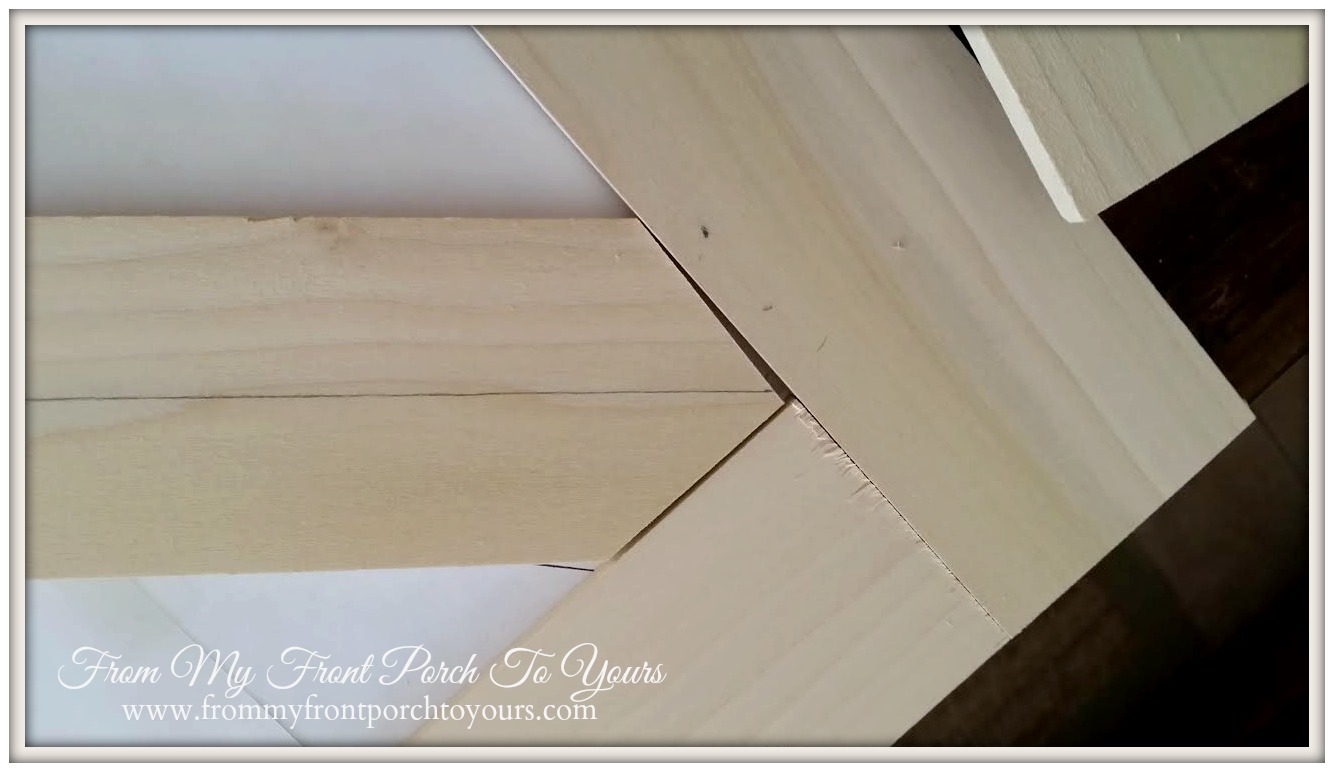 |
| You can draw a center line if you want to down each board but after the first one I just started guesstamating the center and it worked out just fine. |
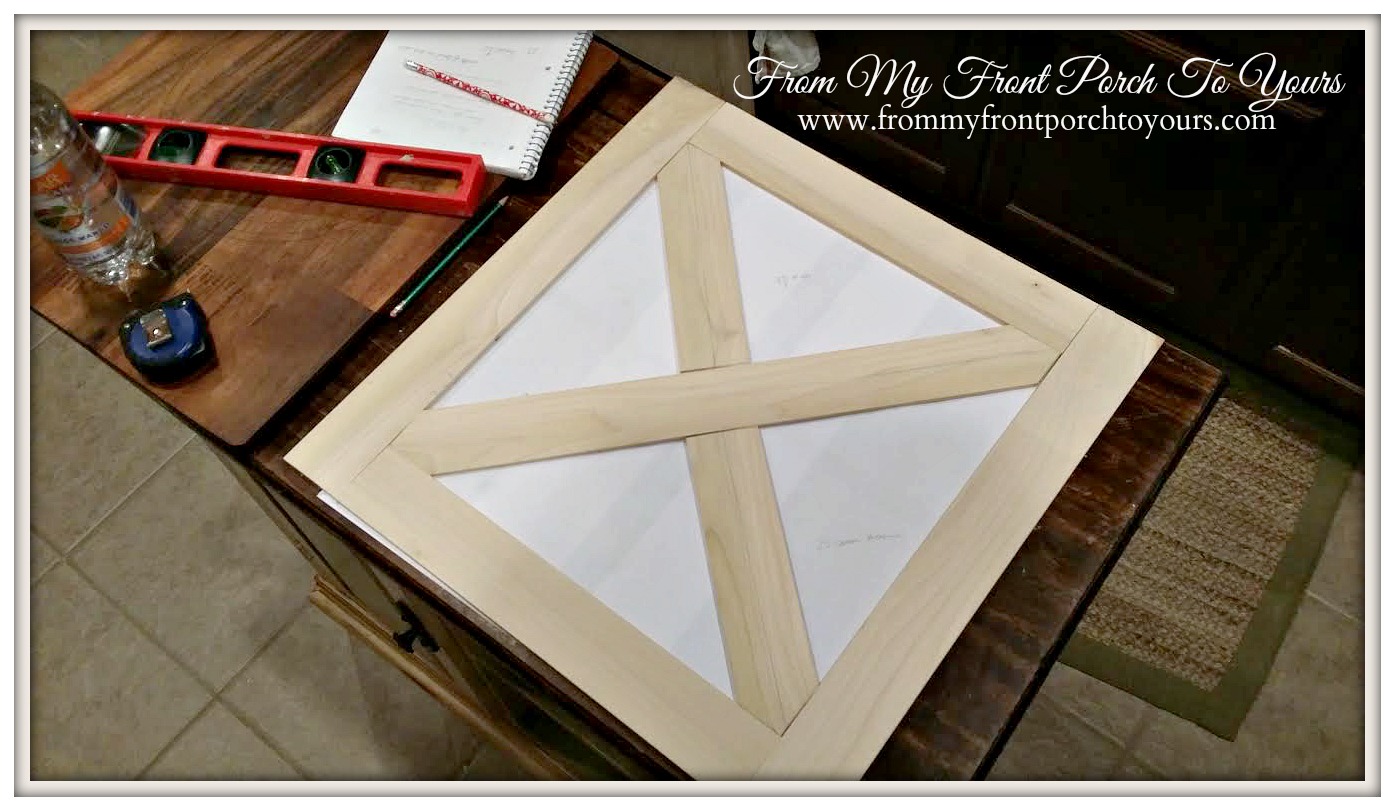 |
| I made sure my pieces all fit together on a flat surface. Not bad for a beginner!;) Make sure to follow all safety precautions like wearing safety goggles when cutting your boards. Be sure to sand all your boards down smooth before installation. Some of them may be rough to the touch. |
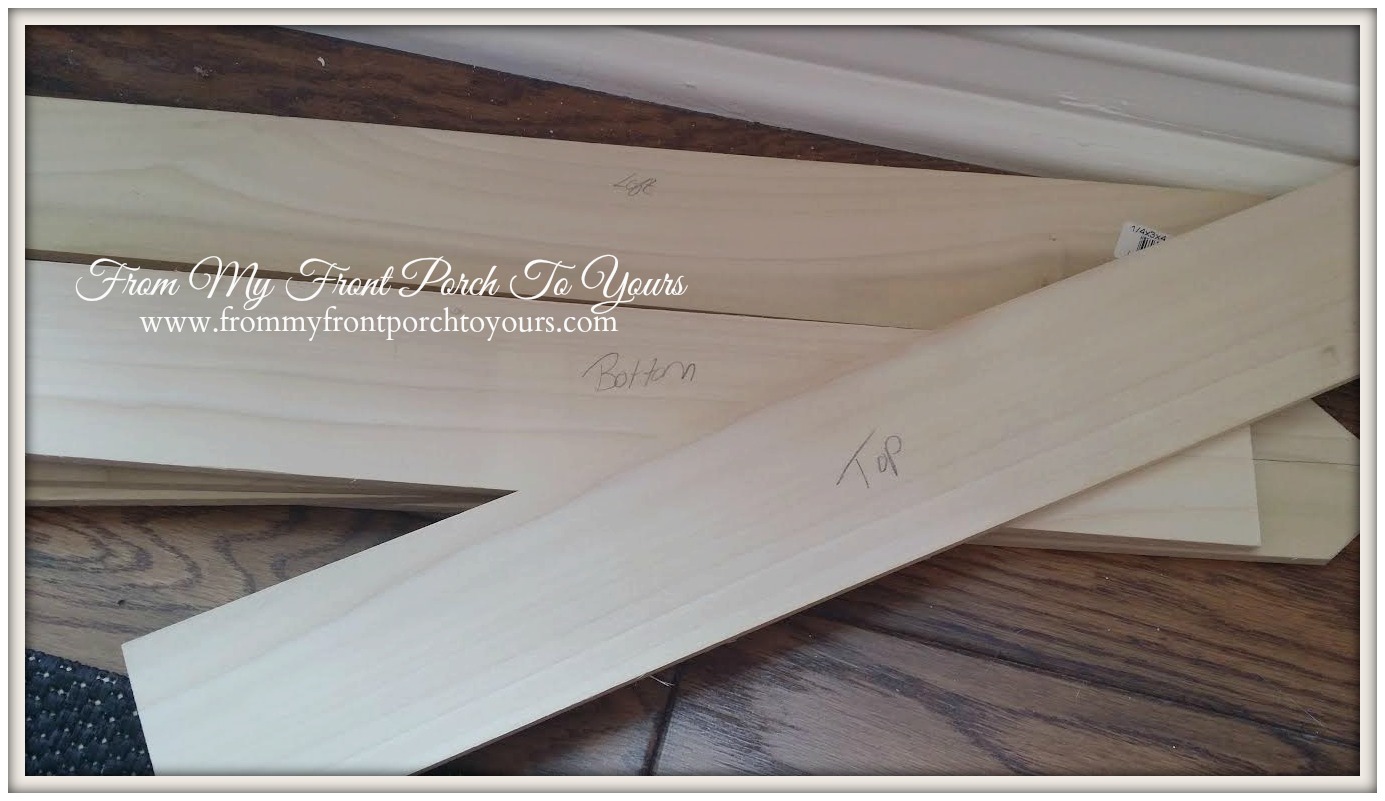 |
| Something I found quite helpful was to label your boards and keep them in sets. I cut each board design one square at a time to make sure all the pieces would fit together. You could technically just cut all the boards at once but to me that leaves a larger window for error. |
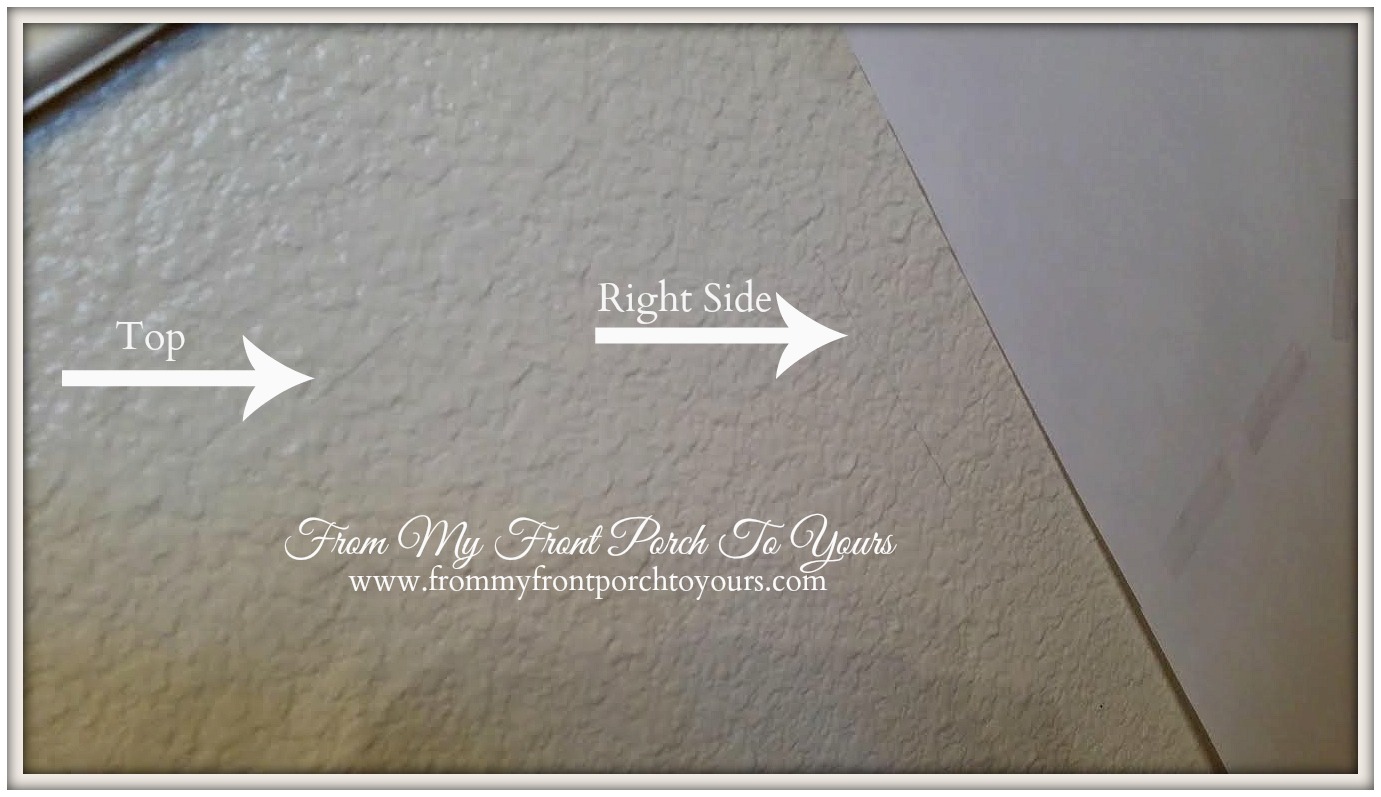 |
| After my squares were cut before I took down my templates I marked the top and bottom where the starter boards needed to line up. This made life super easy when installing the boards! Every now and then bust out the tape measure just to double check your work. |
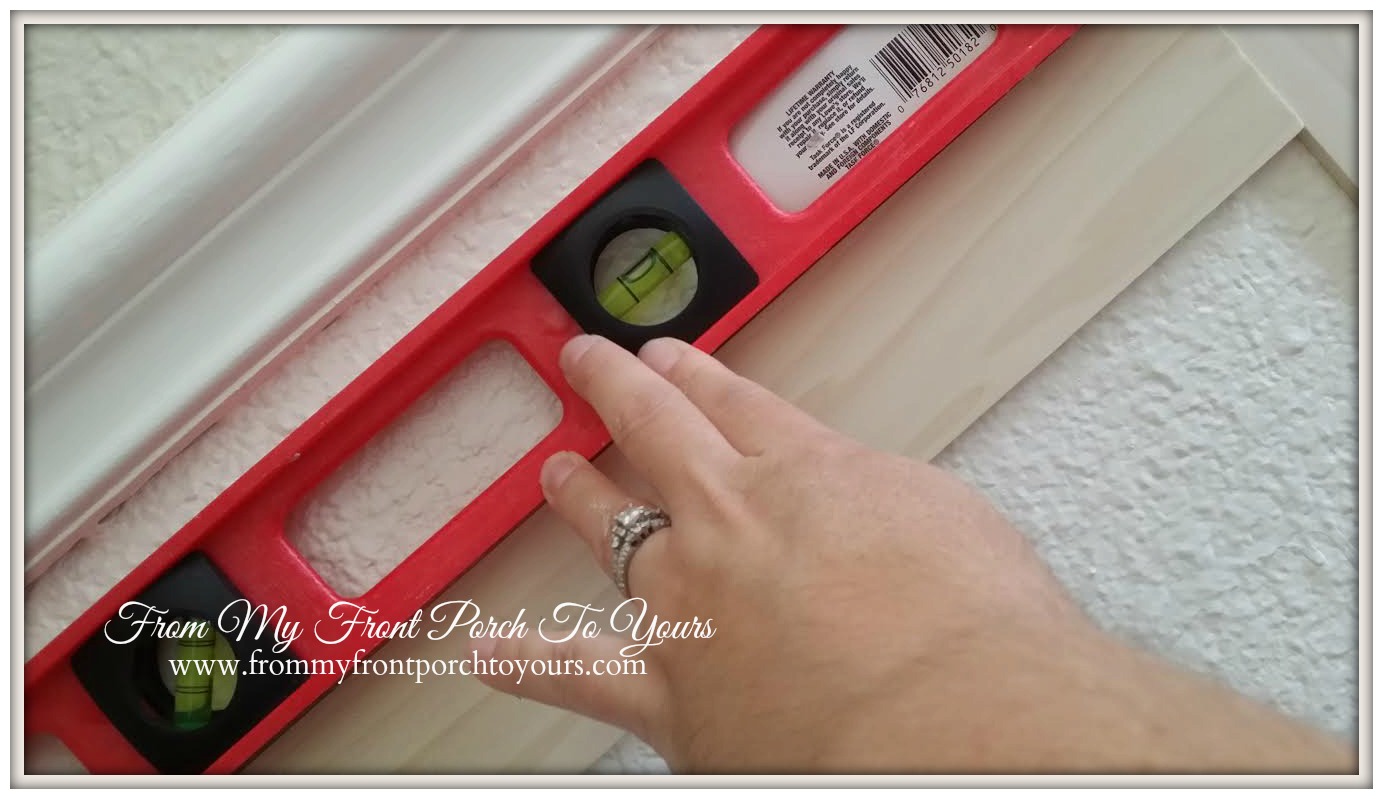 |
| I used a level to make sure all my outside boards were level. |
 |
| The boards went up super fast! I just used our nail gun to secure them. You may want to add adhesive but I chose not to in case I decide one day down the road I want to take it all down. |
 |
| Next up I used joint compound to fill in all the nail holes and slight gaps. Be sure at this point to make sure your nails are flush with the wood. If not use a nail finishing tool to make them flush. |
 |
| After everything was filled in I sanded the joint compound off and starting caulking. The caulking is what took me the longest and was the messiest. After caulking was completed I used a paint brush to paint the inside edges of the design and then a wide foam brush for the rest so I would not see brush marks. |
 |
| To add to the overall design I took down the basic outlet covers and purchased these more decorative ones at Lowes. I felt that looked more custom and built in to the design. |
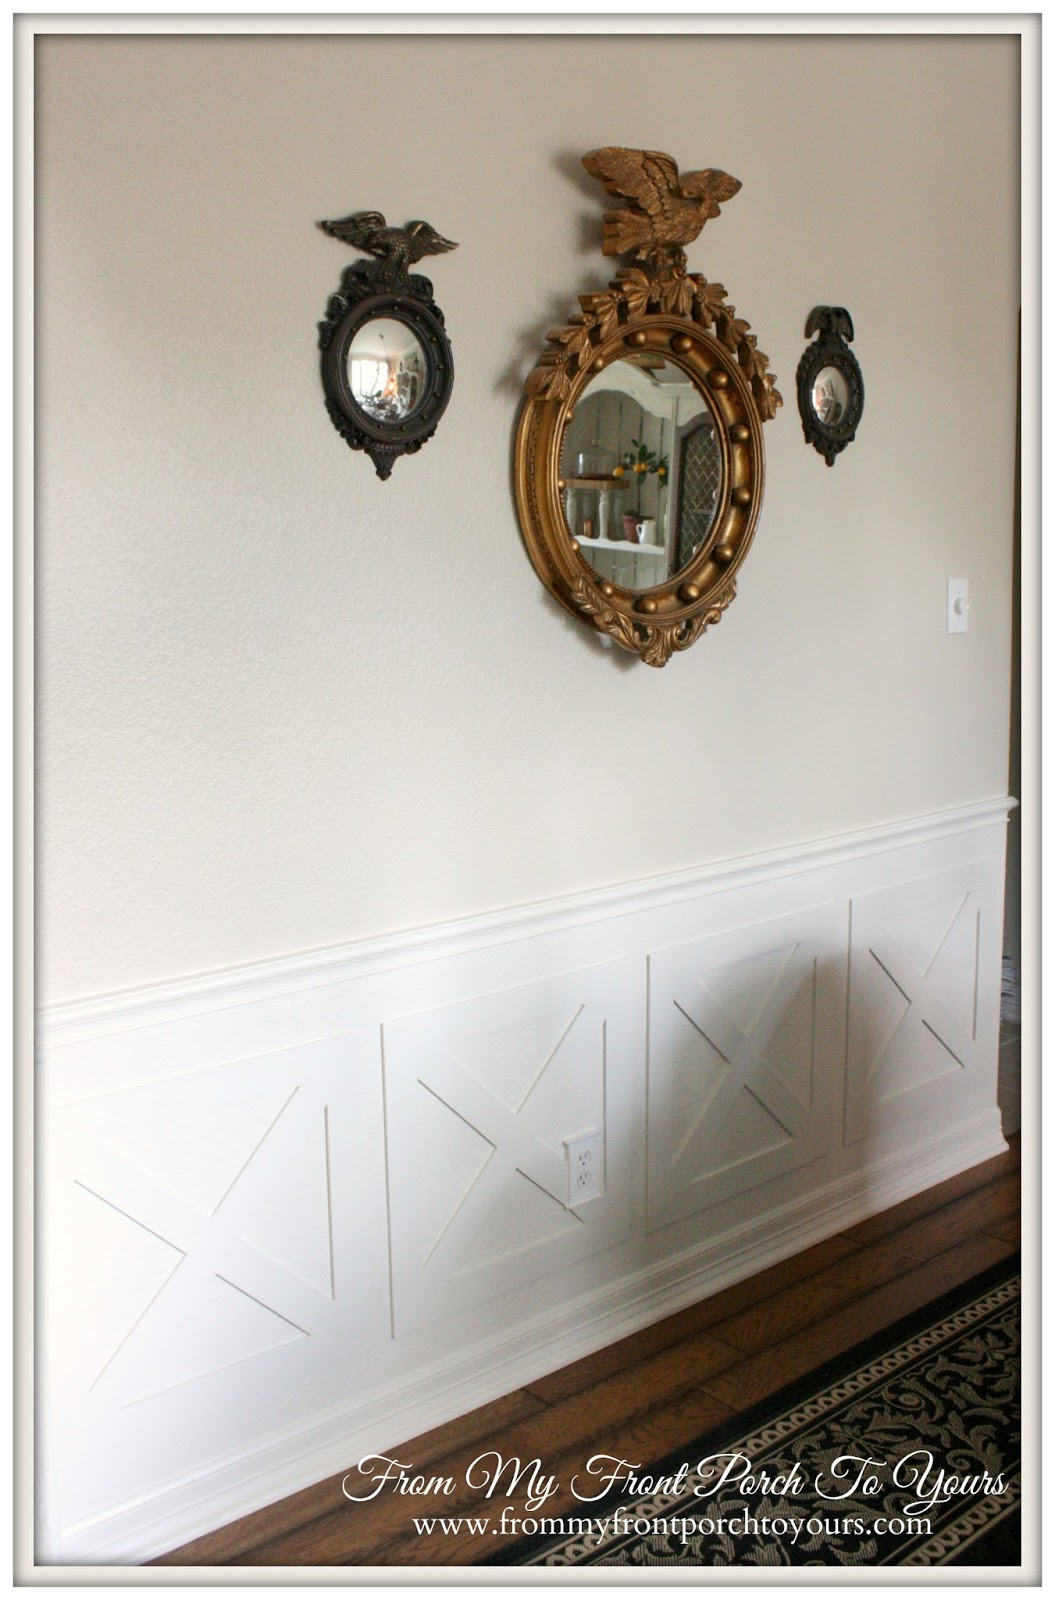 |
| I am just loving how the project turned out! |
 |
| It was exactly what this space needed and I can not wait to show you all the entire room. I am working on a few more projects though for this space so be sure to keep checking back! **Note this is how I completed this custom project for our home. It is up to you to research all methods before attempting this project yourself to determine which method will work best for you and your home. I am NOT responsible for how another project turns out.** Visiting at these fine spots: |
