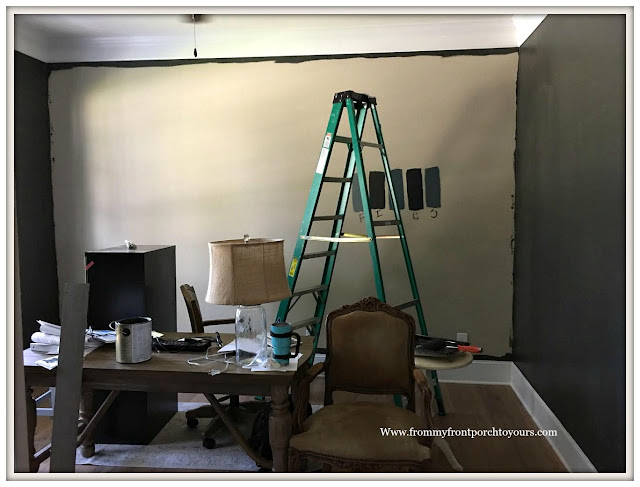
The office is coming right along. Over the weekend I completed the final coat of paint and the feature wall.
 |
I decided it was best to paint first and then install the feature wall. That way I was not having to worry about cutting in around the barn wood. |
 |
| The barn wood was fairly easy to put up. Took about 4 hours to install. Mostly on my own. Mr. Front Porch helped with the top 2 and bottom 2 rows. |
 |
| After three coats of SW Iron Ore the the walls were complete. The coverage was fine but the fact that this was a dark color you could more easily see the roller marks which was driving me crazy. |
 |
| Though I am a "lighten and brighten things up" kinda girl I have to say I am in love with Mr. Front Porch's office thus far. Next up new ceiling fan and furniture! If you missed where this space all started you can click here. Sharing at these wonderful blogs: Between Naps On The Porch A Stroll Thru Life My Uncommon Slice of Suburbia Savvy Southern Style Shabby Fufu French Country Cottage |


It is looking so great! Love the color you chose and the wood wall.
ReplyDeleteThanks Penny.
DeleteLove that wood wall and the paint color too. I agree that the nails are a great addition.
ReplyDeleteThank you Courtney. Hubby thought I was crazy but when he saw them he was like ok that does look nice.
Deletelooking good!
ReplyDeleteThank you MaryJean!
DeletePam it looks so good. Love the idea of the nails. It looks awesome.
ReplyDeletexoxo
Kris
Thanks Kris! Hope your week is going well.
DeletePam, this is going to look so good and so dramatic. I need a wall tutorial.
ReplyDeleteThanks Katie. The wall was pretty straight forward. We purchased it locally and it has self adhesive backing so that made it really easy to install. It is made from a company in Georgia.
DeleteI love the plank wall! Although tedious, I think the nails are a great added detail. They give the wall added texture, depth and authenticity. We want to do something similar in our bedroom. Any chance you want to come visit the old hood? :)
ReplyDelete