 |
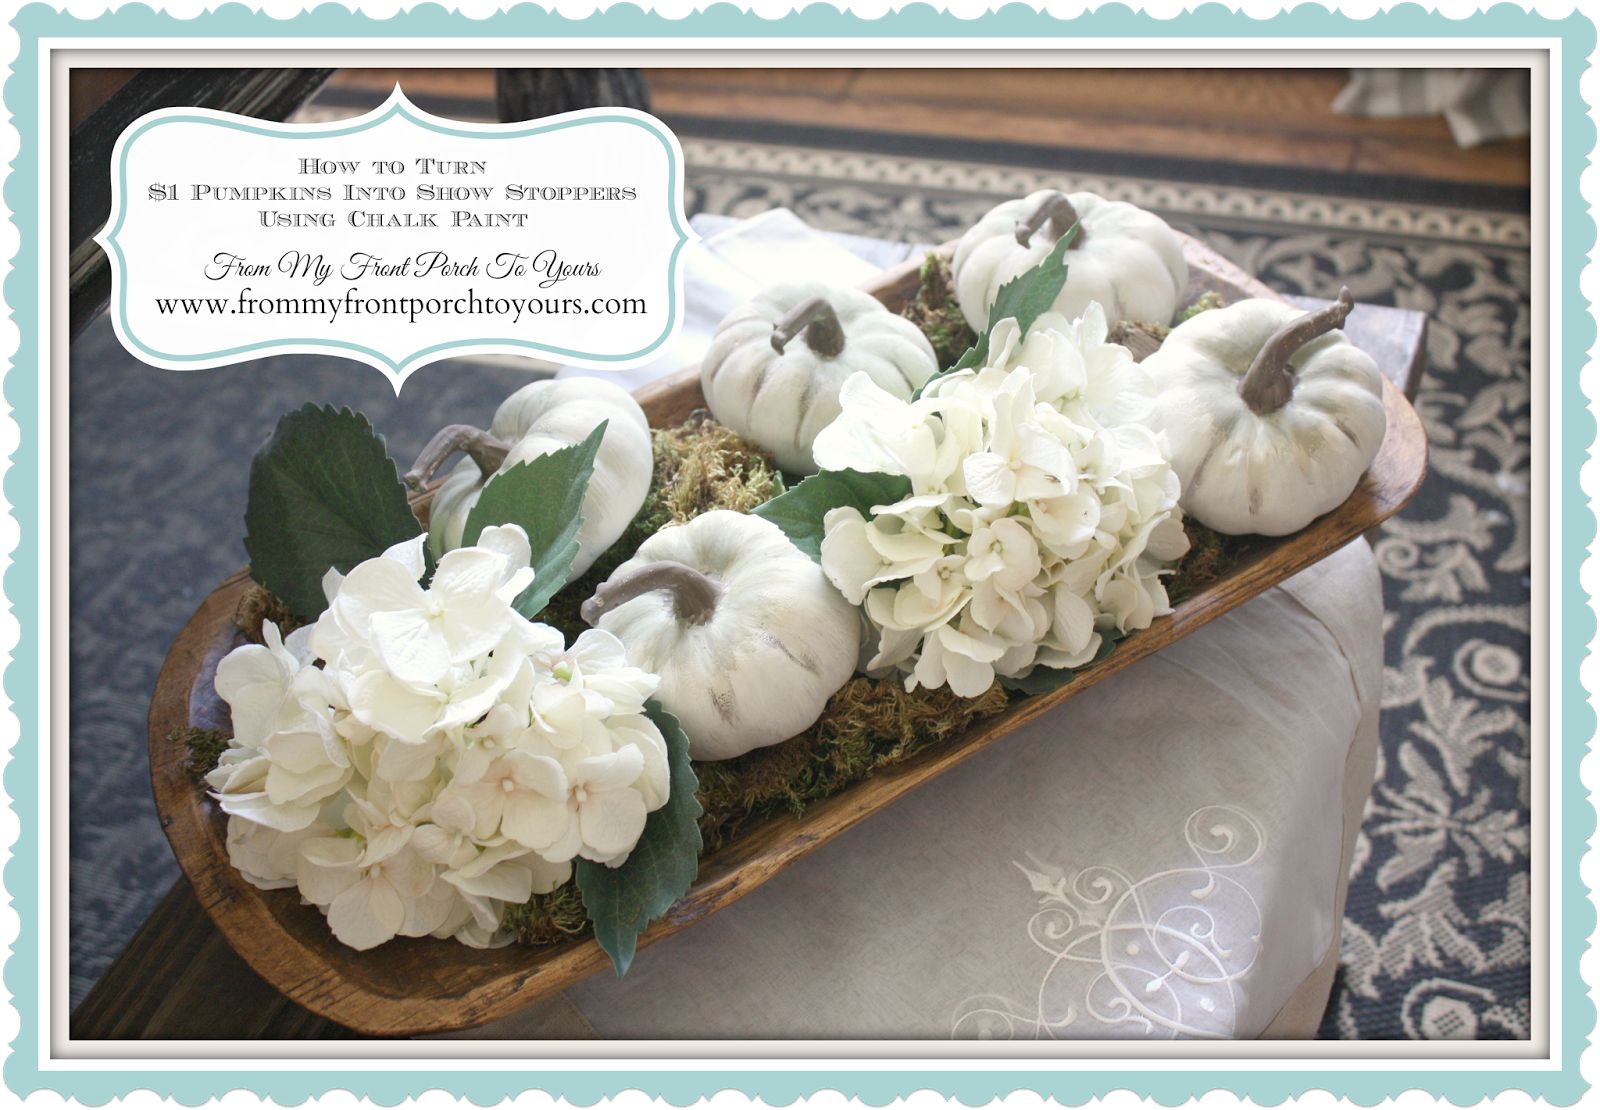
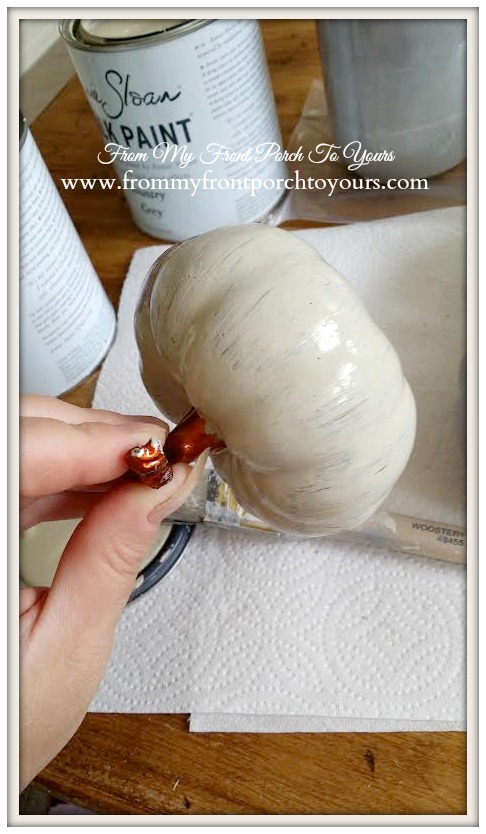
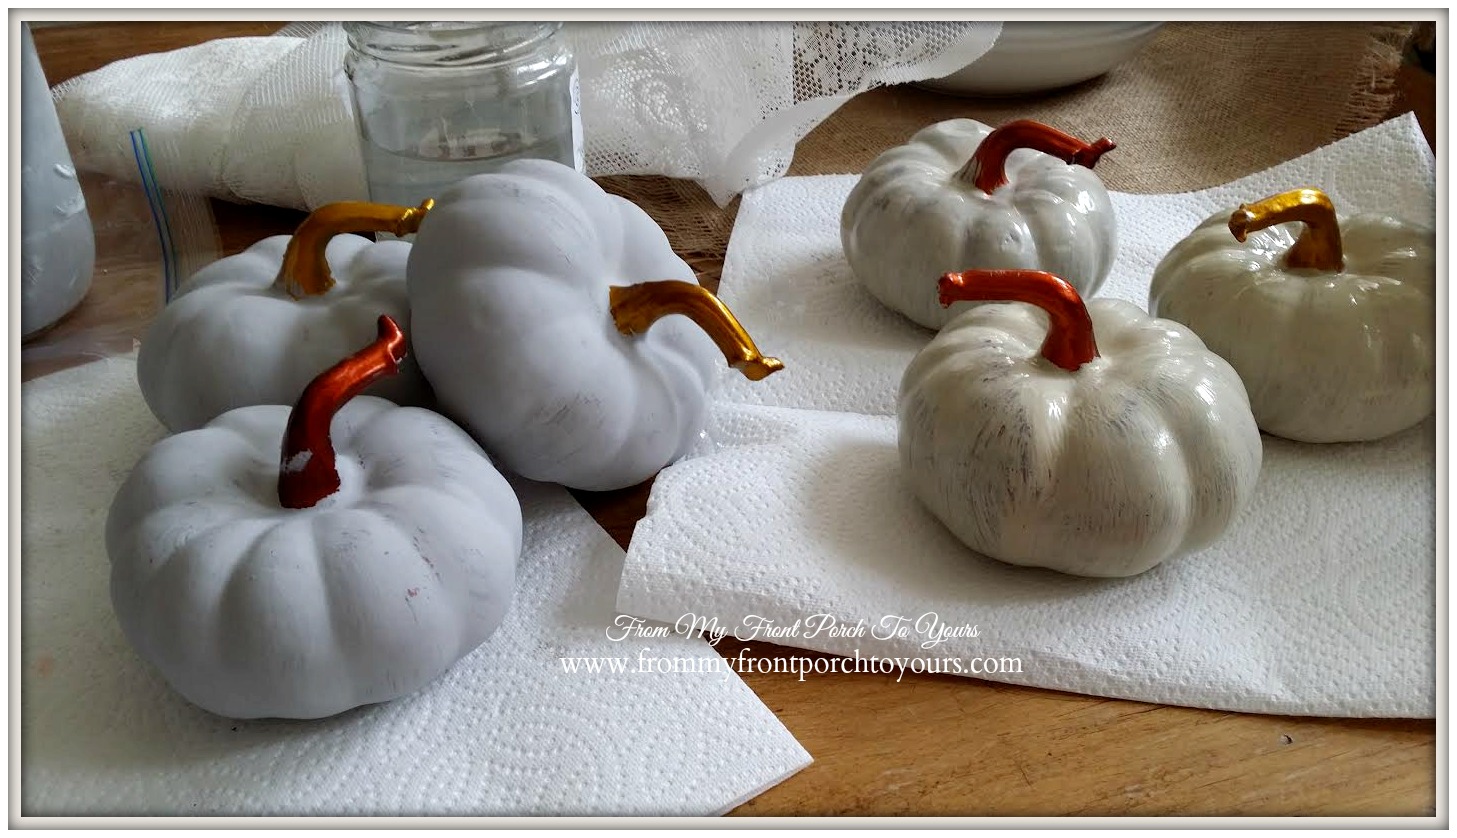
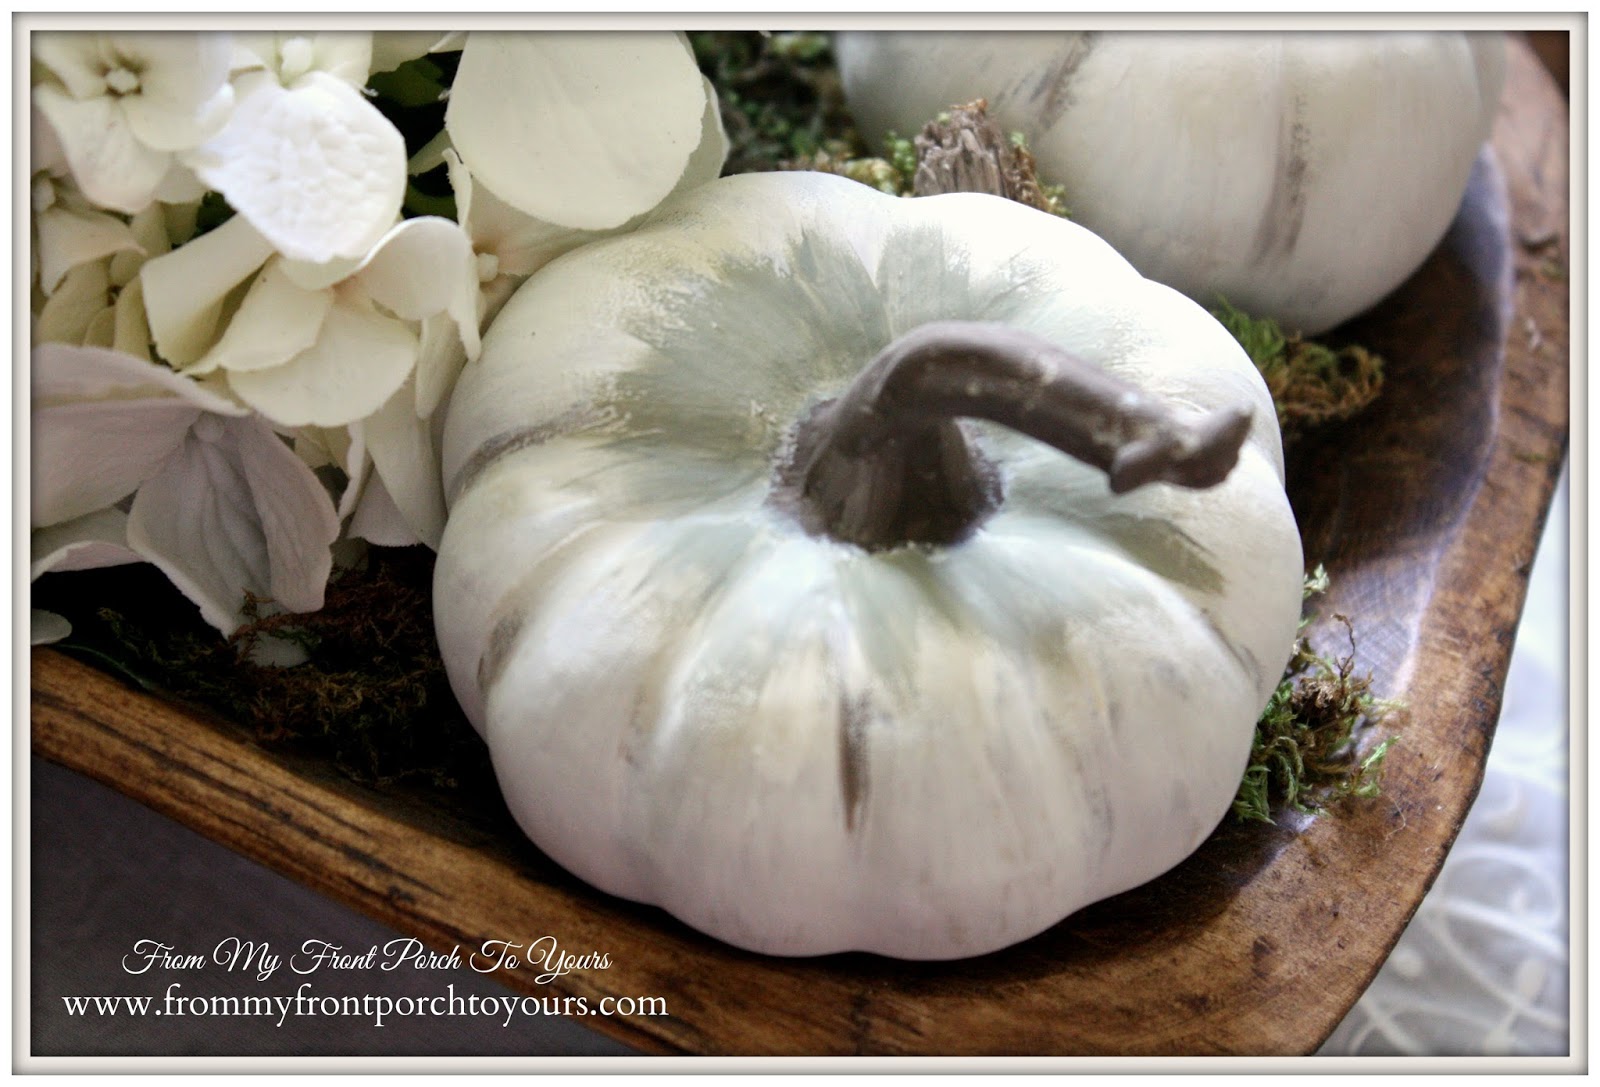
| A few weekends back I had some fun painting pumpkins. |
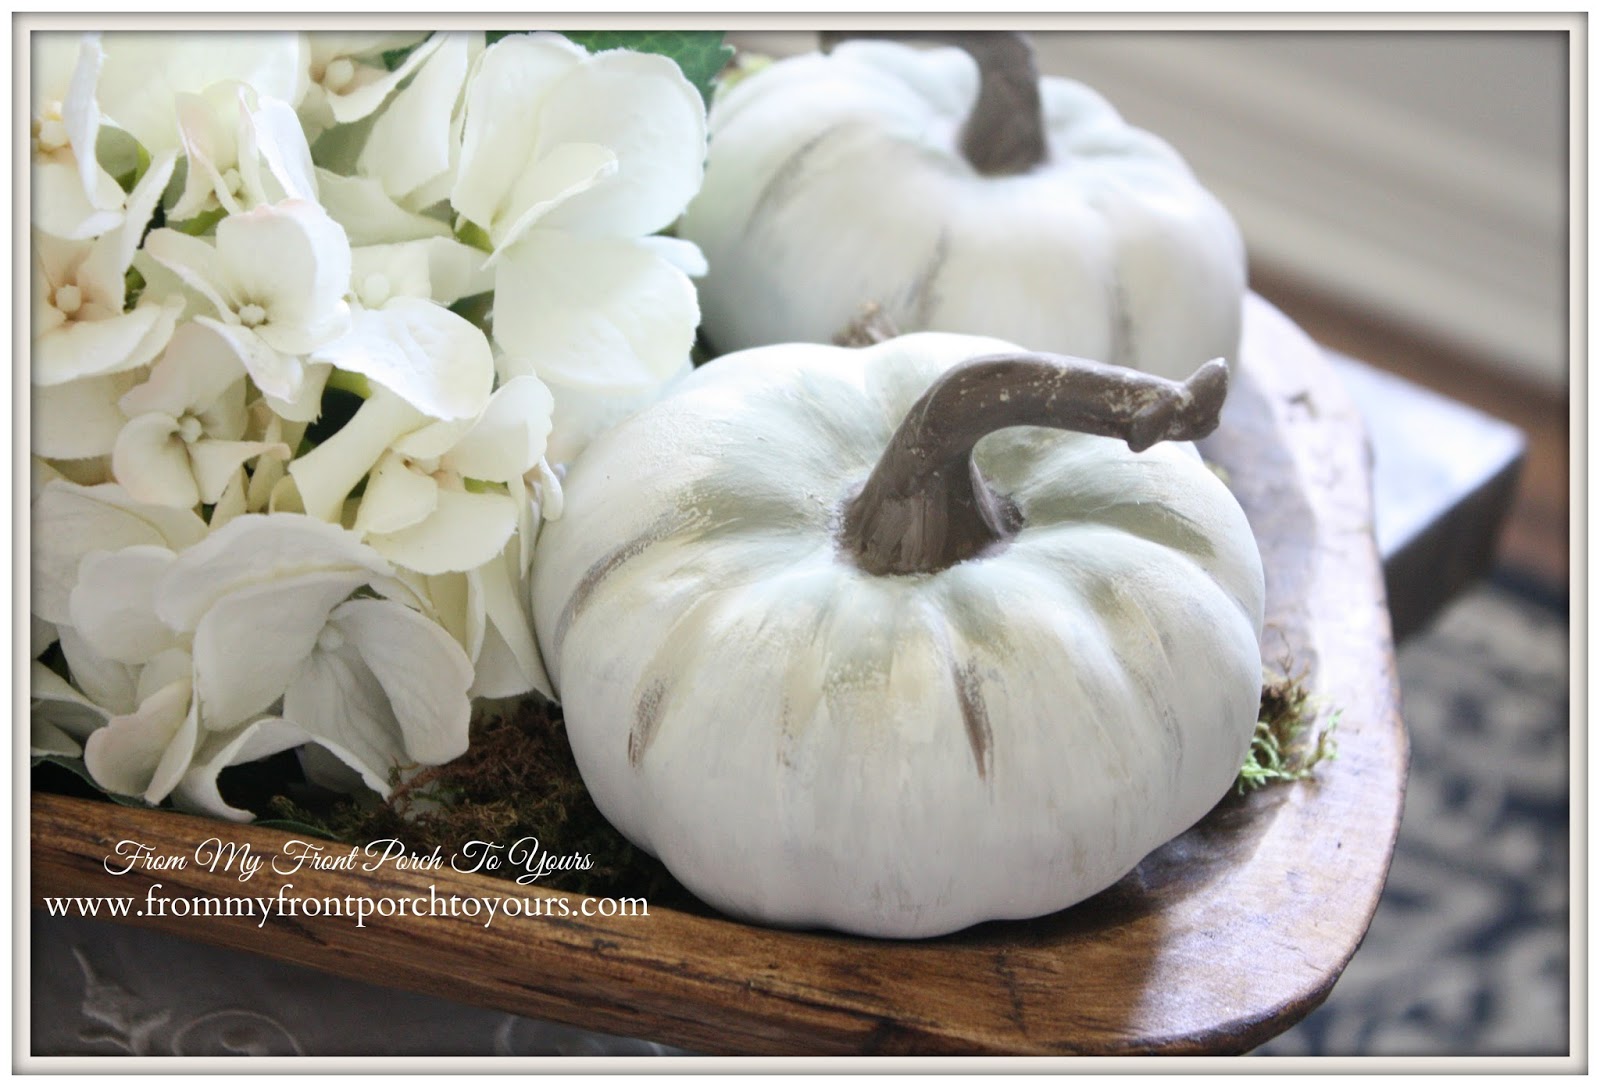 |
| The tips were layered as well. |
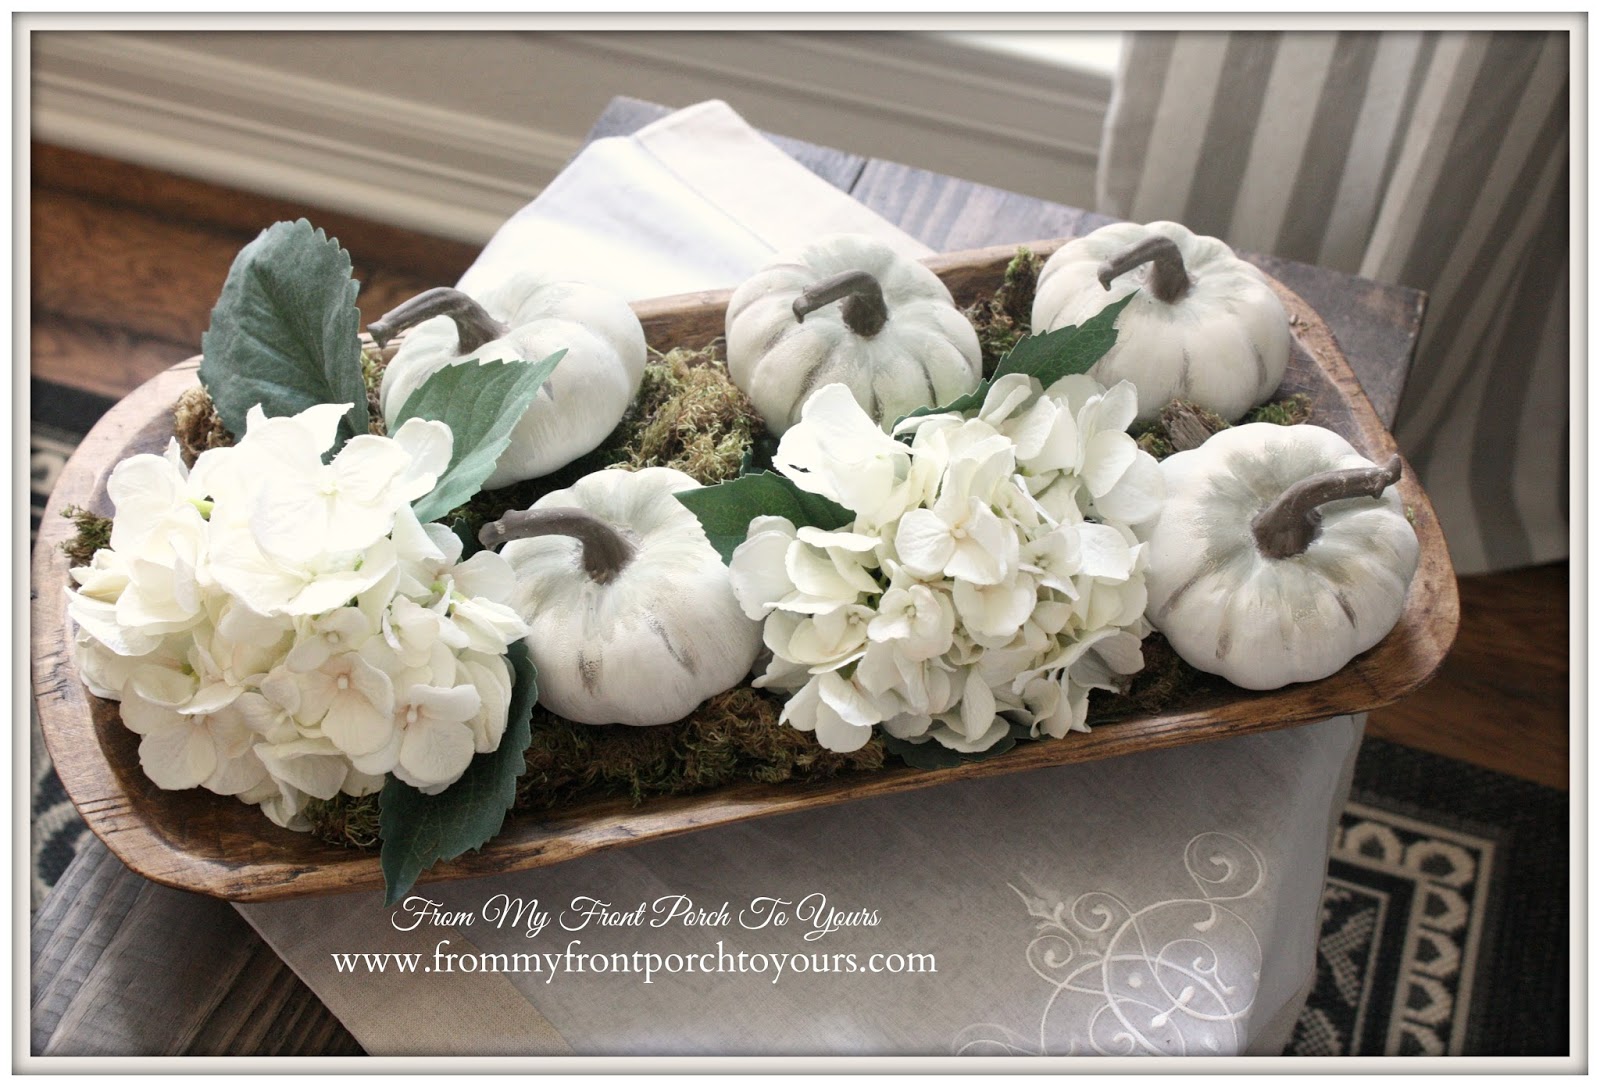 |
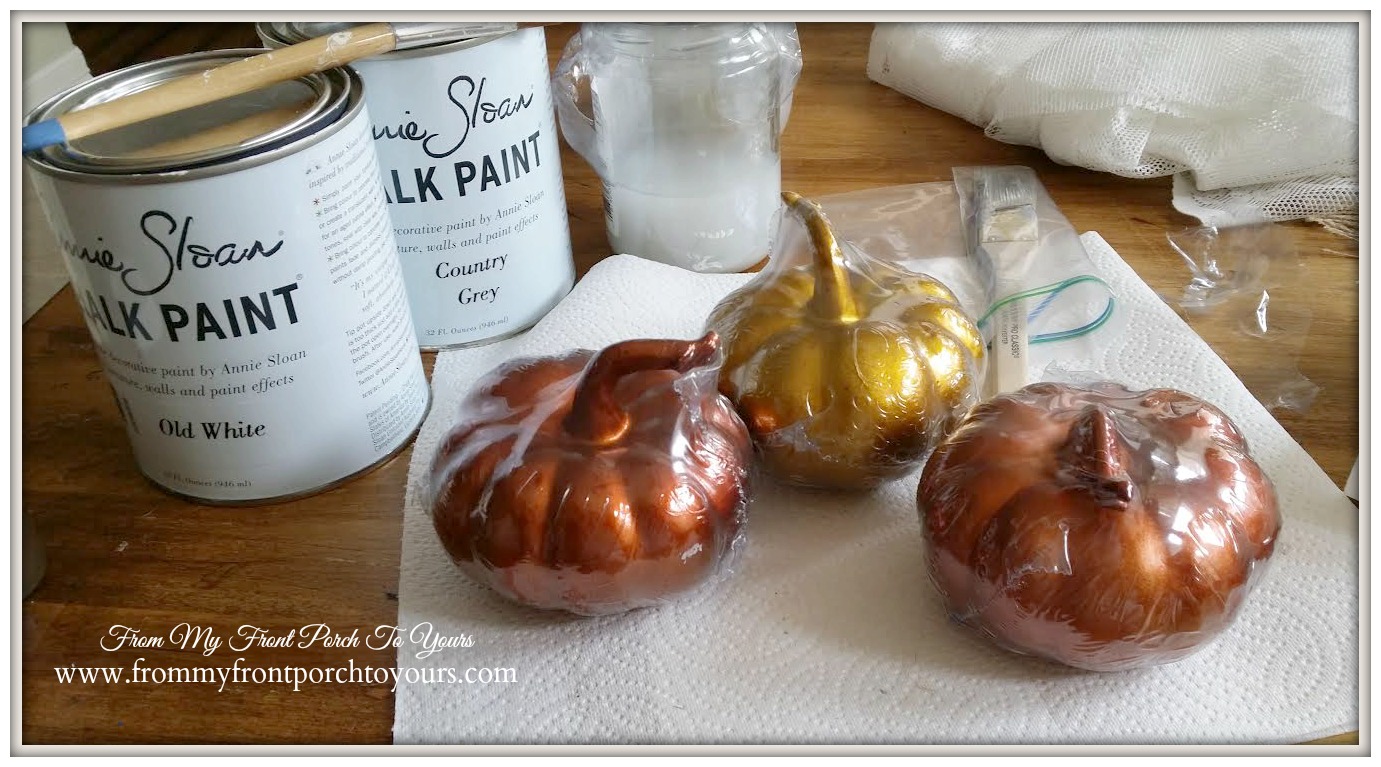
| The best thing about this project is that there really is no right or wrong way to paint them. You just go with the flow till you achieve a look you love and have fun! I decided to leave the pumpkins as is and not seal them with wax. I have not had any issues with the paint staying on the pumpkins what so ever. Even with all the thin layers I added there is not even any cracking. Visiting these fabulous blogs- Savvy Southern Style French Country Cottage |


What a fabulous DIY. I love how my friends in blog land can take things like 1.00 pumpkins and turn them into a beauitful pieces of decor.
ReplyDeleteThank you Susan!
DeleteThey look beautiful, Pamela! Like you bought them in an expensive department store. You know, I have never used chalk paint before, I think it is time I give it a try:) Enjoy your day! Maria
ReplyDeleteVery pretty Pamela!!
ReplyDeleteWhat a great idea! They look wonderful.
ReplyDeleteThat is a great idea! We have some "volunteer" pumpkins that came up in the garden from our compost. I should try this with one or two!
ReplyDeletePamela,
ReplyDeleteThey look GREAT! I painted some a few years ago with ASCP and I didn't wax them and they are still looking good.
Blessings,
Linda
Love these, they look amazing. Great job.
ReplyDeleteBeautiful Pamela. What a great re love of the dollar pumpkins. They look like a million bucks now.
ReplyDeleteKris
LUV!!!
ReplyDeletePainted a couple a few weeks ago. Yours came out beautifully Pamela.
sweet!
ReplyDeleteblessings
Barb
Love these.
ReplyDeletePretty darn clever, Miss. Pamela!
ReplyDeletethat chalky finish looks pumpkin perfect!
ReplyDeleteThey look great! I've been shopping for cheap pumpkins, but all my normal dollar stores seem to have large fancy pumpkins with large prices attached or nothing at all. I'll try Target - who wouldda thought?
ReplyDelete