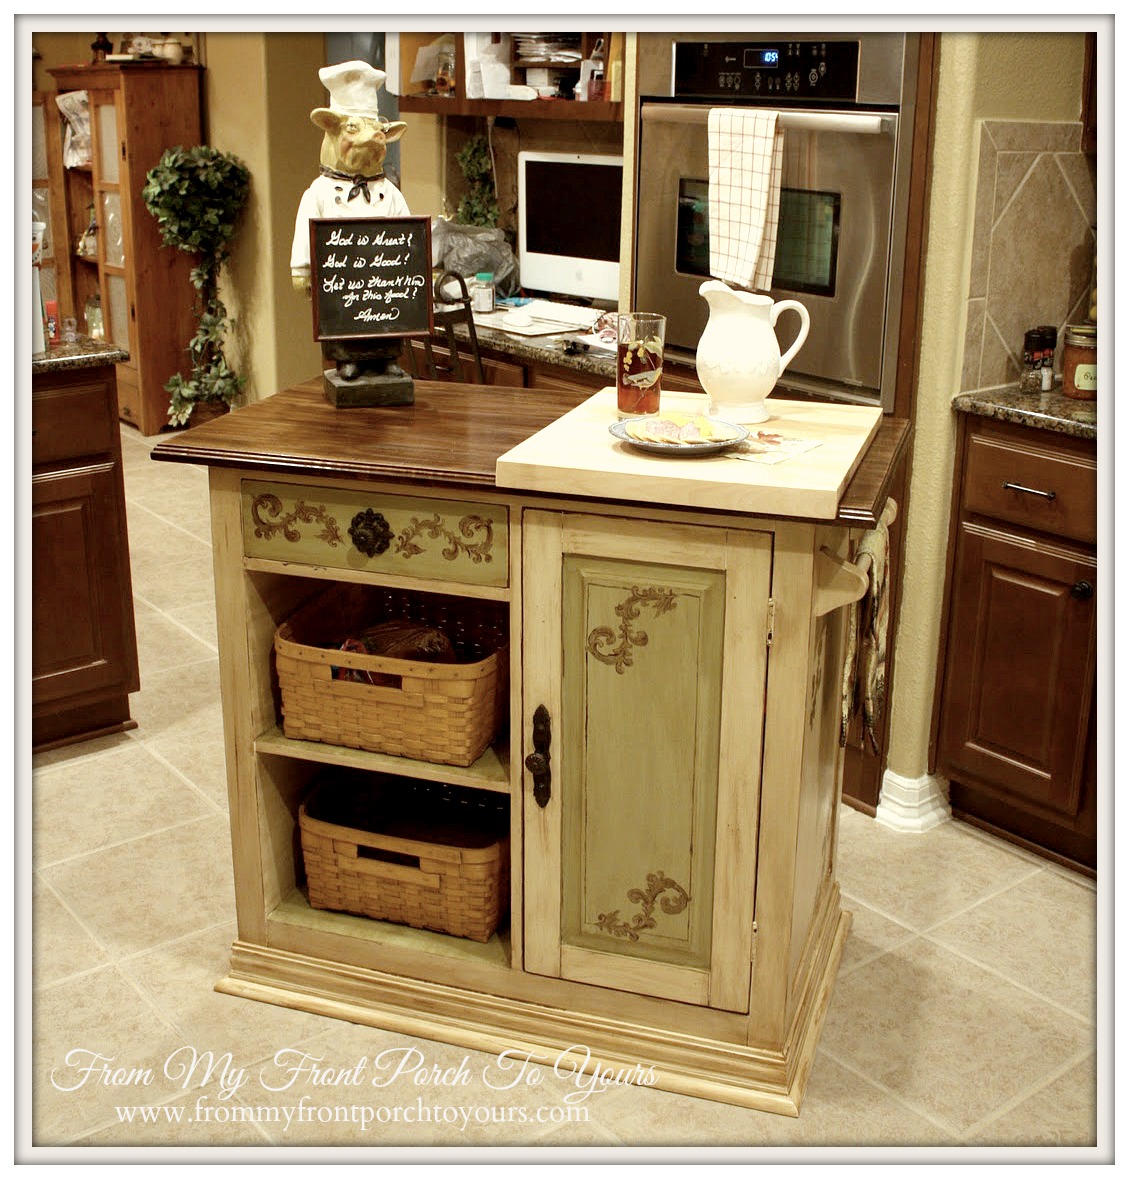
I recently shared our spring front porch where I had freshened up our front door with stain. I received several inquiries about how I did it so I thought that I would share the steps I take to refinish it. Now I do not have another door to refinish but I do have the custom wood top to our kitchen island.
 |
| Mr. Front Porch and I made over our kitchen island three years ago. You can read all about that here. |
 |
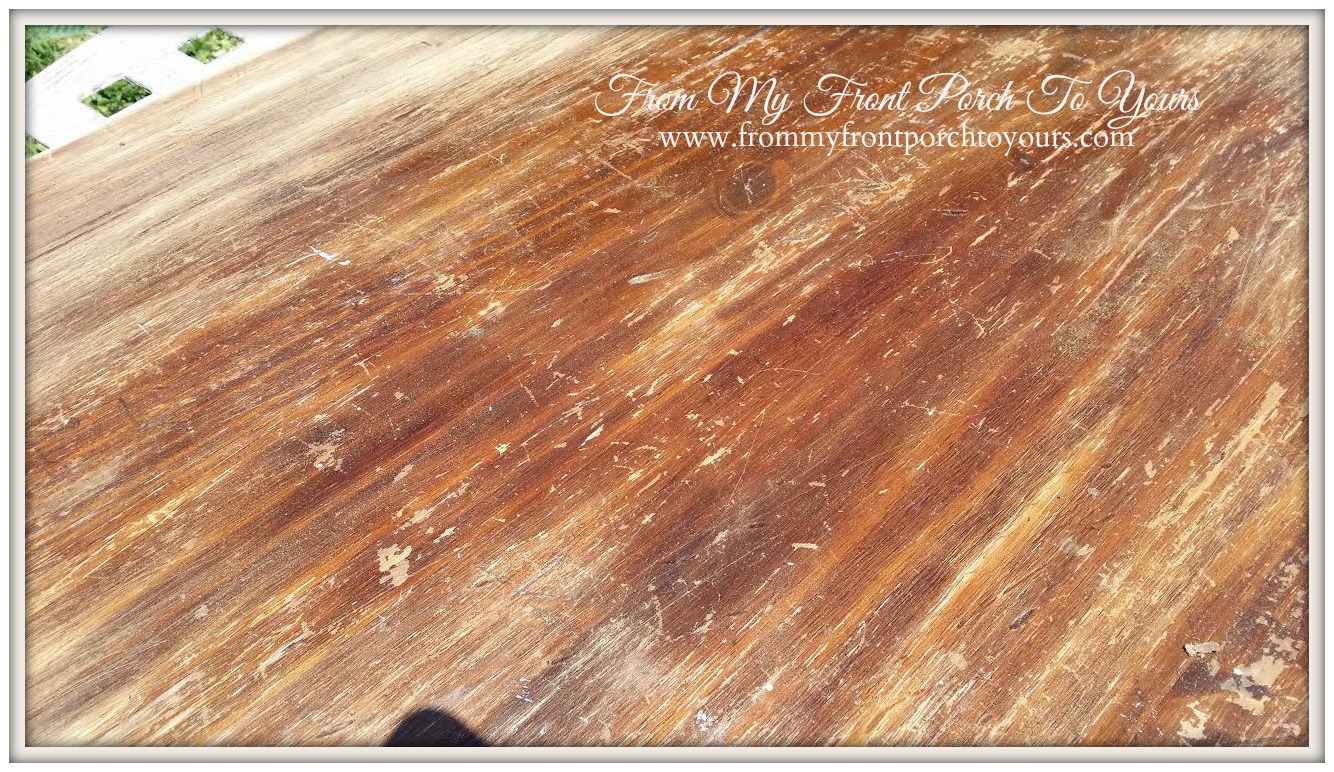
| I took the island top outside and used medium grit sand paper to hand sand the top down. I hand sand because I do not like the little squiggle lines my orbital sander always leaves behind. |
 |
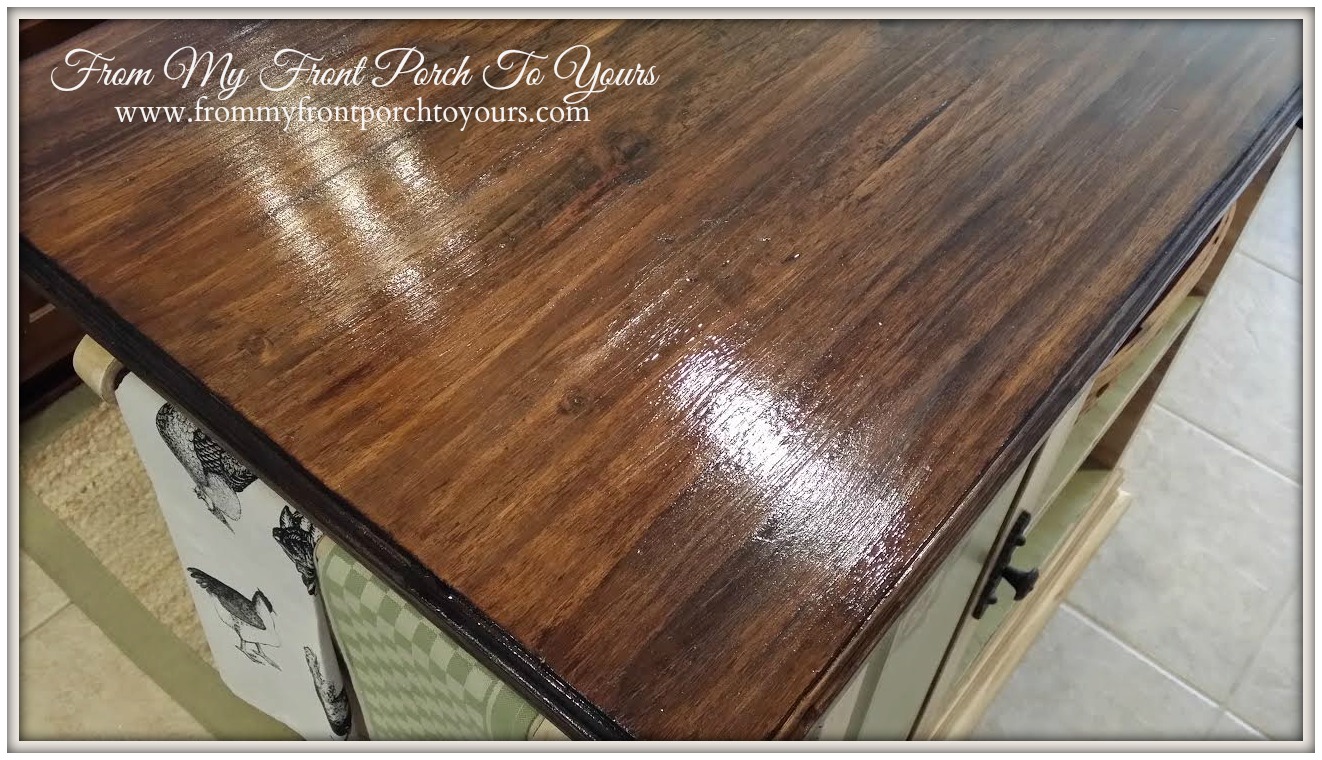
| Next I use a clean white rag to apply the stain. My preferred choice is Dark Walnut by Minwax. It is a beautiful color. |


Turned out great! That is exactly how I refinish and re-stain wood!
ReplyDeleteBeautiful!
ReplyDeletePamela, great post! Great job, looks beautiful! I sure needed to read about this last week! I did a little bit of staining to a small part of a table and was as sticky as all get out! It's all finished now and looks great. But your tip about it being dry, it's a must!
ReplyDeleteIt looks great! We made a kitchen island a few years back out of our old Pottery Barn table and it is in need of little sanding and staining, too! Thanks for the reminder that it really isn't that hard...just have to get motivated now! ;)
ReplyDeleteI remember when you did your island, Pamela ~ I can't believe it's been three years! I still love it. The top looks great all refreshed. I like a dark walnut stain myself.
ReplyDeleteI think that's a lovely piece. In all it's refreshing & tweaks. :)
ReplyDeleteThere's something you might want to try for outside. It has outlived any type varnish or urethane products I've ever used. I've got my front door sealed with this, and it's been 7 years. I read this online somewhere and thought I had nothing to lose.
I bought Behr (and I've used Olympic) Exterior Latex Flat, Dark (#4 or 5) paint BASE. The base, pre-tint, has all the UV protection and stuff that makes exterior paint last so long. It goes on white and dries so clear and matte, I always wonder if I missed something. So I use 2 coats. The thing is, it's TOTALLY matte. I use it to coat pieces that are really chippy, because it's invisible. Even the chips don't have that glued down dried shiny stuff you get from other topcoats.
I'm using it as we speak on an antique door I stripped with Citristrip. (No sanding.) It's so beautiful I'm not staining it, but wanted to find a way to keep the really raw look. I succeeded. Then, I have a door I left in the yard for a year to chip. I succeeded. :)
Anyway, it's an interesting topcoat that one never thinks of. And it goes on beautifully. Water clean-up. You do such clever things, I thought you might want to add that to your arsenal.
BTW. I really love your island. If you were anywhere near me, I'd bribe it right out of your kitchen! The colors and details are so sweet!
Oh, man. Sorry about the novel (again).
DeleteThat top turned out great Pamela...love the whole island!!
ReplyDeleteTurned out just beautiful, I am gonna try this on a table!
ReplyDeleteIt looks great Pamela!
ReplyDeletePamela this is gorgeous. I love the deeper color stain so much!!!
ReplyDeleteCynthia
BRILLIANT!!!!
ReplyDeleteLove how it turned out so inspired now!
Thank you.
toolsadvisors
I have read your article post. Thank's for tips sharing. Informative and interesting which we share with you so i think so it is very useful and knowledgeable. I would like to thank you for the efforts. I am tiring the same best work from me in the future as well.
ReplyDeletewoodworkingbuddy
I think our kitchen worktop needs some loving like this! My husband does the sanding so he gets to practice the belt sander tips he reads online, LOL!
ReplyDelete