 |
Here are the supplies you will need to make a Spring Tulip Wreath:
6-7 tulip bundles
3 ft of ribbon
1 grapevine wreath
florist wire
hot glue gun
pliers- slip joint or needle nose will work
|
 |
| I purchased 7 bushels of faux tulips from Michaels. They are normally $3.99 each but were 40% off. |
 |
| I already owned the grapevine wreath but you can easily find one like this at any local craft store. |
 |
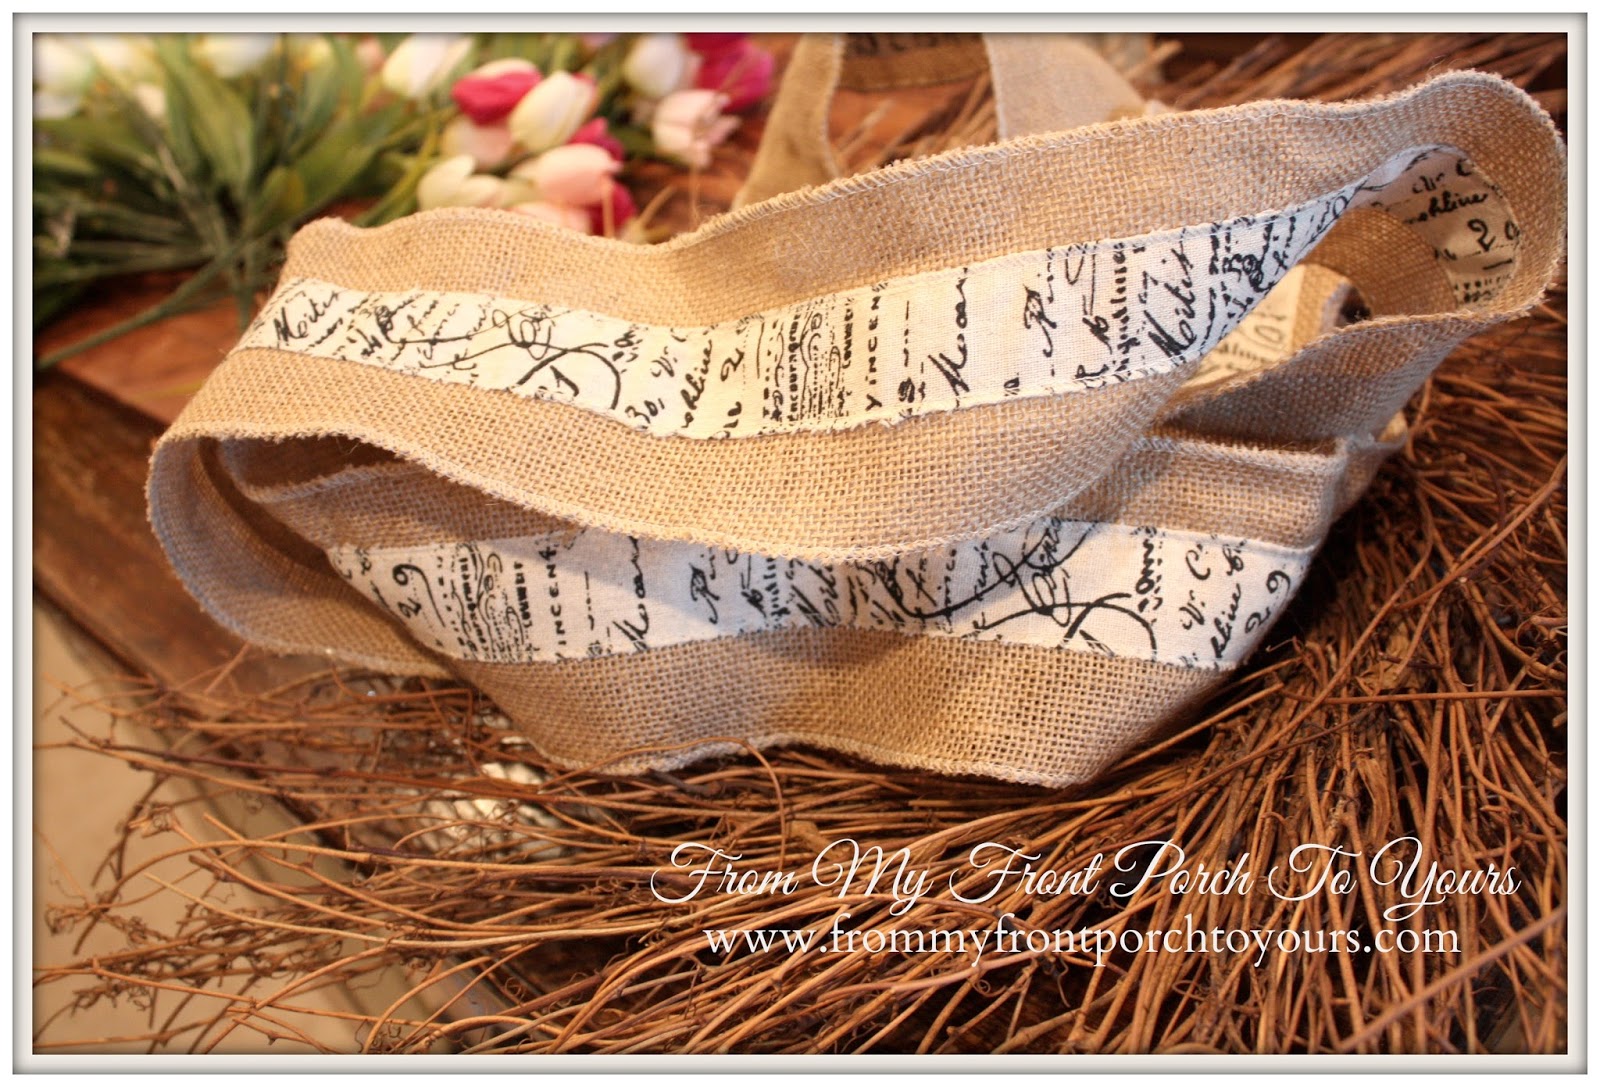
| This burlap ribbon came from HobbyLobby. It is rather pricey at at $14.99 for 3 yards but when I purchased it it was 50% off. The script fabric is already sewn on. If you do not have a HobbyLobby near by and must have this ribbon you can order it online here. |
 |
| The only tools you will need for this project are a pair of pliers and a hot glue gun. |
 |
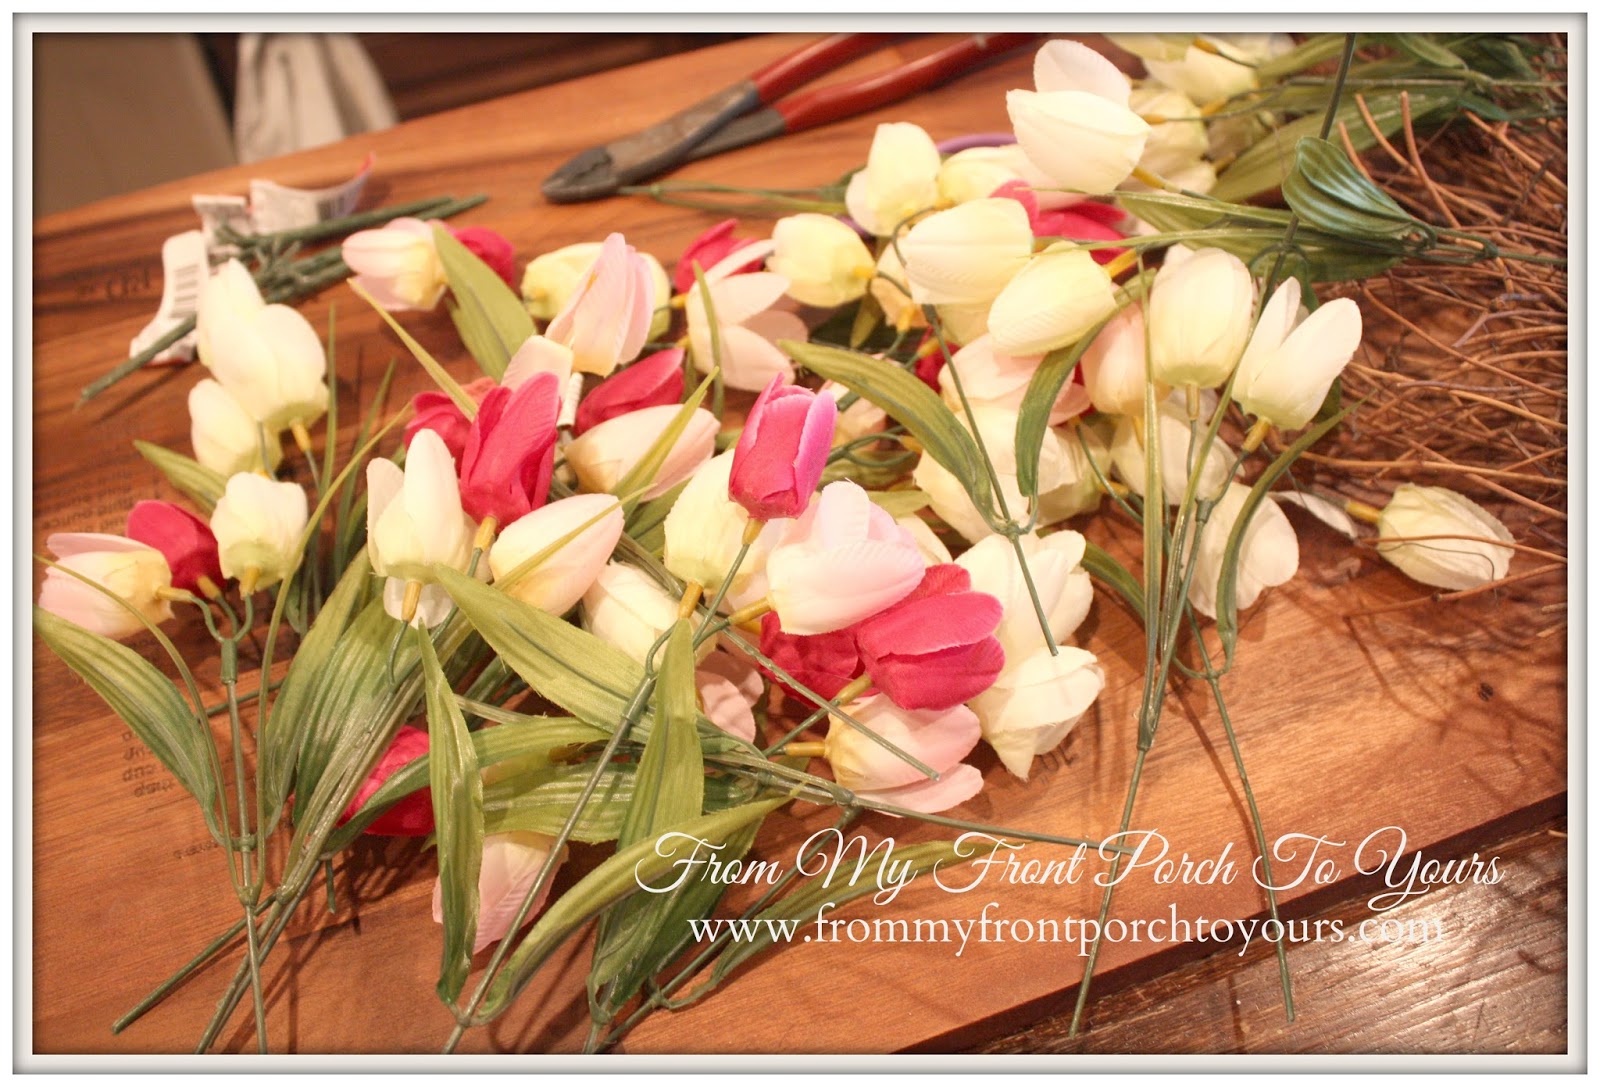
| The pliers are used to cut each individual stem off the base of the bushel. |
 |
| You will end up with a bunch of stems. |
 |
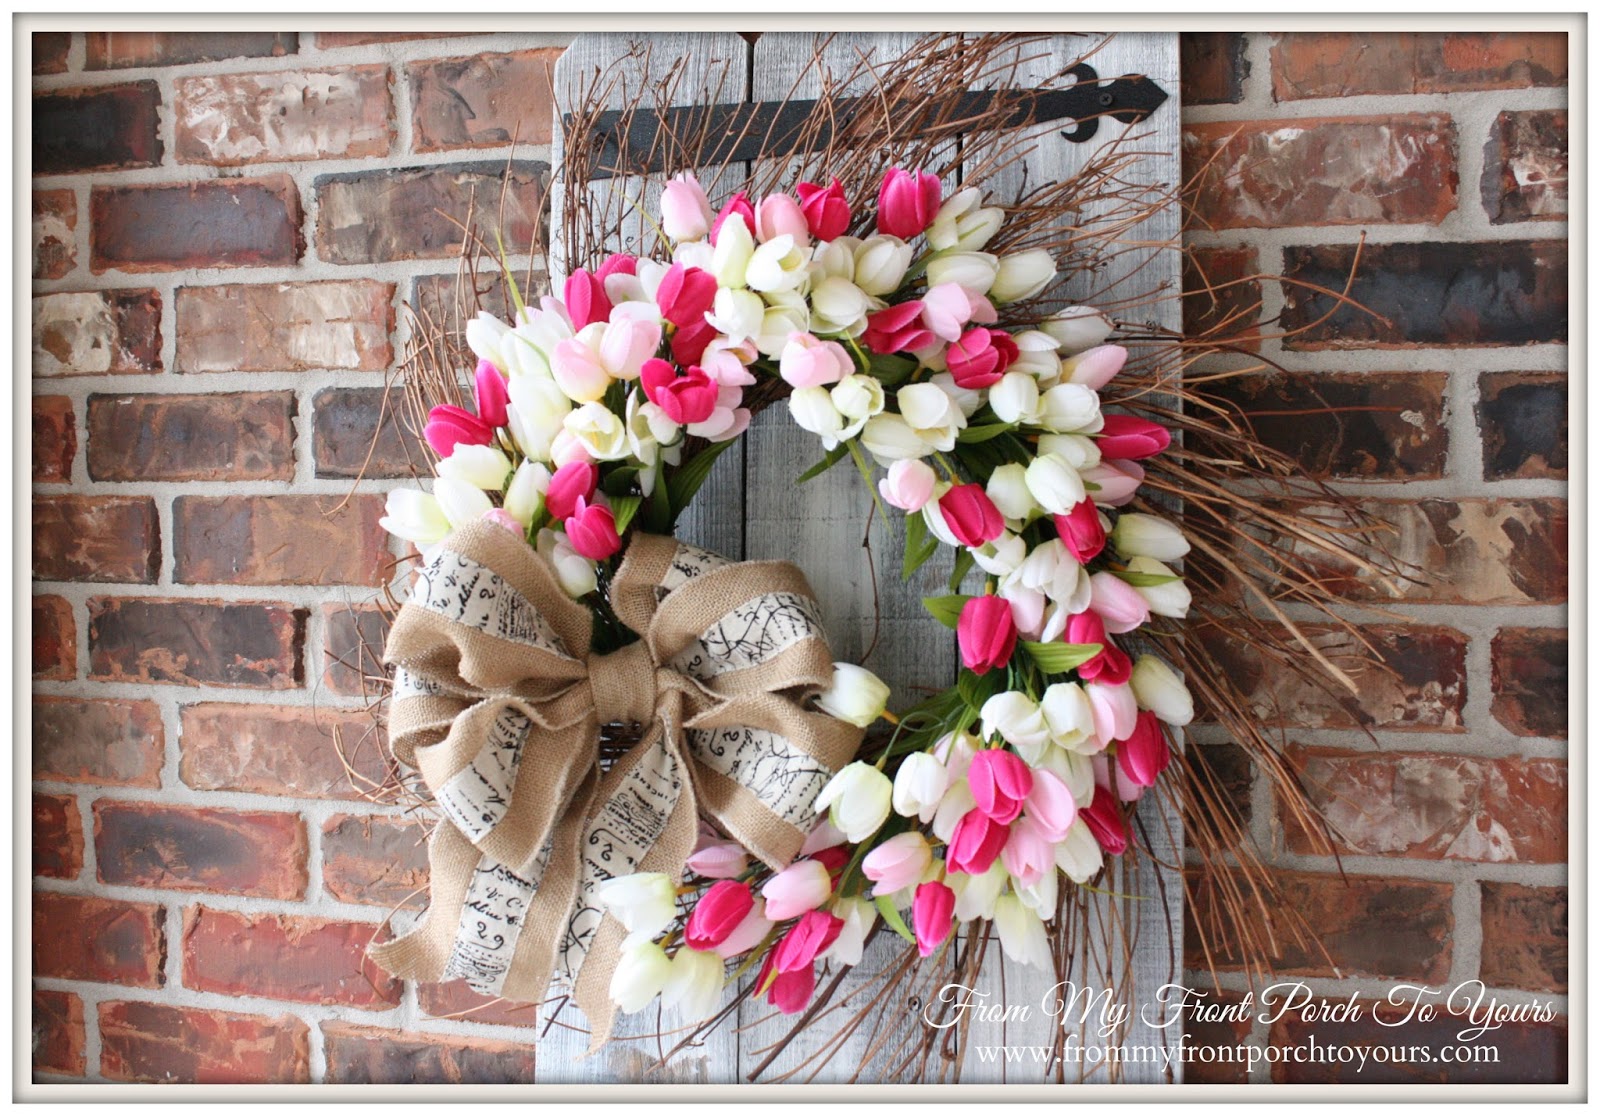
| Next just start shoving the stems in the wreath base where they will fit. I would alternate between the white tulips stems and the pink tulip stems. |
 |
| Next up I made a bow with the burlap script ribbon. I used a video tutorial by Restore Interiors. Kelli makes it look super easy and guess what it is! Click Here to go to her tutorial. This is where the glue gun comes into play. For the center I just used a small piece of ribbon folded in half and then hot glued it on the back of the bow for a more finished look. |
 |
| I trimmed the tails of the bow and attached it to the top of my wreath with florist wire. |
 |
| I then changed my mind and moved it to the side!;) This wreath is a quick & simple way to dress up your front door for Spring. It took me less than 20 minutes to make. Now I just need to sand and re-stain our front door so I can hang it up. Linking up to the following linky parties: Amaze Me Monday Metamorphosis Monday Nifty Thrifty Tuesday Feathered Nest Friday |


That's gorgeous, Pamela.
ReplyDeleteI love this idea. I have everything but the tulips...
ReplyDeleteBEAUTIFUL Pamela!!
ReplyDeleteIt is beautiful Pamela!
ReplyDeleteGorgeous Pamela. Love the pretty bow too. Very nice.
ReplyDeleteKris
LOVE IT on the shutter!!
ReplyDeleteThis is lovely...........love the colors and I love tulips, and the bow looks great with it.
ReplyDeleteEnjoy!
blessings, Nellie
Thanx Nellie!
DeleteThank you so much for sharing. It is such a beautiful spring wreath and one I will be making for my front door too!!
ReplyDeleteI do agree with all the ideas you have presented in your post. They're really convincing and will certainly work. Still, the posts are too short for beginners. Could you please extend them a bit from next time? Thanks for the post..Cccam Server
ReplyDeleteYes, that's so pretty and easy!
ReplyDeleteVery pretty ! Love the burlap ribbon with the tulips !
ReplyDeleteI LOVE that wreath!!! It is so fresh looking....boy do we need some spring around here!
ReplyDeleteWow!! Very pretty!!
ReplyDeleteThat's really pretty, Pamela! Pinning! : ) I love the pink and white tulips. With more snow heading our way tonight, I will probably hold off on putting any Spring on my door!
ReplyDeleteThat's probably the prettiest wreath I've ever laid eyes on! Pinning away....
ReplyDeleteGorgeous! I must pin it immediately!
ReplyDeleteBeautiful! I was at Michaels today looking at tulips....so wish I had seen this first! May have to go back now!
ReplyDeleteVery pretty, Perfect for spring.
ReplyDeleteSuch a lovely wreath. Thank you for the bow tutorial, I'm going to check it out!
ReplyDeleteSo very pretty Pamela. Your bow turned out great. thanks for sharing at NTT.
ReplyDeleteBlessings,
Linda
Oh wow, this is stunning and I adore the pretty bow too. What a beautiful wreath. Fabulous tutorial too. Thanks tons for linking to Inspire Me. Hugs, Marty
ReplyDeleteGorgeous. Gorgeous. Gorgeous. I love it Pamela and your photos are amazing. Great tutorial. xo, Liz
ReplyDeleteThat is so darn cute, Pamela! Thanks for sharing it with us and letting us know how easy it was to achieve such a fun, springy look. I saw your post over at A Stroll Thru Life blog party.
ReplyDeleteThat is beautiful! So fresh and springy! You've inspired me, maybe if I make one, spring will come? :)
ReplyDeleteI need to make this - it's making my heart feel happy! It's SO beautiful!
ReplyDeleteBrandi @ Nest of Bliss
Love this idea
ReplyDeleteI guess it's time to take the valentines decorations down.
Linda
This is such a lovely wreath.
ReplyDeleteYael from Home Garden Diggers
Gorgeous wreath Pamela, I love the colorful tulips and that ribbon is so pretty! Thanks so much for the inspiration and great tutorial : )
ReplyDelete