 |
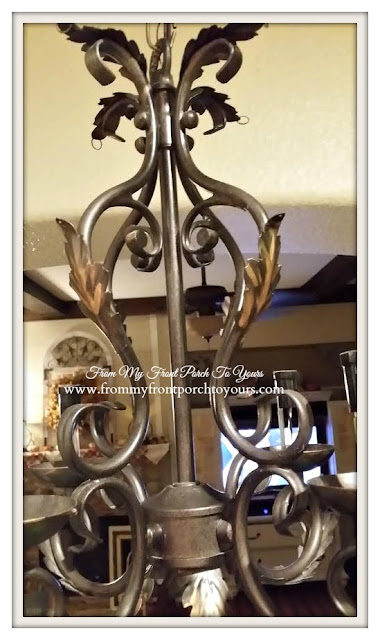
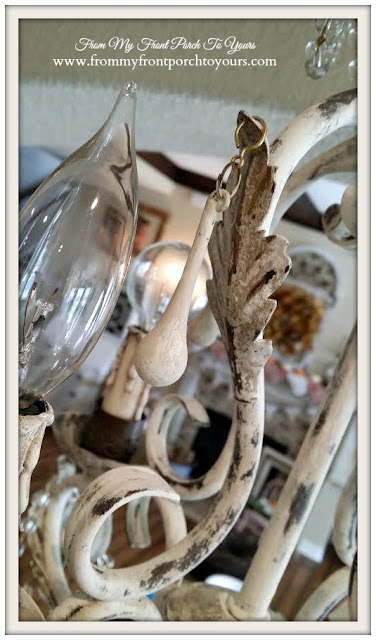
| Here is an up close of what the finish looked liked. This chandelier already had a makeover 5 plus years ago. It use to be nickel. |
 |
| Back then I had even painted the ceiling medallion to match. |
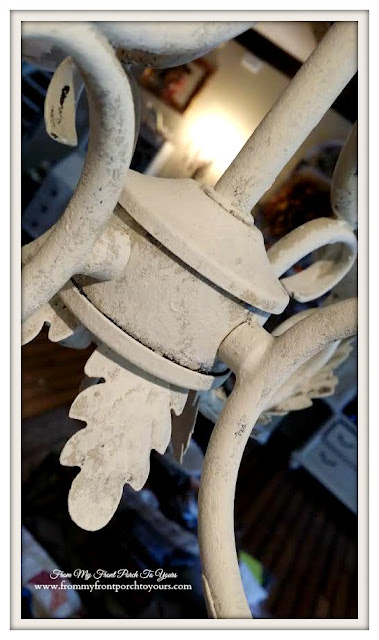 |
| To create the new finish I used Annie Sloan Chalk Paint in Country Gray first. Then I stippled Old White over it. I did not want to cover up all of the Country Gray. |
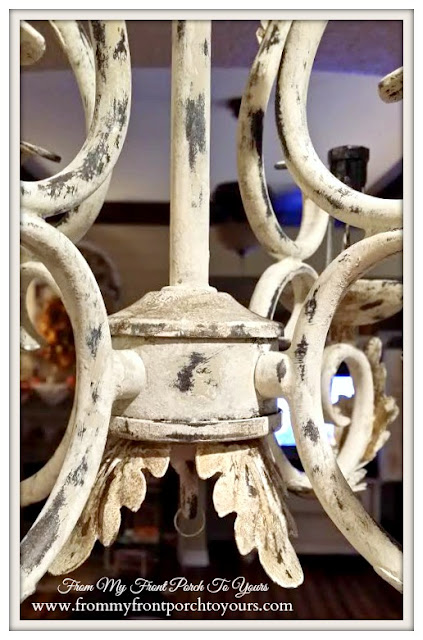 |
| Next up I used a wet sanding block, squeezed out, in medium grit and lightly sanded away sporadically to reveal the oil rubbed bronze underneath. |
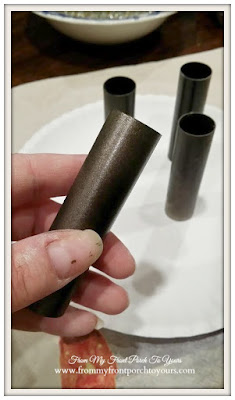 |
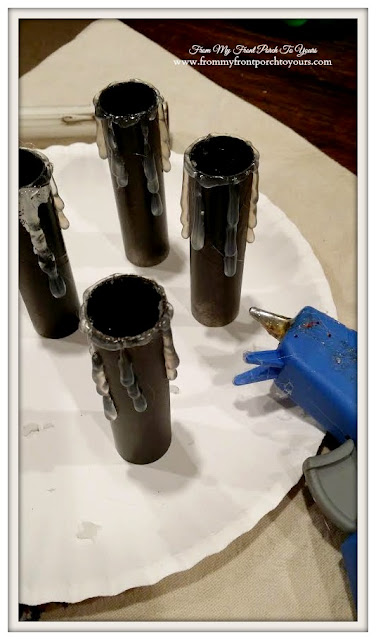
| Next I needed to update the socket sleeves. |
 |
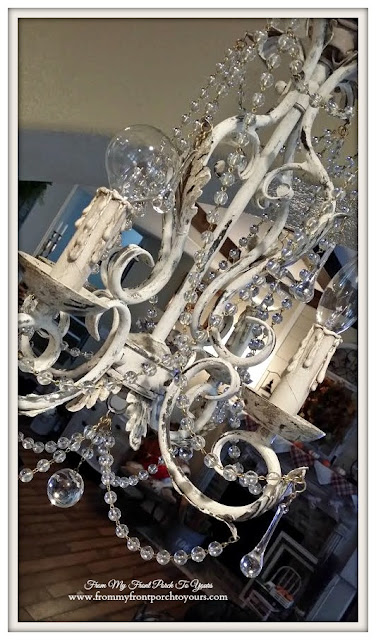
| I decided to drastically reduce the number of crystals strands and even placed some in different areas. I then added some vintage lamp parts to the base of each candle. |
 |
| The ceiling medallion was achieved the same way. |
 |
| This project was a pretty simple one and cost me nothing! |
 |
| I love how it turned out and I think it will go perfectly with the new breakfast nook light fixture. Oh, and yes, I know there are two different style light bulbs. This was not intentional. With being sick and having sick kiddos I was not able to get out and buy enough of one so I just used what I had!;) Sharing at the following wonderful blogs: Savvy Southern Style |




Looks amazing, Pamela! You definitely transformed it with a frenchy touch.
ReplyDeleteHope you feel better soon.
Thank you Stacey! i am feeling much better now thankfully.
DeleteWhat did you use for the socket sleeves?
DeleteREALLY beautiful, love how you made the sleeves all drippy!!
ReplyDeleteThank you Debra! Hope your weekend was a good one.
DeleteIt came out beautifully Pamela! I am giggling as I did the same hot glue trick 20 years ago in our home, and for a client, and again a few years ago in this house. It works!! :D
ReplyDeleteIt does work Gee! After putting up the new light fixture in the breakfast nook today I actually decided I like my drips better!;)
DeleteWoww! If this is what you can do when you're sick, then I am very jealous of your talent! Looks great.
ReplyDeleteBest,
Michelle from simplysantabarbara.blogspot.com
You are too funny Michelle! It actually took me three times as long to complete it because of my cold but I was determined to accomplish something.
DeleteGreat looking makeover Pamela...love the hot glue idea.
ReplyDeleteBlessings,
Linda
Thank you Linda! I will be sure to share at your party on Monday!:)
DeleteWhat a cool makeover. I would have never of thought to use hot glue for the fake melting wax!
ReplyDeleteYou did a very nice job on "aging"the light. I love reading about your creative endeavors, a real talent. Hope you are feeling better soon.
ReplyDeleteThank you Nancy! I am feeling better now and appreciate you stopping by and visiting.
DeleteI LOVE it!!! I don't think I could ever have the patience for this so I think you are the best!! Great job!
ReplyDeleteJane xx
Thank you Jane! It actually was a pretty simple project all things considered.
DeleteI love it!! Great job! The hot glue was genius and it does look better without all the bling. The painted droplets are a nice touch. Way to go! Hope you are feeling better.
ReplyDeleteElaine
Thank you Elaine! We are all feeling much much better now.
DeleteBeautiful Pamela!!!....I love the way you adorned the sleeves with the candle drippings using the hot glue gun....genious!!! Hey, I wonder if that would work on the faux battery candles!...Hmmm...got to give it a try! Great job Pamela!
ReplyDeleteShirley I bet it would! I was looking at some battery operated ones that clip on the Christmas tree today and was thinking if O want dot tackle a few sets of them.
DeleteI'm redoing dining chairs with country grey and then white swiped on like Yvonne's at Stonegable did. Love those colors together, especially on your chandy!
ReplyDeleteYes they are perfect colors that go with everything!
DeleteLove the results of your chalk paint chandelier project, Pamela! Hmmm...you've got me thinking now about a chandie that I don't exactly love the finish of...something to think about, that's for sure!
ReplyDeleteHope you're feeling better now!
Mary
Go for it Mary! Thank you for your sweet comments.
DeleteThis is beautiful. What a transformation. I have a question about the fabric over the chain. What's the purpose of it? I've never seen that before, so just curious.
ReplyDeleteIt is a cord cover. They have been around for many years. You can find them at places like Hobby Lobby. I used it because the chain on the chandelier was still oil rubbed bronze and I was not painting it.
DeleteWow! It looks lovely. You have patience and it turned out well. If you can do that sick that's amazing.
ReplyDeleteThis looks great. Using the hot glue to make faux wax was a great idea.
ReplyDeleteOh, it looks beautiful. I love the French Country look. It's it amazing what we can do to change what we already have into something different. Thanks for sharing your project and I hope that everyone is feeling better !!!!
ReplyDelete