 |
| The first thing I did was get busy staining each board with Dark Walnut by Minwax. I did not age the boards by beating them up or anything. We wanted them to look rustic but at the same time traditional if that makes sense? To add some age to them I used my heat gun to burn the wood. This is a process I used on our planked dining room table as well as the Farmhouse Bench I built last year. If you choose to burn your wood after you put the stain on make sure you wear a face mask and do it outside because you will be burning off chemicals from the stain which you do not want to be breathing in!!! I always burn mine after staining because I want the stain to soak into the wood. If I burn it first it seals some of the pores of the wood and the stain does not take the same way. |
 |
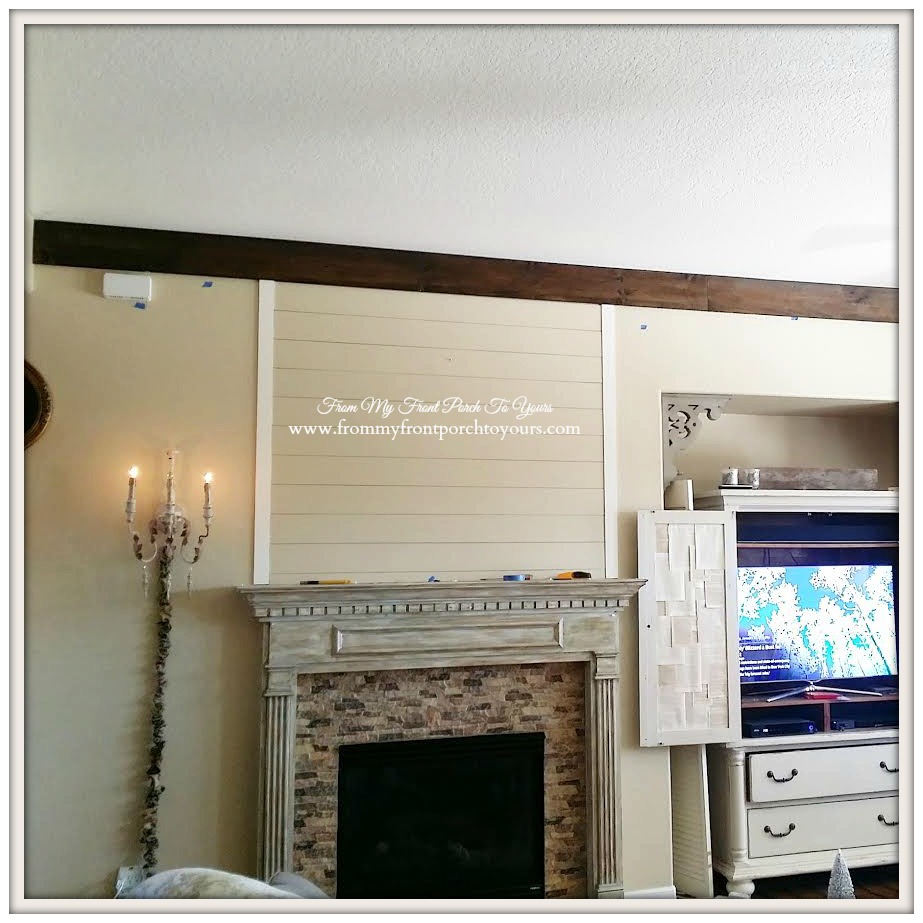
| The next thing we did was to go around the room with a stud finder and place painters tape wherever we found a stud so we knew where to nail the boards into place. We ended up having to take down the planked fireplace partially but it went back up quickly. |
 |
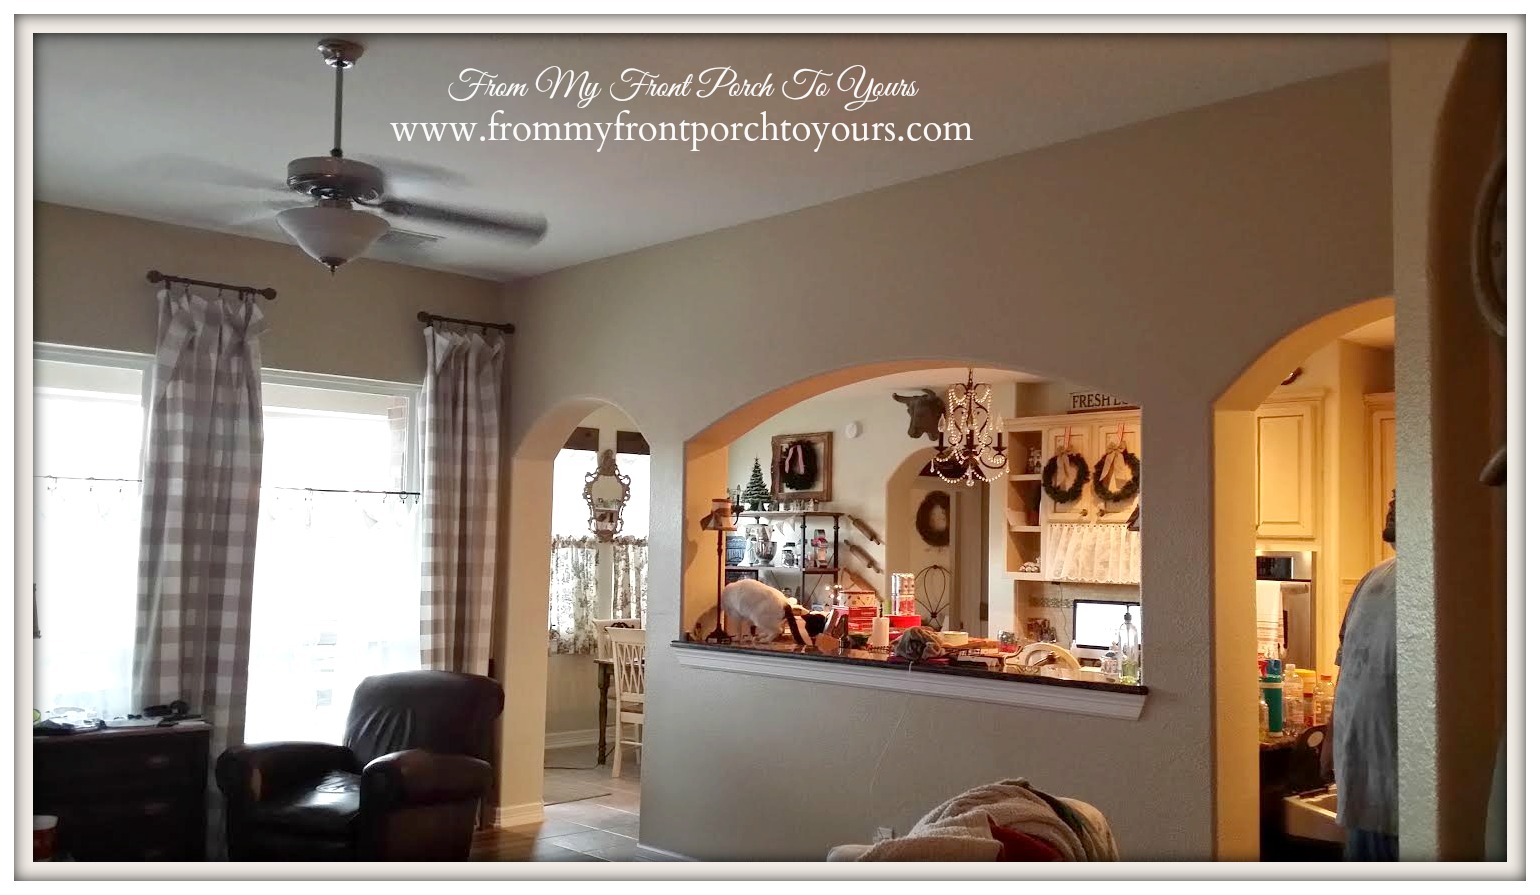
| We lived for a week with just the boarder up and even just the boarder gave the room an entirely different feel and made the room feel so much larger. |
 |
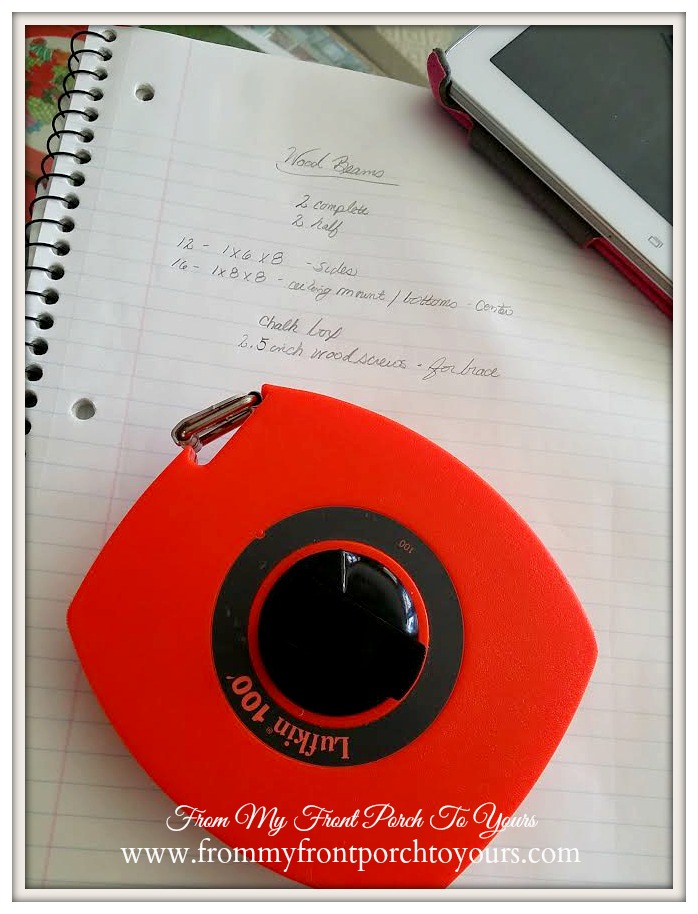
| It was time to get ready for the actually beams so we chalk marked where we wanted the beams to go and then found where the studs/joists were in the ceiling. |
 |
| As luck would have it the joists ran in the opposite direction we need them to but it ended up not being an issue. Mr. Front Porch ran out and picked up some heavy duty toggle bolts. |
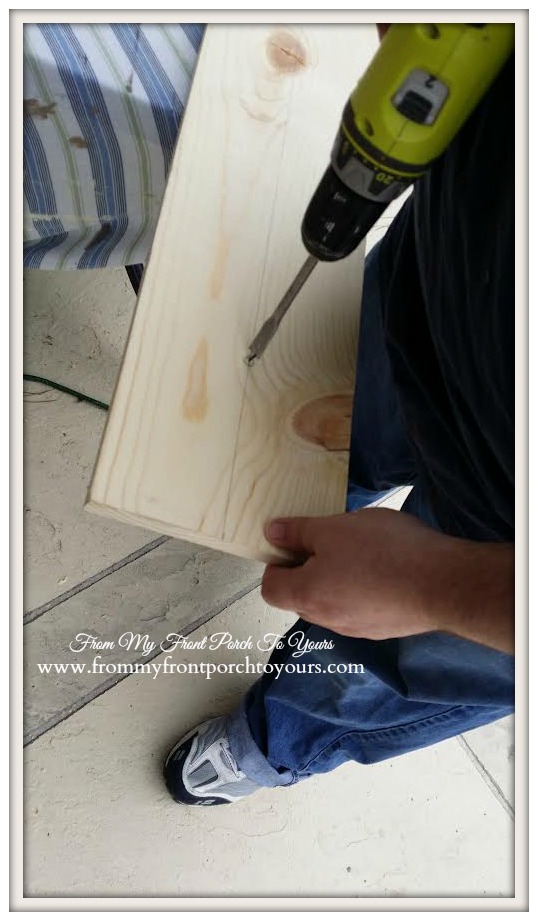 |
| Since we ended up having to use toggle bolts we had to measure and mark the middle of all the 1x8 support boards and drill a hole large enough to get the toggles thru. |
 |
| Putting up the support boards was pretty easy. |
 |
| Next up we started constructing the beams. We made both beams at once but before we did that we made sure to measure the length of the ceiling after we put up the boarder. |
 |
| To construct the beams we only used our nail gun. We did not see a need to use wood glue as well. They were pretty solid. |
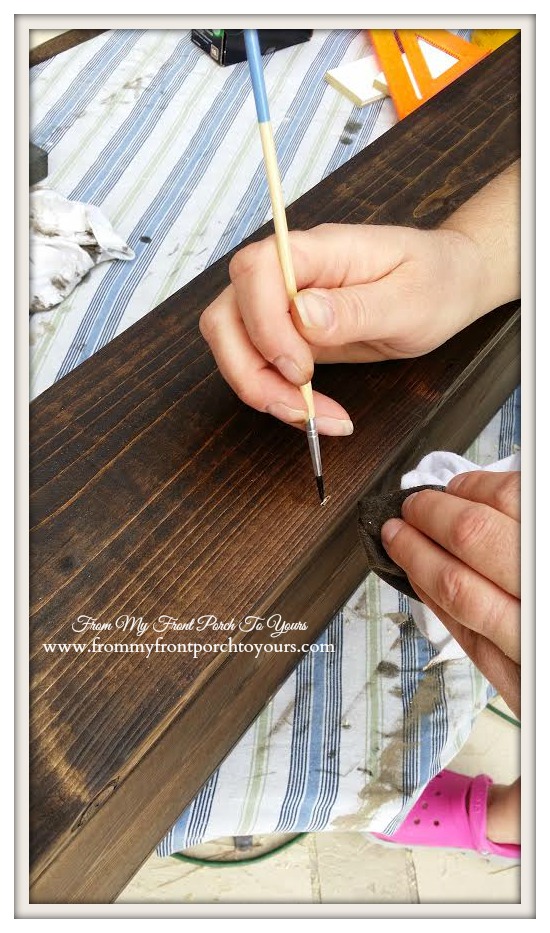 |
| Then I took a little artist brush and filled in all the nail marks. I found using an artist brush enabled the stain to get right into the marks. |
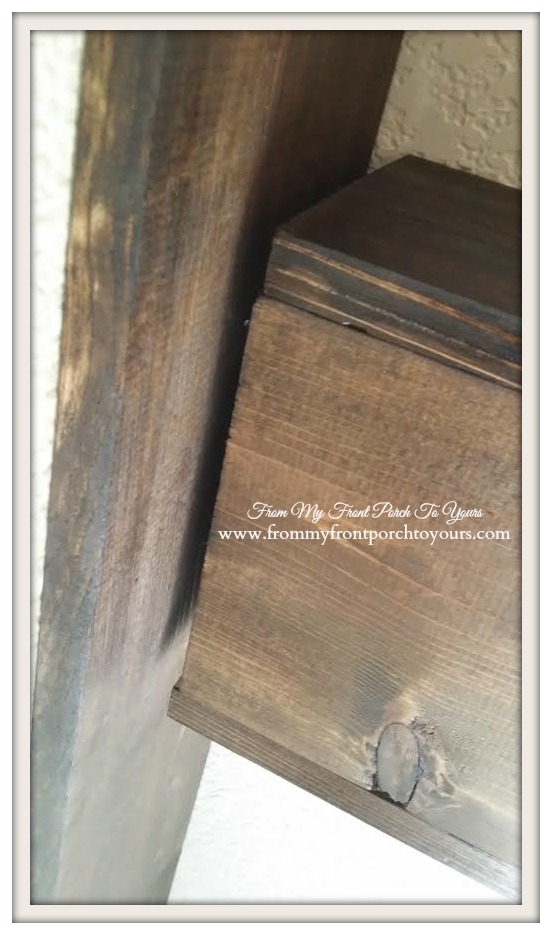 |
| Even though we measured before constructing the beams we still ended up having to trim two of the ends off so that they would slide into place. |
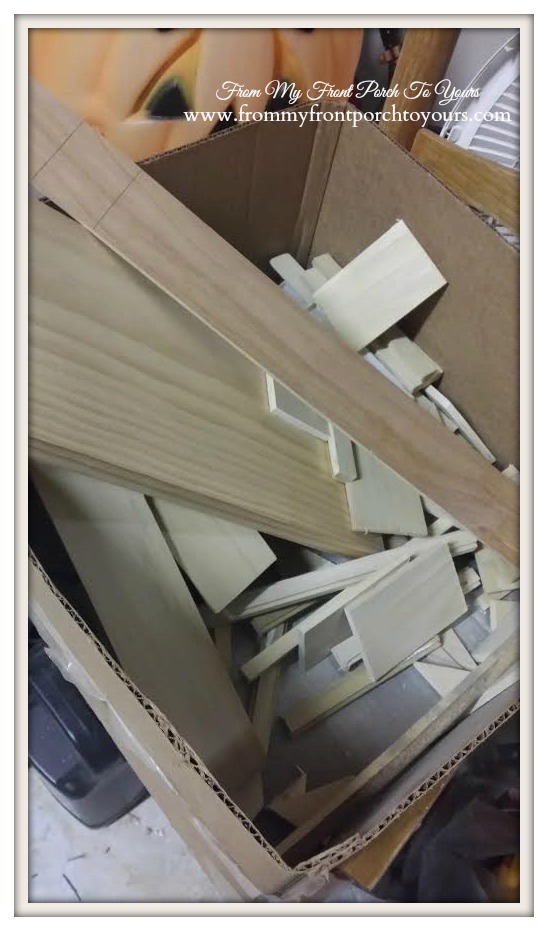 |
| I ended up going out into the garage and found my scrap box. |
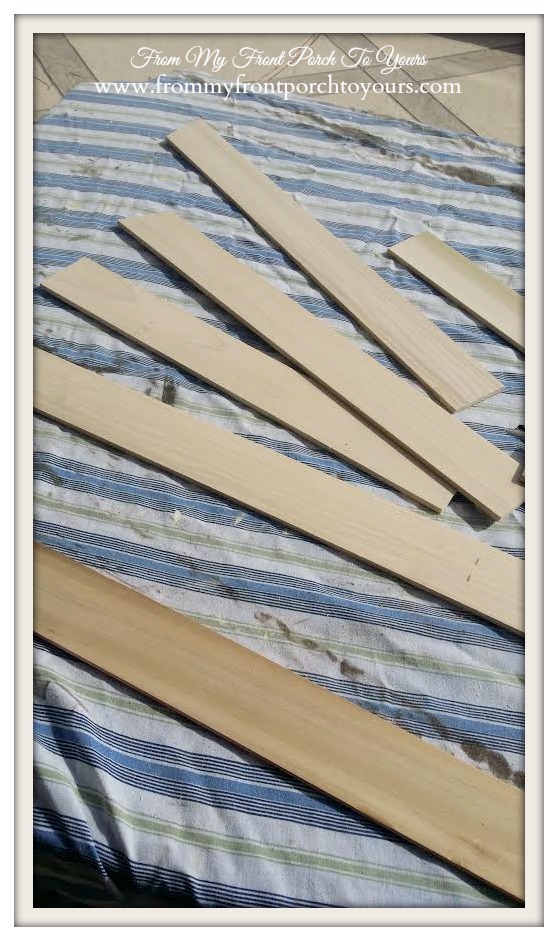 |
| I had just enough scraps left over from when I created the Crossbuck Wainscoting in the dining room last spring. Mr. Front Porch fusses at me all the time because I save every little scrap. I always tell him ya never know when they may come in handy!;) |
 |
| Thankfully they stained up just as pretty as the beams so we cut them to size. |
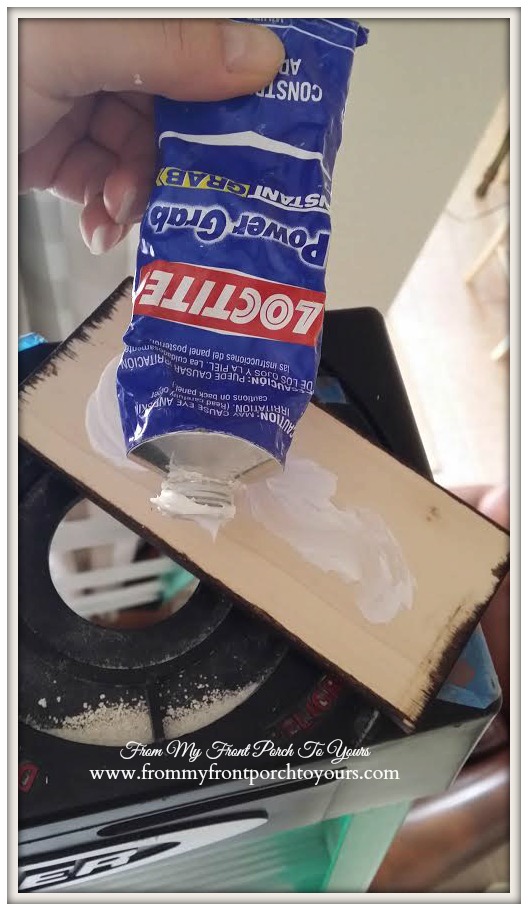 |
| I used Loctite to secure them to the beam seams. |
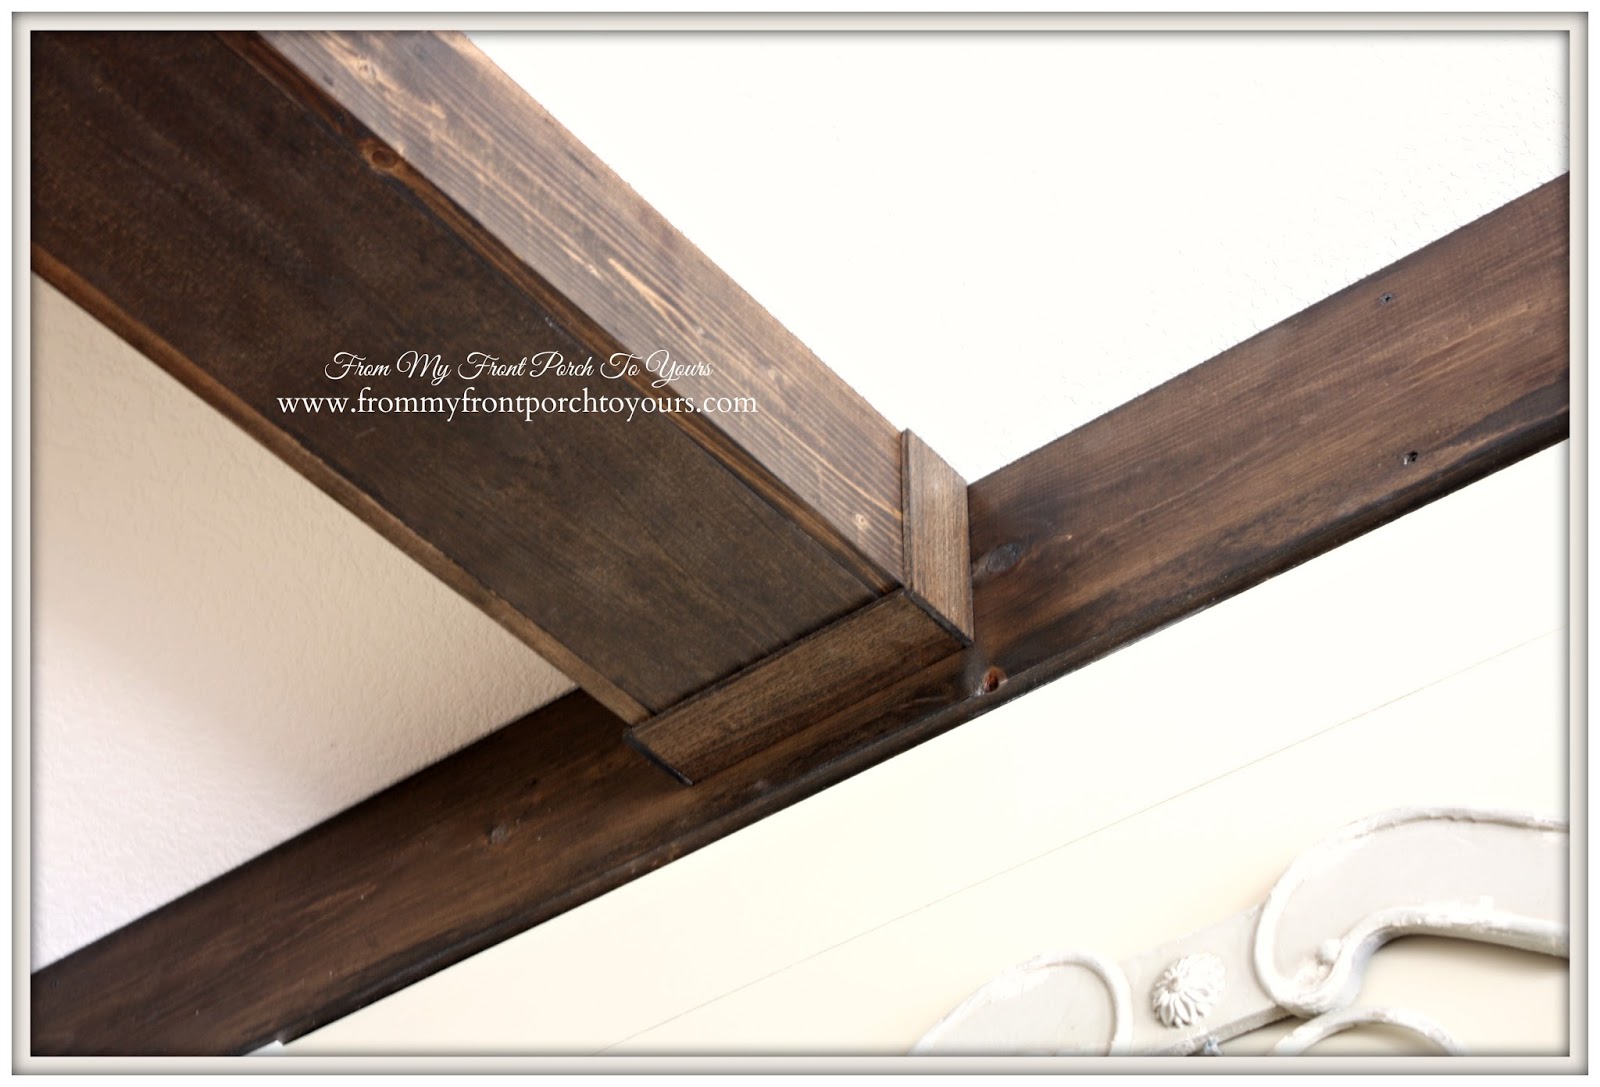 |
| This is how the straps look. |
 |
| We really liked how the straps turned out and loved that we didn't have to spend any money on them and very little time creating them. |
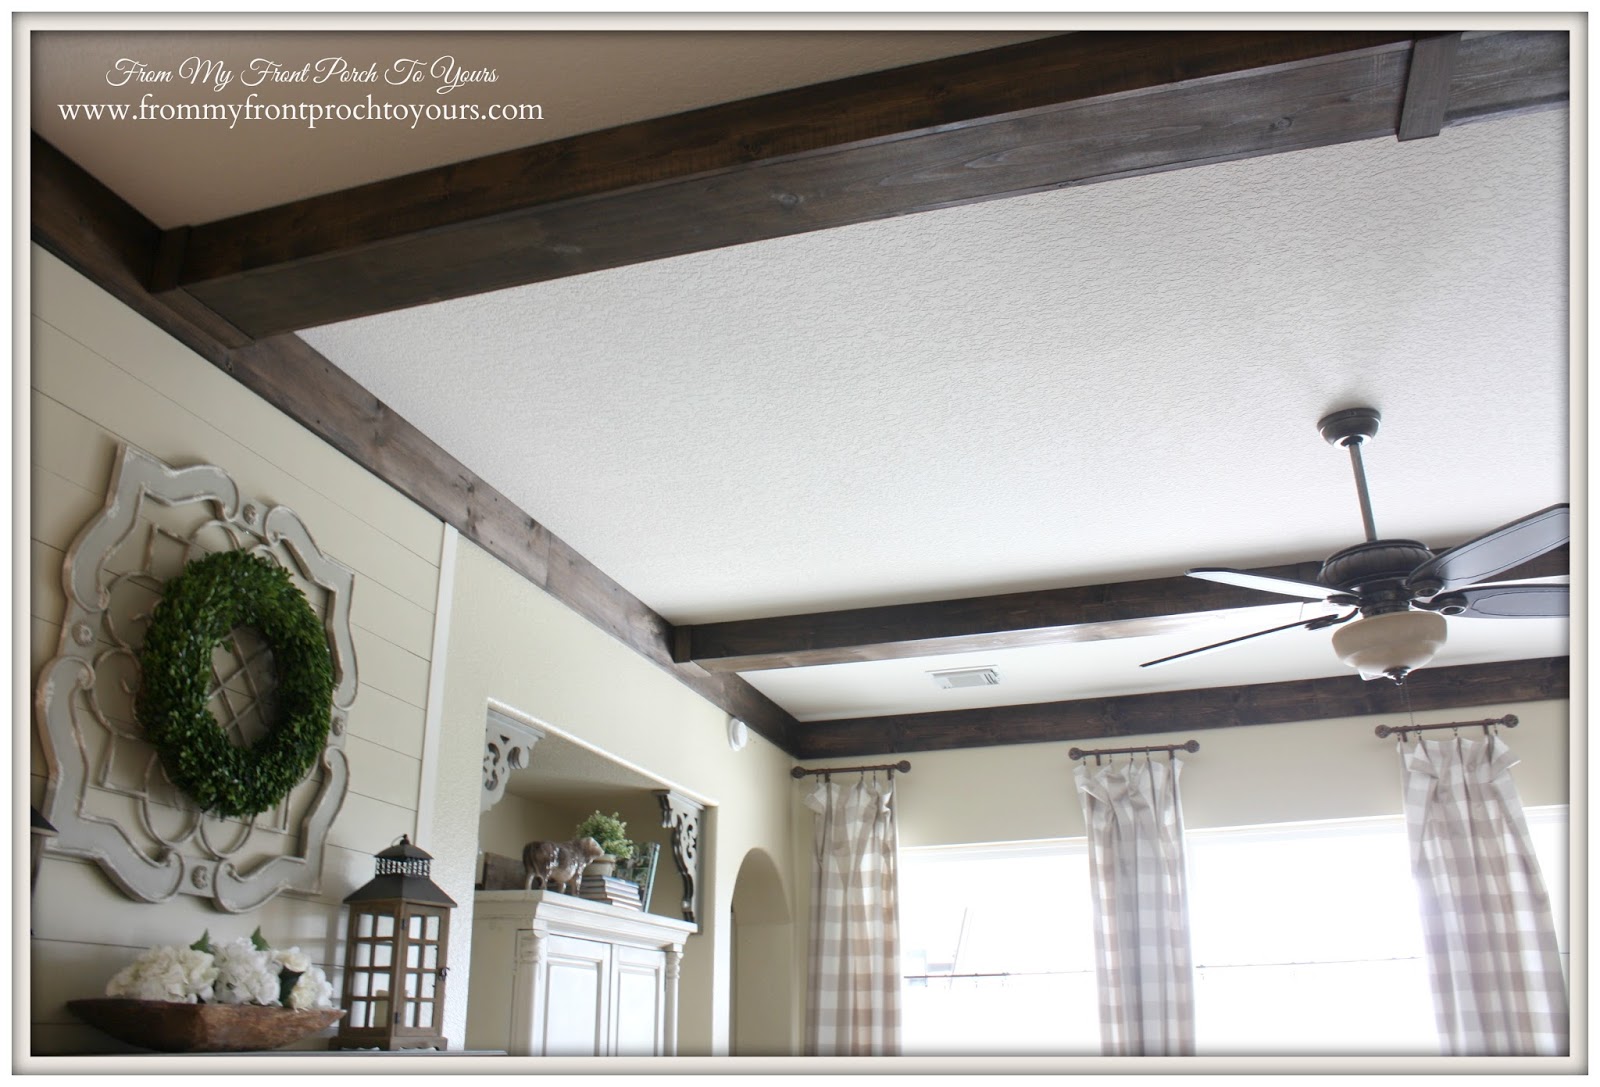 |
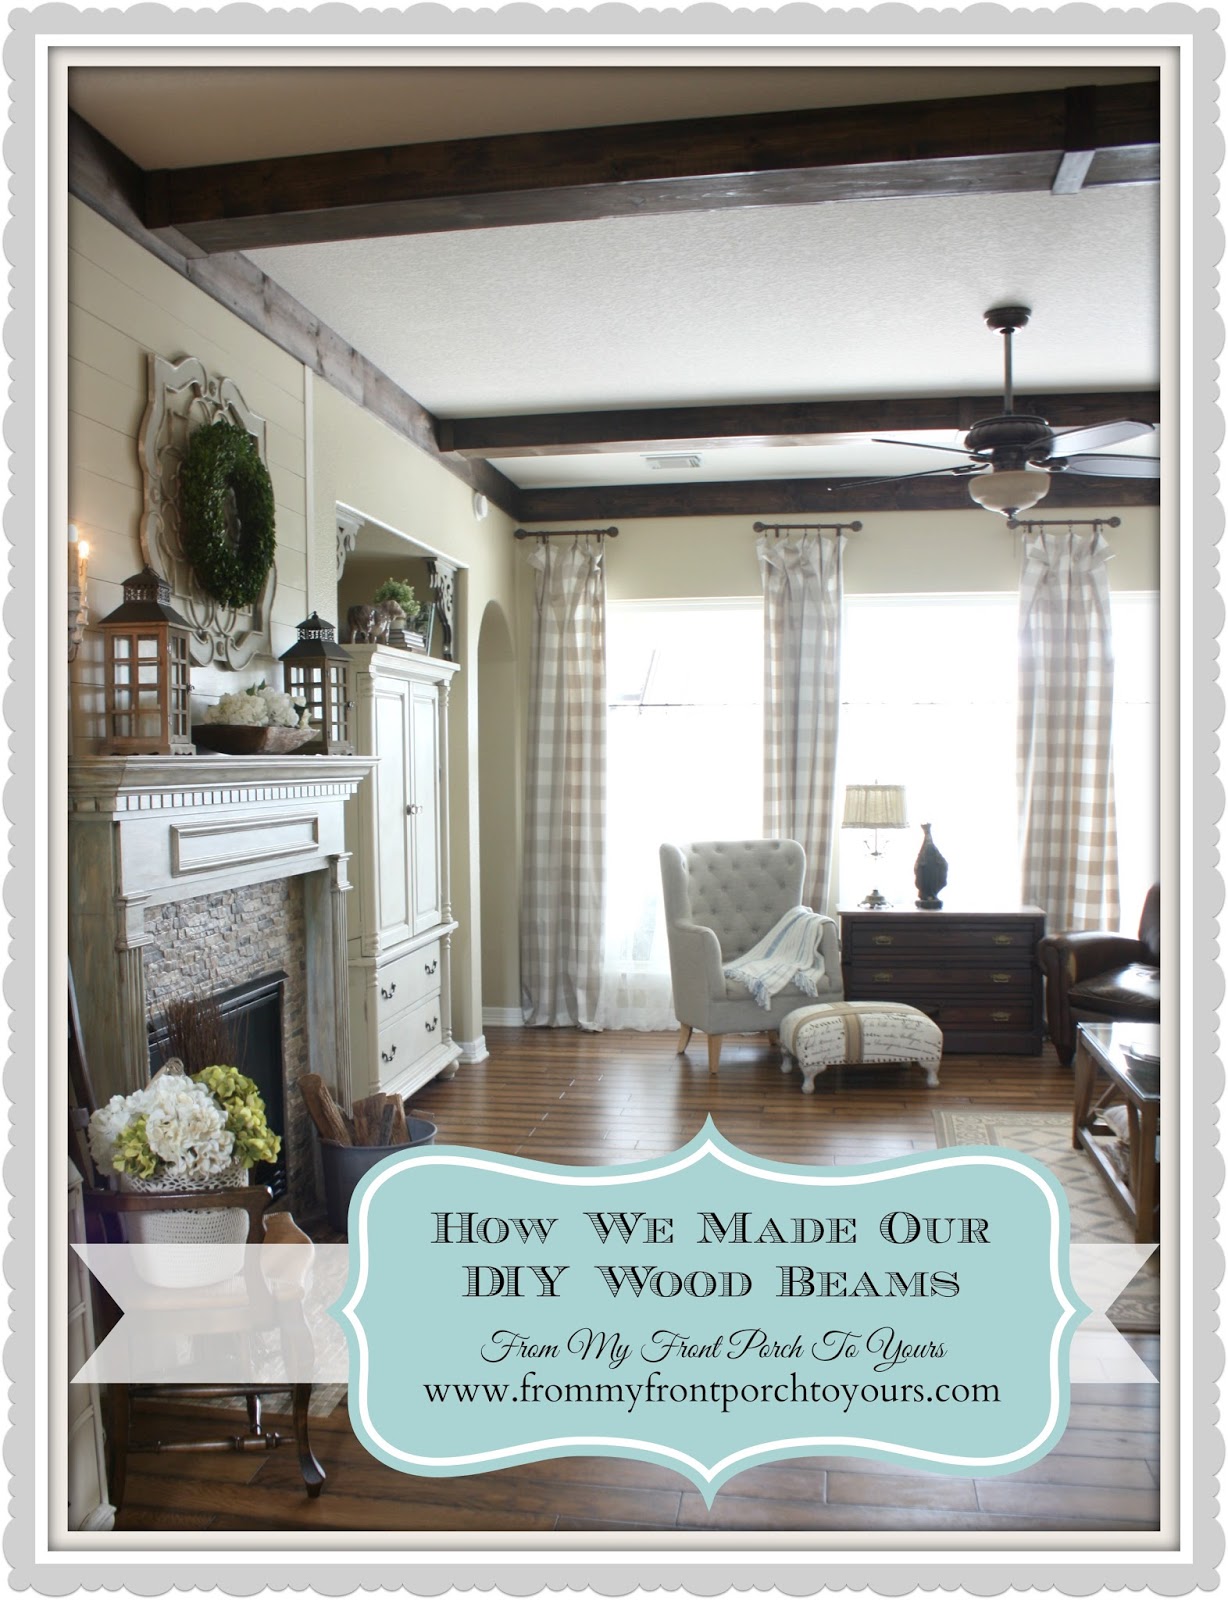
| I shared the reveal earlier in the week so if you have not seen the entire space completed yet be sure to stop on by. They add so much warmth and character to our living room. **Please note this is just how WE constructed OUR wood beams. YOU need to decide how YOU want to proceed with your installation being sure to follow ALL safety measures! One process may not always work for the next person.It is VERY important for you to research all methods to decided which will work best for your home.** |
Sharing at these lovely blogs:
| Dwellings Between Naps on The Porch Coastal Charm Refresh Restyle A Stroll Thru Life 2 Bees In A Pod Uncommon Slice of Suburbia Confessions of a Plate Addict Common Ground Savvy Southern Style Thoughts From Alice DIY Showoff |



Just amazing, Pamela! I've seen the faux ones, but like your so much better!!! Great job and tutorial!
ReplyDeleteThank you so much Doreen! That means a lot to me. I love the faux ones but they just were not quite what we were wanting. Later on down the road we can paint these white if we want to and have a totally different look.
DeleteThanks for the wonderful tutorial! I wanted to do this to my new home, but we have crown molding all around the room.
ReplyDeleteThe detail work is just beautiful, Pamela. I am going to pin this. People are always asking me about the beams in my home, but they were here when we moved in. I am going to direct them to you from now on, because I can't imagine a more thorough tutorial. Amazing.
ReplyDeleteI love the beams!! Your home is so stylish & charming - LOVE EVERYTHING!! Happy weekend!
ReplyDeletePaige.Rose
These are so awesome Pamela. You and hubby did a great job. They give such character to your room. Great job.
ReplyDeleteKris
I love your new beams! It's so nice that you were able to do that yourselves too.
ReplyDeleteLove these beams so very much! You guys did a rockin job!!
ReplyDeleteWow! I am totally impressed by the wooden beams and how they transformed this room. Totally worth all that hard work. Excellent tutorial, too.
ReplyDeleteI’m loving this! I’m always so impressed by your masterpieces. Pinned and tweeted. We appreciate you taking the time to party with us. I hope to see you on tonight at 7. Happy Monday! Lou Lou Girls
ReplyDeleteWhat an amazing job you've done! I also built and installed beams in my bedroom, I know all the work is totally worth it. Your tips are spot on! Three people is the perfect number for install. How ingenious the idea for the straps, they look great. ;)
ReplyDeleteI love the beams and all the interest they give to the room!
Thank you for this tutorial. I always wanted beams in my house. This is a great starting point for us to make our house a warm home.
ReplyDeleteI love your window with the short curtain rods and panels. Can you tell me how long each of those short curtain rods are in length?
ReplyDeleteJust WOW!!! Pinning away!
ReplyDeleteThanks Amber. We certainly do miss not having them in the new house!
DeleteYour living room is GORGEOUS! Totally awesome job on the beams.
ReplyDeleteThanks! It was a great living room. Cozy and yet beautiful at the same time. It is one of the things I miss about our old home.
DeleteI have been searching EVERYWHERE for an affordable, realistic way to add beams into my small condo, it is already cottage like feel and have been longing to have some on the ceilings.
ReplyDeleteThank you thank you for this tutorial !!! I am going to now be able to afford one of my dream!!!
just LOVE!
ReplyDeleteI have been looking everywhere for a realistic and AFFORDABLE way to add beams into my home.
ReplyDeletethank you thank you!!!