Saturday, January 15, 2011

Fudge Anyone?

As promised here is your sweet treat Littliest and I Made for y'all yesterday! Don't worry about breaking your New Years resolution to eat healthier. We got the recipe from my Hungry Girl book. I have made this Dreamy Chocolate Peanut Butter Fudge before and it is super yummy and that is coming from somebody who really is not a huge chocolate fan or fudge fan at all!

What ya need is a box of Better Crocker Fudge Brownies Original, two cups of pumpkin, and some reduced fat peanut butter. Really you can not even tell the peanut butter is reduced fat once the treat is made. I promise ya can't!

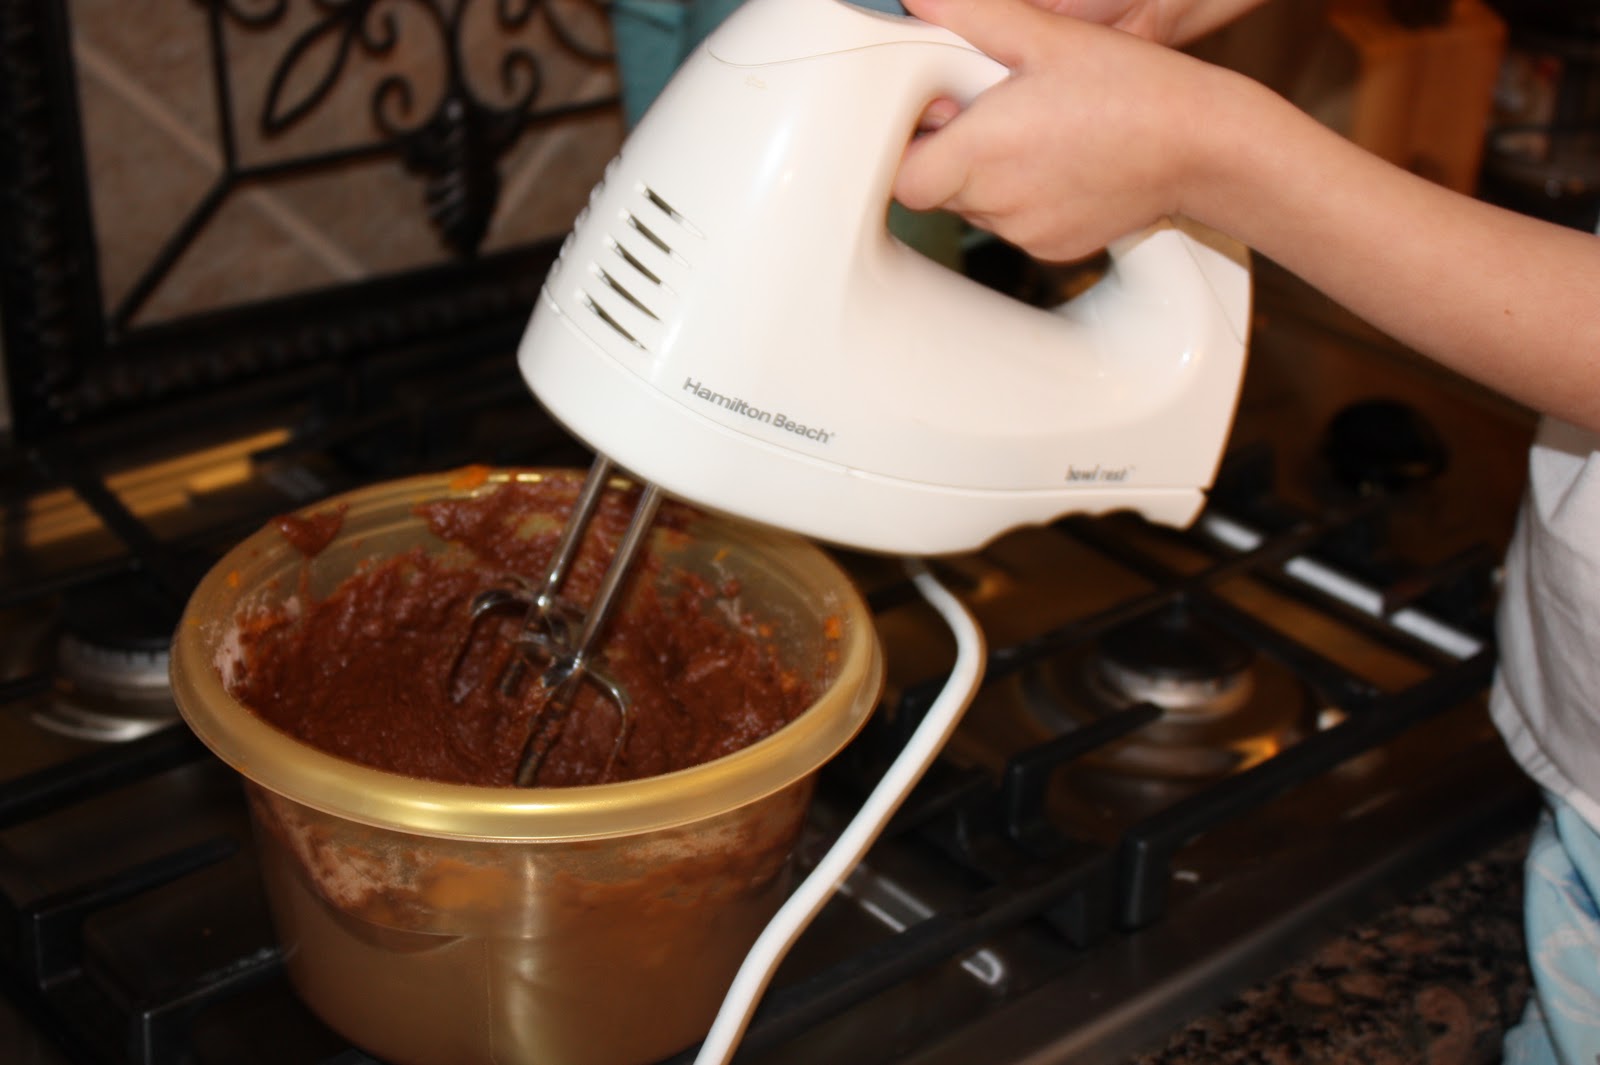
Mix the brownie mix and pumpkin in a bowl. This is where I am missing our old kitchen island that had outlets in it. DO NOT add the ingredients on the brownie box! All you need is the brownie mix itself and the pumpkin. 

It says to place in a 9X9 pan but all I had was an 8X11 so improvise too if ya must.

Next you are suppose to add 2 tsp of peanut butter or a bit more ;). Here is my little secret that is not in the book. Take your peanut butter and melt it in the microwave for abt 20 seconds. This makes life soooo much easier!

Then pour your dreamy peanut butter on top.

Take a kabob stick or a tooth pick and then drag it up and down or back and fourth.

This is the design you will achieve. I actually drag mine across and up and down to better disperse the peanut butter and because I think it just  makes for a prettier design.

Next set your 350 degree preheated oven to 35 minutes. Of course this all depends on your oven how long to leave it in there. I ended up pulling it out 5 minutes early. You so do not want it to get crispy!

Baking away!

While we are waiting here is pic of the island in normal day light. 

Times up and they are done, well almost. Let cool and then cover and stick in the fridge for approx 2 hours or more.

When you finally can not stand it anymore or when you think you can not take your child asking one more time if they are ready yet pull it out of the fridge and cut them puppies up!

Do they look close to the pic?

Yep, I think so!

Hope y'all enjoy!

If ya want the recipe for yourself here it is. You can tweak it to your liking. Sometimes I put in a little more pumpkin and sometimes I add some cinnamon. 


Friday, January 14, 2011

My Cup Runneth Over!

Ladies ladies ladies all I can say is I am ever so grateful for all of your lovely comments about the kitchen island!!  I never thought it would get as much of a response as it has. I will soon be making a post on what products were used to achieve the final result since some of you have been emailing me and asking.

In honor of y'alls sweetness and my valentine blog make over Littliest and I made a special treat this morning to share with y'all! It is in the fridge so as soon as it is chilled I will take pics before they all get eaten!;)
Other than playing with the blog and visiting y'all and making a sweet I have been drooling over this piece on the local yard sale site. Isn't she gorgeous!! I called and she was on hold and well sad story she was picked up. Sigh....

Then I got really excited because they also listed her sister!! She would go perfect in the guest room. Alas though she is on hold as well and so I sit and wait and wait some more to see if it was meant to be. Hope y'all are having a wonderful Friday! Since Littlest is napping I am off to visit some more of ya! Thanx to the new follows! I look forward to knowing ya!:)


Wednesday, January 12, 2011

Kitchen Island Reveal Finally!

Hey y'all! Thanx for stopping by. I have a little snack waiting for you. Though it would have been best to have waited for day light to take pics for the kitchen island reveal  something always seems to come up during the day and so with all my men in bed fast asleep I thought I would take hold of the moment and take pics. I apologize that the pics are a little off but I am sure you will get the idea!:)
My kitchen island adventure started this past September when the Nana & The Papa so graciously brought me there old kitchen island. You can read more abt it here and see what was in this space previously. I immediately started pondering what I wanted to do with this island to The Hubsters dismay and I am sure The Nana and The Papa's as well. 
I found this picture and instantly knew it was the look I was wanting for our new island. 
Being fearful and intimidated by my first inspiration I found this inspiration pic and thought that this was indeed doable though I could not get the previous inspiration out of my head. I just loved the top of this island!
I decided to stop being chicken and just go for it. I was going to paint the island and do a design on it. My adventure which you can read more about here lead me to purchasing this book off of Amazon. 
I LOVE this book and it gave me the boost I needed to actually attempt a hand painted design. It took me a few months but finally the island has a new life.
Introducing our new kitchen island and all for just under $100 in supplies. Please ignore my cluttered counter top back there. My cleaning fairy is on vaca. 
Here let me turn her so you can get a better view. I did use the same baskets that The Nana had purchased for the island but other than that I think she is unrecognizable. 
This is her back side which is identical to her front side.
An up close of the trim work we added on this past weekend to make her feel more complete. You can read more abt that here. You can even see the true color of the island there.
We purchased a piece of pine slab that I found at Lowes back in the wood section. It was intended for things like toy boxes and what not. We paid $23 for it. The Hubster tried his hand at putting a decorative edge on the new top. I think he did a wonderful job!
I distressed it a bit and then sanded it down. This is after about 5 or 6 attempts to get it to look exactly like I wanted. I love the subtle difference in the wood. This top matches our kitchen table speaking of which I need to sand down and re stain after 10 years of use. I think it also looks almost identical to the inspiration top.
I LOVE the hardware I found at HobLob!

I think the hardware was meant just for this piece!
Though it pained me deeply to sand over my paintings I knew it would give the piece the old age feel I wanted.
The shelves are painted and antiqued as well to match the inset of the front of the doors. Though it took me 4 months from the time we were given her to this point I have to say I am in LOVE and it was well worth the wait.  I knew what I wanted and just had to figure out how to do it. Lesson learned from this redo is 1) Don't be afraid to try and do what you actually have visioned cause it is in the end just paint. 2) Don't talk on the phone when staining in the kitchen at 11 o'clock at night! Ha!
 Speaking of which I wanted to say thanx for the ideas on how to get rid of this mess! It really is not as bad as I thought it was going to be and with the island covering most of it I doubt The Hubster will ever notice but I know it is there and if you know me then you know it has to go.
 Thanx sooo much for stopping by and visiting and thanx soo very much to my new followers! And of course thanx to The Nana & The Papa for such a gracious gift that allowed me to be creative. I am so excited to share this project with y'all and can not wait to finish my next. I will be joining the following linky parties to celebrate the completion!


Between Naps On The Porch- Metamorphosis Mondays


Savvy Southern Style- Boring to Better Party


Southern In My Heart- Inspiration Friday


French Country Cottage- Feathered Nest Friday


Miss Mustard Seeds- Furniture Feature Friday


The Do It Yourself Showoff Blog- DIY Project Parade

Whisperwood Cottage- 2011 1st project of the year Party


Restore Interiors: Restored Wednesday

The Shabby Chic Cottage-Transformation Thursdays

Funky Junk Interiors: Saturday Night Special #64

Sunday, January 9, 2011

Trial and Error

 Hey y'all! Hope your weekend was a great one! We have enjoyed ours very much so. We decided to get out and do more things as a family this year and so far it has been a blast! The Hubster has been such a wonderful Hubster  and has been helping me finish some of my projects!
This is what we worked on this weekend! I started it back I think in September and so I am really really excited about how close we are to finishing it!

We went out and purchased a few must haves. 

Cut some trim for the first time ever. Make sure you have plenty of extra cause it is all about trial and error!

Ended up with this which we are very pleased with though it is not perfect it is pretty darn good for our first time doing trim work and using the nail gun!:) I worked on painting the trim out today and yes I did it in the living room. Ignore the fact that I decided to cheat and not paint the bottom of that one shelf!;)

We forgot just how large our kitchen really is. 

Back in came the island with finished painted trim work. Note the sheet on the floor. You can never be tooo careful.

I distressed the new trim work some and then got to work glazing it all. First I used an antiquing glaze I purchased from HobLob and then I went back over the entire piece with some Provincial Minwax stain. Mom called when I was almost done. Let me tell ya, talking on the phone and staining can lead to this.....

I won't repeat what words actually came out of my mouth after I told my mom I had to go and threw the phone down but I am sure you can imagine my horror! I had to lift the island up off the sheet all by myself because shhhh, I did not want to wake The Hubster up and tell him what I just did. Thankfully I got it all cleaned up and opened a ton of windows but the grout still needs a little work in one spot. Any ideas on how to get stain out of grout? 

Mom called to tell me about this!!! It is snowing for the second year in a row in Augusta Ga!! Can you say I am sooo jealous! They are expecting 4-6 inches. Can't wait to see every body's pics of their winter wonderlands on their blogs! As for the island, all that is left is to reattach the new hardware and secure the new top on. I was gonna poly it but that will  have to wait for a nice weekend when I can get all the windows open in the house and we can be outside. I will share our "new" island in the next few days so be sure to come back by for a visit!
Keep warm y'all!
Partying over at Between Naps on The Porch for Metamorphosis Monday!