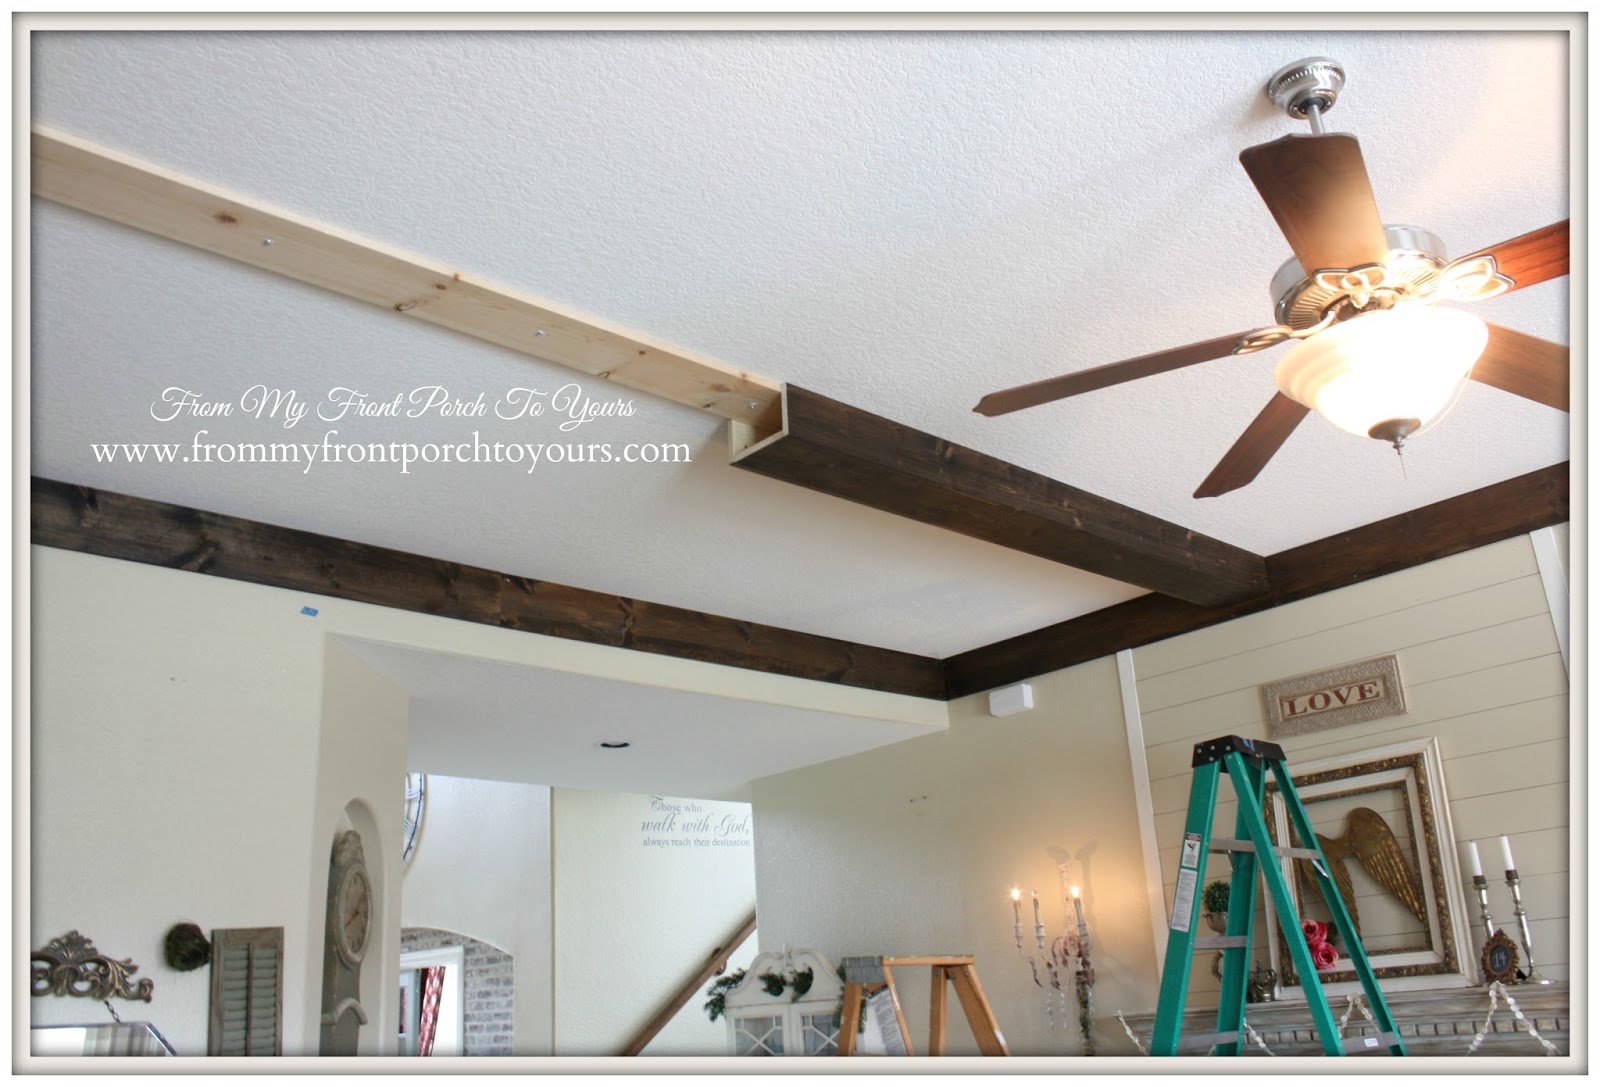
It has been a little over a week since I shared our plans of creating our own wood beams. Since then A LOT has taken place and I thought I would share a few pics of the process so far.
We had a plan on how we wanted to do the beams as far as how many and what not but of course like all of our projects after we purchased exactly what we needed, we headed back to the store....well Mr. Front Porch headed back to the store to return and purchase what we needed for our revised plans.
 |
| If you follow along with me on Facebook or Instagram I have been sharing our wood beam adventure as we go along. Here I am after staining and burning I forget just how many wood boards. I was just thankful that it was unseasonably warm that day and I was able to get them all completed. |
 |
| Almost everyday after work Mr. Front Porch and I worked on placing the stained boards up to frame the entire space. |
 |
| By weekend number two, this past weekend, we were ready to rock and roll. Up went the supports! |
 |
| We built our beams. |
 |
| And then we installed them! |
 |
| Now all there is left to do is for me to touch up the nail holes and install the pieces we made to cover up the slight gaps there are. Yep, you heard me right we are almost 100% completed with this project! It has been one of the least stressful and quickest projects we have completed to date. So here is my question to you, would you rather see the reveal first or would you rather have me do a tutorial on how we built the beams and installed them and then the reveal post? Sharing at : Savvy Southern Style |


They look fantastic!
ReplyDeleteAmazing!!
ReplyDeleteReveal first. I'll never try this myself!
ReplyDeleteReveal first! So we can see the amazing finished project first ;-)
ReplyDeletePamela, The beams are going to be fabulous! I would love to see the reveal first.
ReplyDeleteHugs,
Sherry
Reveal first please! The first thing I noticed was you wearing a sleeveless top -super jealous as we dig out from a huge snowstorm and freezing temps lol. The beams are going to look great.
ReplyDeleteReveal first!!! I can't stand the waiting! So pretty!
ReplyDeleteSo far so good! Great job girlie!
ReplyDelete~Tami
That looks wonderful!!! I love when people do their own work, it's so much more meaningful. My husband and I redid our 100 yr old home all on our own. Reveal then tutorial :)
ReplyDeleteWow! Reveal first...I've got awhile before I'll need the tutorial. :)
ReplyDeleteOh tutorial first PLEASE !!!
ReplyDeleteWe were going to hire someone to do this in the summer - but if I can manage to do them I would in a heartbeat !
They look gorgeous !
xox
Oh tutorial first PLEASE !!!
ReplyDeleteWe were going to hire someone to do this in the summer - but if I can manage to do them I would in a heartbeat !
They look gorgeous !
xox
both
ReplyDeletereveal first, then the tutorial! I can't wait, it looks amazing already!
ReplyDeleteCome to my house, I could really use some of these!! They look amazing!
ReplyDeleteDebbie
Reveal!! I just showed hubby since I have been talking about doing this forever!! Can't wait to see Pamela!!
ReplyDeleteno question about it. Reveal. Then tutorial. but not alot of lag time between the two. Looks amazing. Kudos to you and Hubby
ReplyDeleteReveal first....I can't wait to see them all up!!
ReplyDeleteI can't wait to see the reveal! They are looking wonderful!
ReplyDeleteReveal first, the suspense is killing me. :)
ReplyDeleteThey look great so far! Can't wait to see reveal!
ReplyDeleteI can't wait to see the rest of this completed. Your so talented Pamela!
ReplyDeleteI hope you give a tutorial on this project. We are debating this or moldings on our great room ceiling. Have recessed lights to deal with Love what I'm seeing.
ReplyDeleteCindy
Can't wait to see the finished look, Pamela! It sounds like you had a plan and things went along pretty well.
ReplyDeleteOh the reveal first, "Dahling"! Then the tutorial!
ReplyDeleteThanks for letting us come into your home!
Blessings!
Just amazing Pamela!...What a great idea you two had come up with to create and install these beams!....Just love them!...
ReplyDeleteI LOVE them!!! I also was looking at your walls and wondering what paint color you used?
ReplyDelete