 |
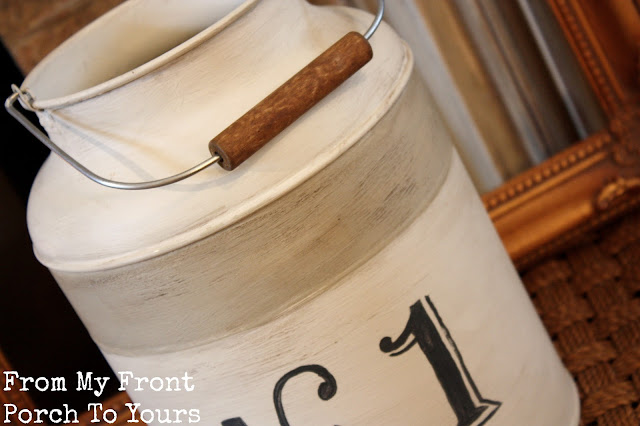
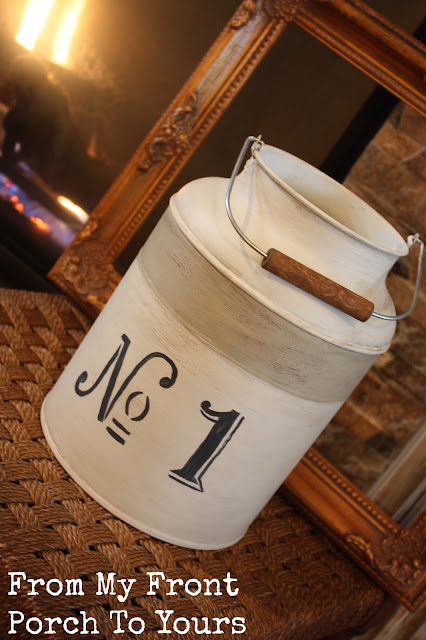
| Today has been a dreary 38 degrees and my allergies were going crazy so I staid in and completed a little project. |
 |
| A few weeks back I picked up a set of farmhouse styled tins from Ikea for $12.99. |
 |
| When I purchased them I knew they would make a good project so I busted out my AS paints. |
 |
| I am an Old White fan so it was my first go to color. |
 |
| After highlighting areas with Cottage Grey I then proceeded to frenchy it up a tad more by printing out these graphics I found on the net. |
 |
| To transfer the images to the tin I used a pencil and just scribbled all around making sure that I hit all the areas of the graphic. |
 |
| Next up I placed the graphics and then traced an outline of them with a ballpoint pen. |
 |
| Before taking the graphics off I made sure that they were traced all the way. |
 |
| This is how the tracing came out. |
 |
| Next up I used a small paint brush and started filling in the traced areas with some black paint. |
 |
| It took a steady hand but I finally filled it all in. |
 |
| Next up I aged the tin with wax. |


Great job Pamela!!
ReplyDeleteThanks for the great tips. It looks great!
ReplyDeleteIt looks awesome Pamela! I like that the chalk paint is in nice muted tones unlike the glossy appearence it had before.
ReplyDeletePamela, I love this! It turned out so great! Thanks for sharing! :)
ReplyDeleteNice transformation, Pamela.
ReplyDeleteHi Pamela, These turned out so cute!
ReplyDeleteLove it, Pamela! I'm going to Ikea tomorrow {first time since we moved} and I'm hoping I can restrain myself.
ReplyDeleteSo cute Pamela!
ReplyDeleteSo nice!!!
ReplyDeleteI love this transformation! What a great hack! I would have never guessed those started out as Ikea things!
ReplyDeleteSuper cute!!
ReplyDeleteSo beautiful. If you need help deciding what to do with the taller tin I'm voting you do your decorating magic then have a giveaway :)
ReplyDeleteGreat job, I love it!!
ReplyDeleteCynthia
Awesome, Pamela! I can't wait to try this. Only wish Ikea wasn't over 2 hours way!
ReplyDeleteThank you so much for these instructions, I purchased the dark paste wax and used it and hated it because the box I was doing just looked dirty. I had no idea about using the clear first. I will try again.
ReplyDeleteGreat job
Dido
Fantastic tin and great job Pamela...It is such a remarkable transformation!!!
ReplyDeleteI Love this! Adorable! I'll have to repin it ;)
ReplyDeleteThis is a great project. I like the typography on the numbers. Congrats on being featured in Romantic Homes!
ReplyDelete