 |
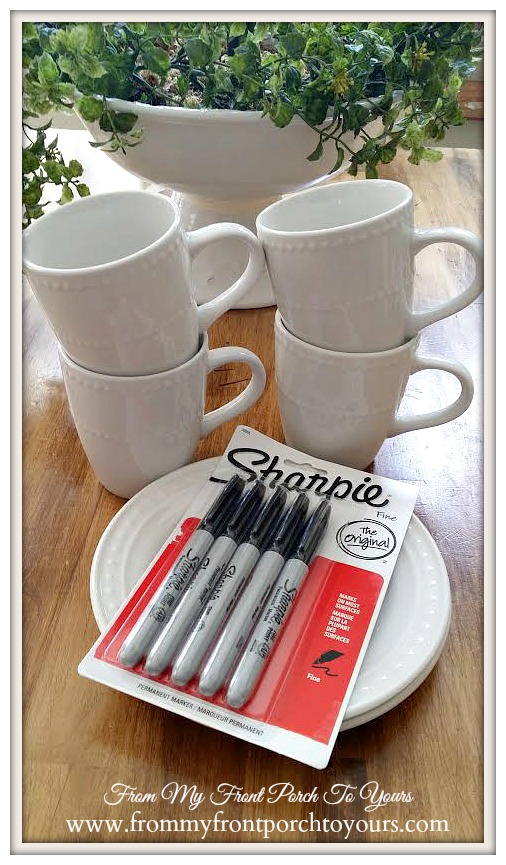
| Here is what you will need- Sharpie Marker with a fine tip and white cups from the 99 cent Store. That is it! |
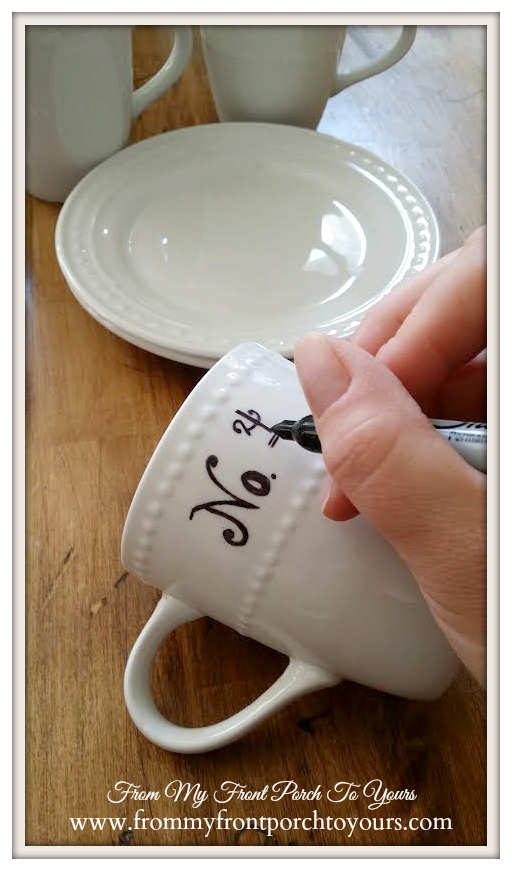 |
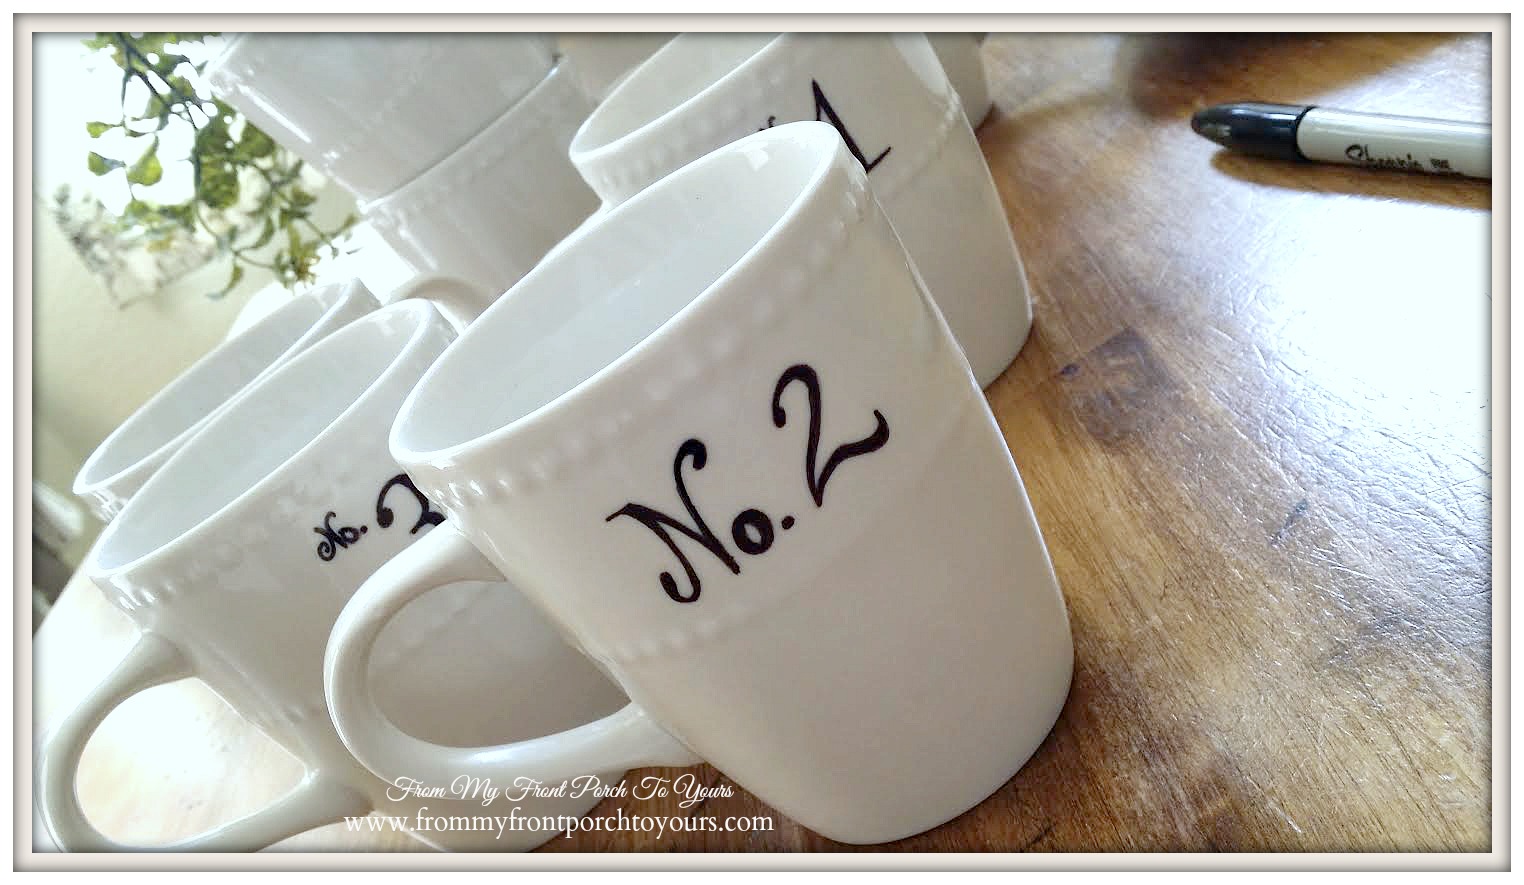
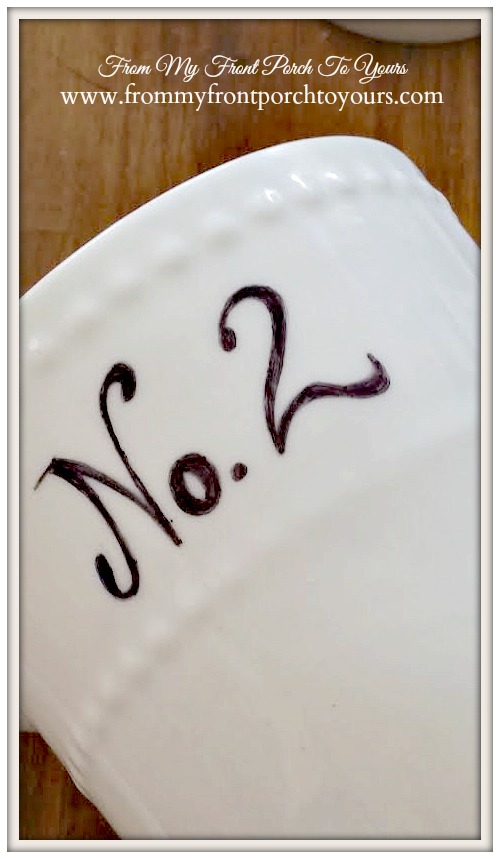
| I first practiced on scratch paper how I wanted to write the numbers on the cup and then I carefully free handed each cup with a different number. |
 |
| Here is what you will get after going back over the design a second time. |
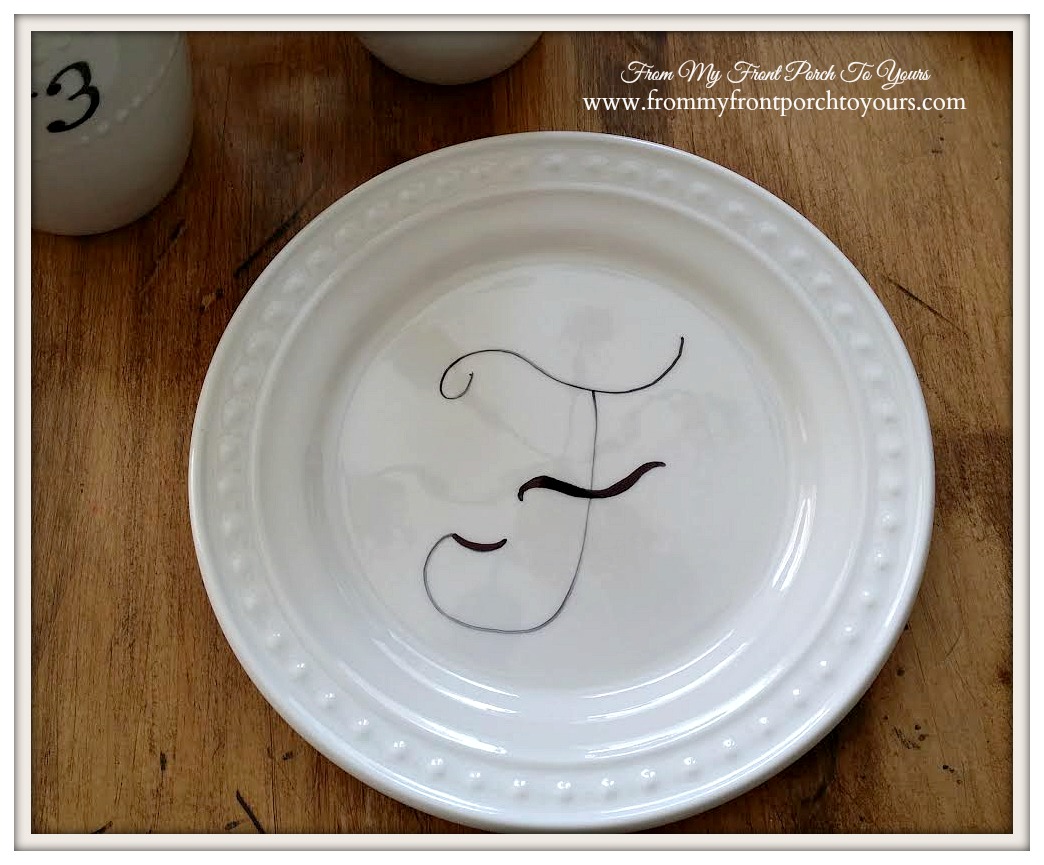 |
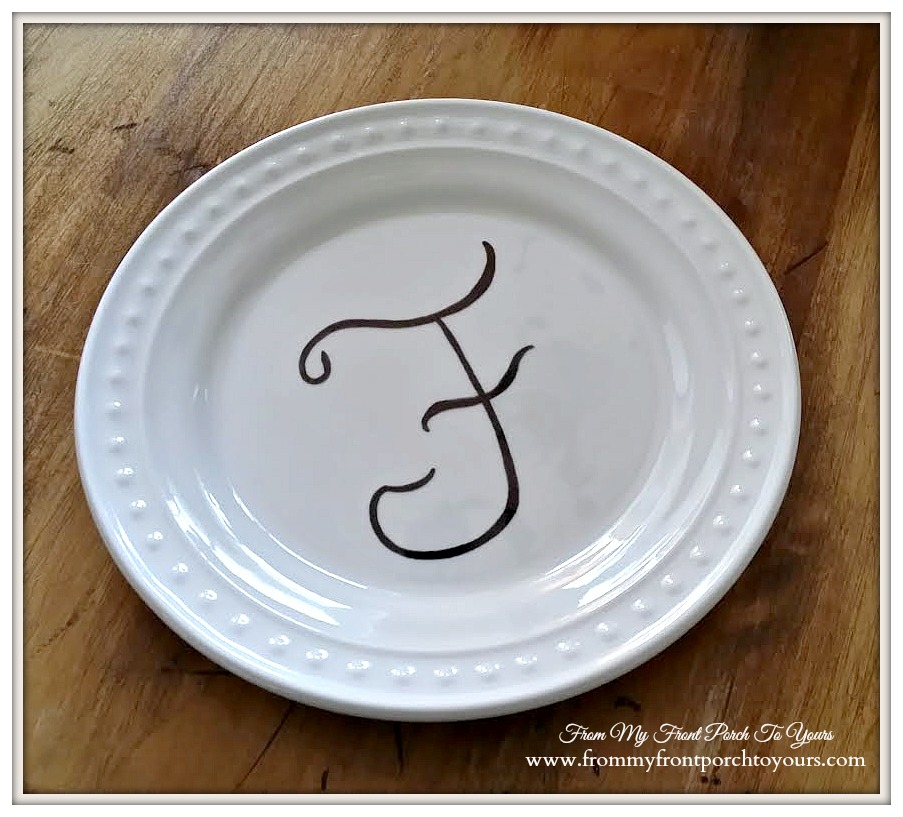
| I decided to make an initial plate as well. I free handed the letter 'F' and since I was using a fine tip marker it left me with some room to adjust the letter if need be. |
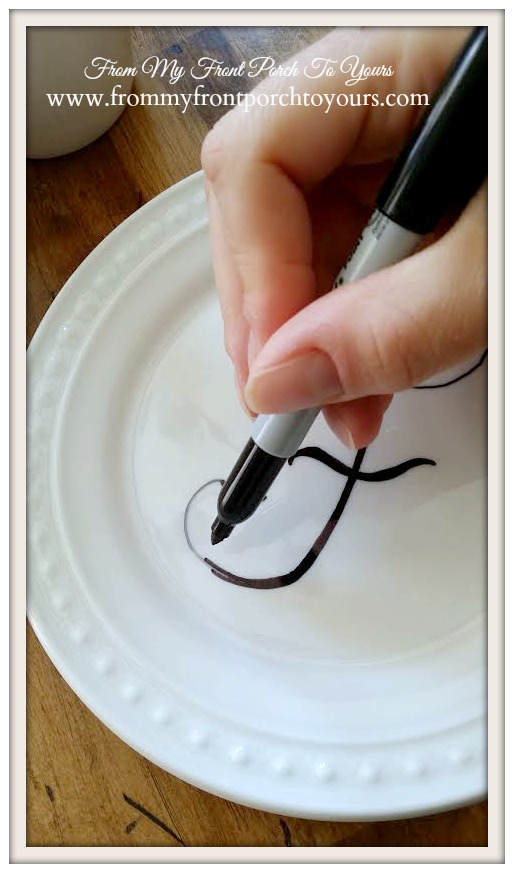 |
| After you have the initial pattern down you go back and fill the initial in. |
 |
| This is the end result. |
 |
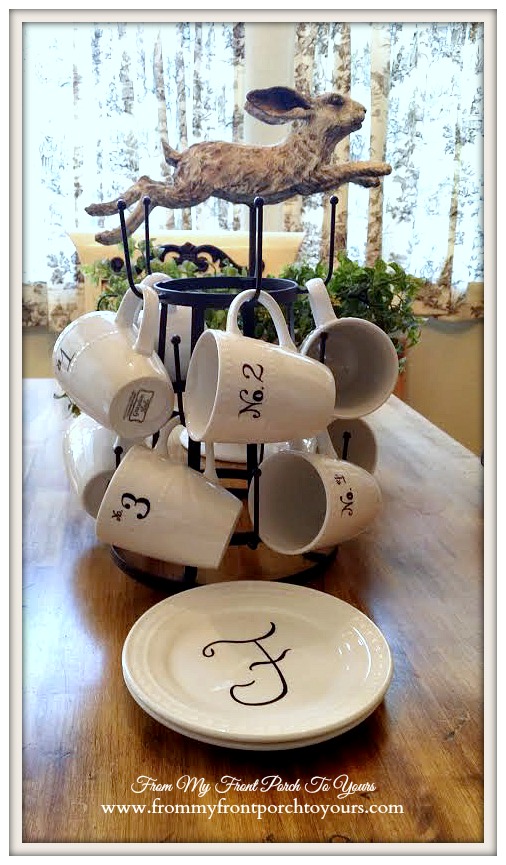
| Beautiful, inexpensive farmhouse charm! |
 |
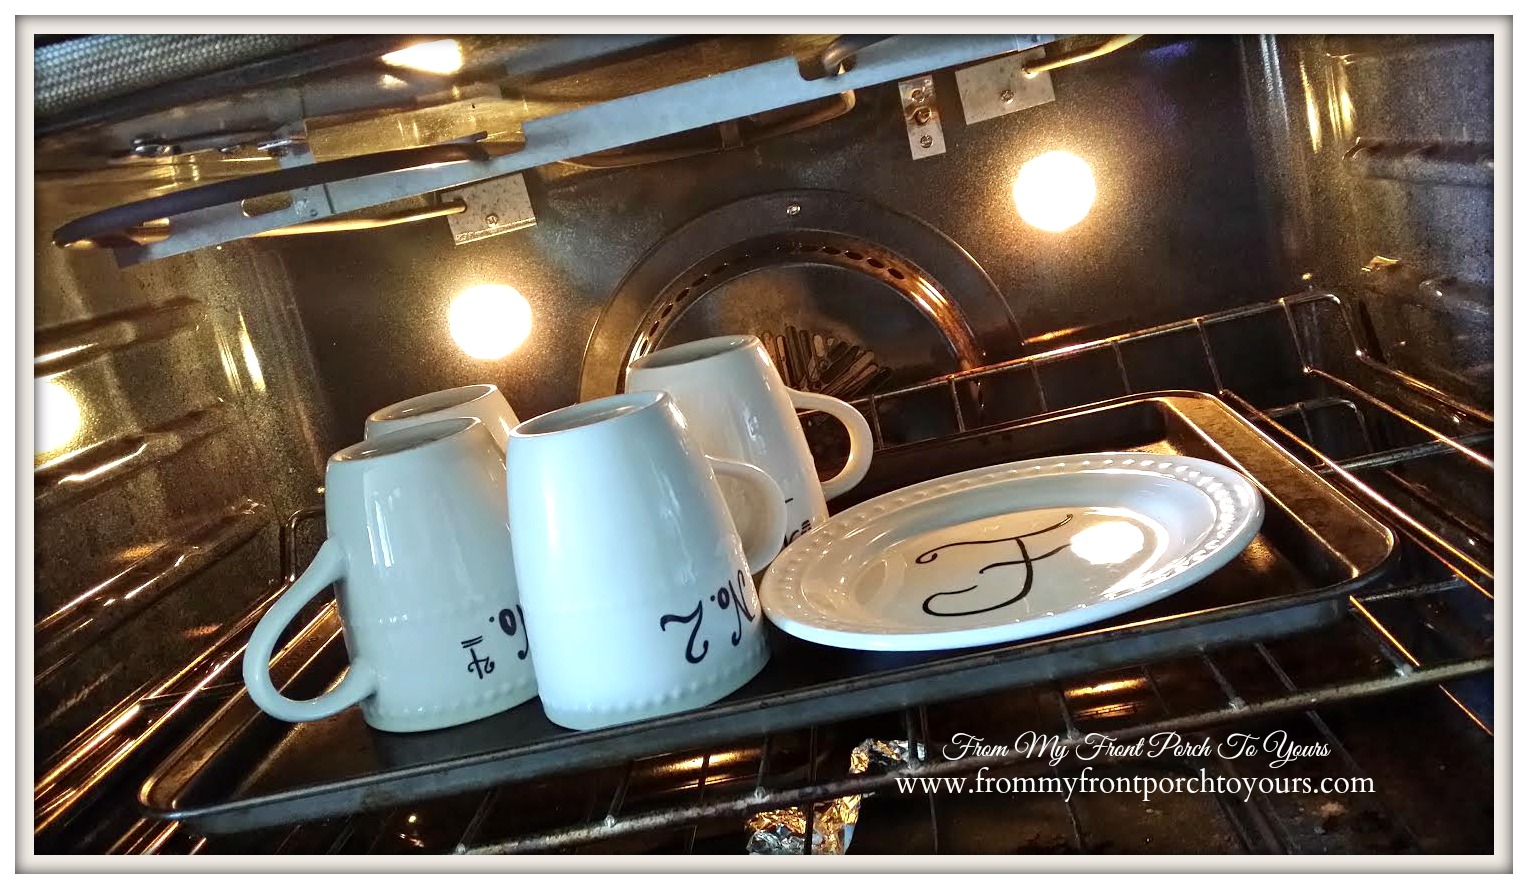
| Here are a few pointers before you run out to buy your cups and Sharpie. I made my cups just for show pieces. I did wash one after placing it in the oven and some of the Sharpie did wear away. I also washed one that had not been placed in the oven. The one placed in the oven fared far better than the one that had not been placed in the oven but I highly suggest that if you are wanting to make some that will be used on a daily basis you should buy a black Porcelain Paint Marker as well as a clear top coat. Both you should be able to purchase at your local craft store. That will help ensure that your work will not wash away. Again I have no intention of using them but I wanted to see what would happen if they were washed. Sharing at these wonderful blogs: Between Naps On The Porch Savvy Southern Style |


Great tutorial! I would not have known to put them in the oven afterwards. Super cute with lots of charm!
ReplyDeleteYou did a great job free handing these cups. Thanks for the tutorial they look fantastic! You get a No.10 for this project! :)
ReplyDeleteWhere did you find the cute piece that holds the cups!
ReplyDeleteThat is adorable!! And inspiring! You see, I now have the same mug holder! I got it last week, it is the handiest thing in the kitchen....helps with odds and ends drying, and now seeing your post....well, I have mugs on it for my girls to get their coffee this morning.....thanks!! I like the idea of writing on them...might just try that...
ReplyDeleteNancy
wildoakdesigns.blogspot.com
Great tip Pamela.
ReplyDeleteBlessings,
Linda
Good idea and they look good farmhouse fresh
ReplyDeleteAdorable! I particularly like the metal mug holder.
ReplyDeleteBest,
Michelle from simplysantabarbara.blogspot.com
LOVE thisd idea!!! Thanks!!! Have a great weekend!
ReplyDeleteDarling idea Pamela and at just the right price!!!
ReplyDeleteThanks for sharing and have a wonderful weekend!
XO Barbara
Love them, such a creative idea!
ReplyDeleteBlessings,
Cindy
Super cute Pamela. You are so creative girl. Have a great week end.
ReplyDeleteKris
For real Pam... You are just too clever! I love them. : )
ReplyDeleteLooks so cute! Great letter job!
ReplyDeletePamela you have such a sure hand, want to come and do some for me? LOL I love the look and so easy! Thanx Jo
ReplyDeleteI love the cups and your handwriting is gorgeous Pamela. Great job!
ReplyDeleteThey are so cute. Your hand writing is adorable. Great job on these.
ReplyDeletelove your cups...and the cup stand. Where did you find the cup display stand/holder?
ReplyDeleteSheila@mykentuckyliving
Great idea!! They are so cute - - thanks for showing us how to make them! ~julie
ReplyDeleteSuper cute Pamela!...do did an amazing job!
ReplyDeleteYour talent never stops. Love them!
ReplyDeleteThose turned out lovely! I used the sharpies to make my sister some plates a while back, but I could see myself making some mugs just like these for myself! Definitely my style. Love em!
ReplyDeleteLove these! Thanks for the tip about only using for decoration... I do like the looks of them. Your lettering is so pretty. Would love for you to share these at my Creative Ways Link Party tomorrow night. It goes live at 8pm central. Hope to see you there!
ReplyDeleteBlessings,
Nici
What a clever idea. I love the font you chose to do. Those are pretty darn nice cups plates for a buck!! My dollar store doesn't have anything so nice.
ReplyDeleteI love this!! I have some dishes that are white with pasta words on them and get compliments on them all the time but I would like to make some with other words on them and this is the perfect idea! Please come link up to my party CPW (Centerpiece Wednesday) and share this post with us! http://thestylesisters.blogspot.com/2015/03/centerpiece-wednesday-diy-recipes.html
ReplyDeleteKarin
nice post
ReplyDeletebeautiful.. i really liked
http://obatherbaluntukkankerkandungkemih33.wordpress.com/