 |
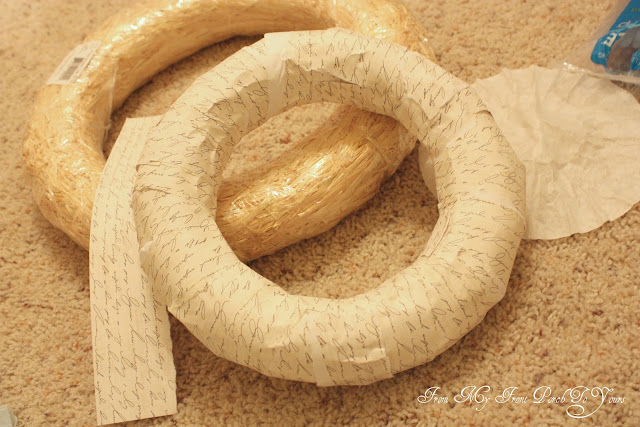
| All I did was tear off inch or so strips and hot glued them all around so that if I had any holes or if the back was seen it would still look nice. |
 |
| Next I separated the filter and made the poof look like a flower. |
 |
| Next came the glueing. Note you will need lots of glue sticks and a large thresh hold of pain! I can not tell you how many times I hot glued my finer or finger nail!:0 |
 |
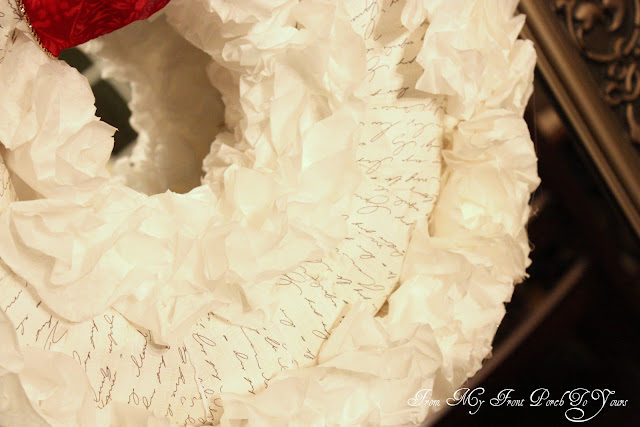
| This is what it looked like with the first row completed. |
 |
| Here is a view of the side. |
 |
| Next up came some trimming and evening out. Do not go crazy here. You will only need a little snip here and there. |
 |
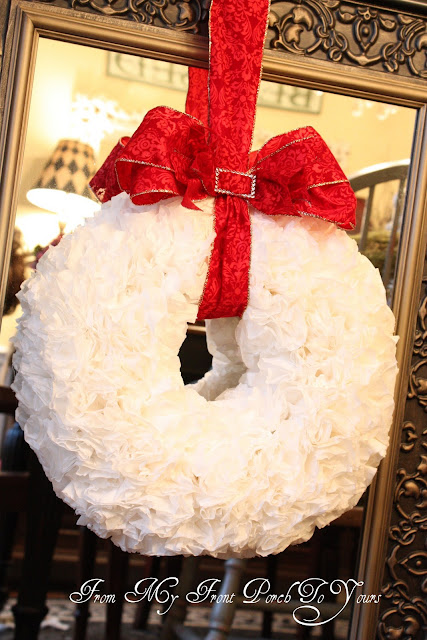
| I decided to make mine a Christmas wreath so next up I made a bow for it with this beautiful velvet damask ribbon I had. |
 |
| I made the ribbon long enough so that it can be hung off of a mirror. |
 |
| Here is a picture of what the back looks like. I am really glad I glued the stripes of script paper because it just gives it a more completed look. |


It is pretty ! I'm trying to decide if I want to spend the time to make one.
ReplyDeleteThis is lovely! I appreciate your tutorial too! I can't wait to try this because yours is beautiful!
ReplyDeleteThat turned out really pretty, Pamela! It looks great with the ribbon, too. Hmmm, I'd keep it, given the time involved and if you change your mind you could always sell it. I'm going to try one even smaller than yours!
ReplyDeleteI LOVE it and would keep it for sure! I need a tutorial on how you made that bow! LOVE IT!
ReplyDeleteLou Cinda
So chic, love how full and fluffy it is, perfect Christmas wreath! Thanks for sharing the great tutorial!
ReplyDeleteVery beautiful and I must do this!
ReplyDeleteThanks for sharing!
Faye
it is stunning! great job! now, I am thinking of doing the same.
ReplyDeleteIt turned out beautiful Pam!! I love the paper underneath and your bow is so pretty. Good job and hopefully your fingers are healing. :)
ReplyDeletexoxo
I love the way this turned out. Good idea to put the pretty paper all around first. It looks like a big puffy carnation. So pretty!
ReplyDeleteYour coffee filter wreath turned out so pretty Pamela. I made one and I agree with you, it's a lot of work!
ReplyDeleteEnjoy your day,
Gail
This is beautiful, It shows how patient of a person you are. I love this look for christmas or any time of the year.
ReplyDeleteFabulous wreath and the bow really "makes" it. Beautiful!
ReplyDeleteYour wreath is fabulous! I love the finished product and so pleased that you took the time to give your wonderful tutorial.
ReplyDeleteThank you. I have joined your followers list as well as Pinterest, and invite you to join my followers list; as well,I hope you will grab a blog button. Hugs, Gayle
http://atastefultouch.blogspot.com
Your wreath is gorgeous and elegant.
ReplyDeleteI agree, it is gorgeous and so worth the effort of putting the pretty script on the back.
ReplyDeleteTurned out really cute! Thank you for linking it up to Home Sweet Home!
ReplyDeleteSherry
just a note
ReplyDeleteto let you know
that i'm featuring your wreath
on this week's fridays unfolded!
alison
Love your version, Pamela! The best I've seen! That bow is gorgeous and completes your wreath perfectly! I vote for keeping it! Great job!
ReplyDeleteThis comment has been removed by a blog administrator.
ReplyDeleteVery, very pretty...I must try to make this.
ReplyDeleteIn one word, Gorgeous !
ReplyDelete